|
|
Post by eric on Jan 3, 2008 0:28:15 GMT 1
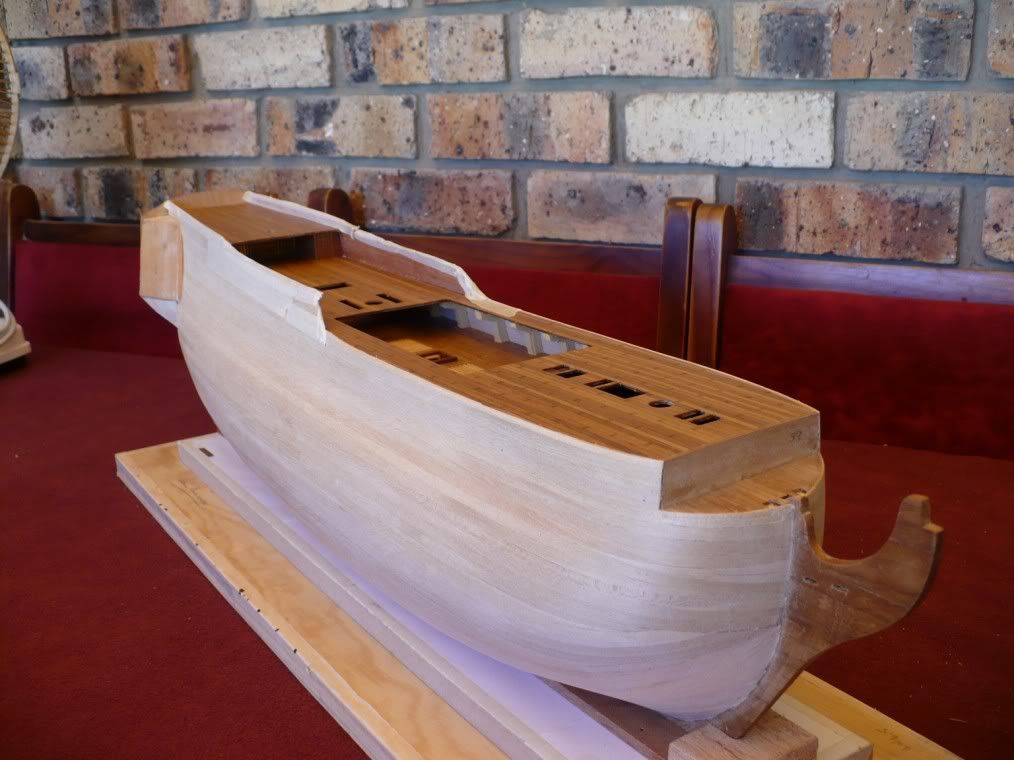
Ok, I've finished planking, but will undoubtedly need to use a good filler to smooth some parts and fill some gaps.....so what is the best filler to use?
I've used cupernol wood filler on the first planking layer, but it 'goes off' really quickly, so is no good for large areas, any suggestions would be gratefully received!!!
|
|
|
|
Post by Mark on Jan 3, 2008 2:07:32 GMT 1
I use car body filler. Davids P-something-or-other available from Halfords. The fine filler for finishing. Goes off in about 20 mins, so there is a reasonable working time. One word of caution, PVA wood glue doesn't stick to it !! Super glue is fine though, as is Araldite.
|
|
|
|
Post by eric on Jan 3, 2008 16:11:12 GMT 1
Cheers Mark, I'll go look.
I don't think I need to put it anywhere where I'm going to be doing anymore gluing.
|
|
|
|
Post by SB on Jan 3, 2008 16:29:29 GMT 1
You should use a filler that when its gone hard is as soft as the wood to sand, otherwise if its a lot harder you could end up sanding away the surrounding wood before you get the filler looking like level  |
|
|
|
Post by david on Jan 3, 2008 18:53:02 GMT 1
Hi SB, can you recommend any specific brands suitable for working with lime strip? David
|
|
|
|
Post by Mike B on Jan 3, 2008 21:58:25 GMT 1
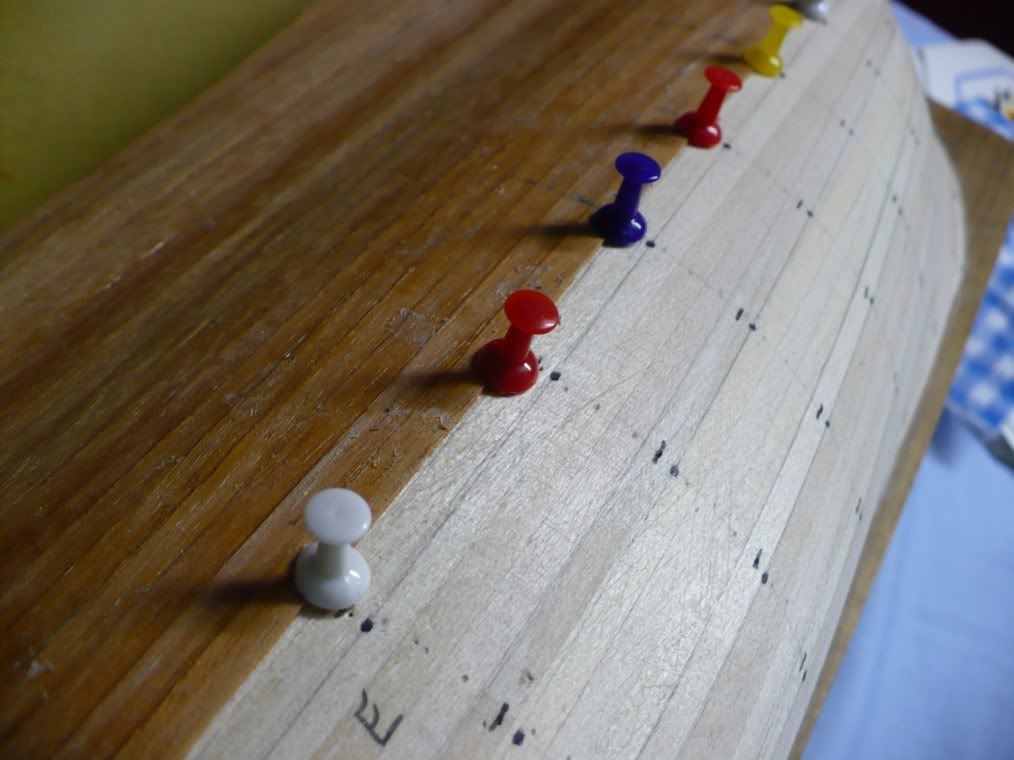
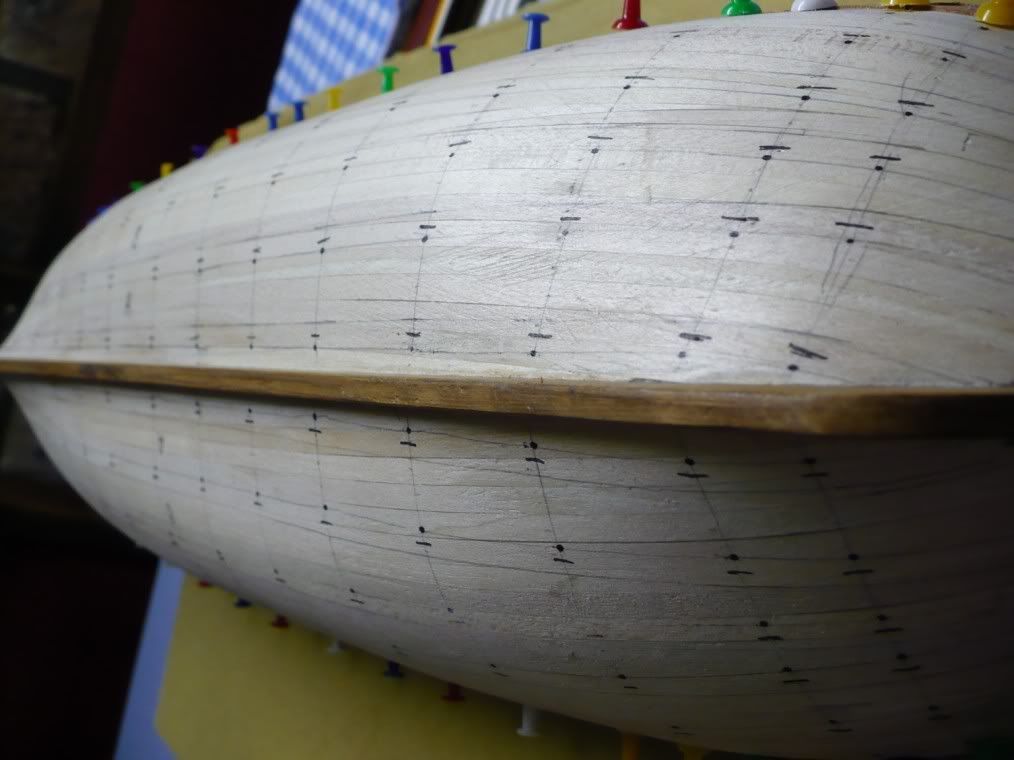
For those building a static model, here's what I do for finishing a hull. If you do a good job with your planking , filling should not be required as slight imperfections ( variations in plank thickness etc.) can be sanded out (first or second planking). If minimal filling should be required, sand some offcuts of planking to make sawdust and mix it with PVA glue to form a porridge-like paste. Apply this as a filler with a knife blade. When dry, coat the whole hull liberally with PVA glue diluted with 30% water. This will soak into the planks and the plank seams giving an excellent base to commence sanding. Do an initial sanding diagonally across the planks with 60 grit to remove the high spots and then smooth out with 100 grit. Finally, finish off with medium and then fine foam sanding blocks for a finish Gilette would be envious of ! I did this after my first planking of the Victory (without using any filler), and the result was like a baby's bottom (no comment) ! I will also apply the diluted PVA to the second planking when finished, prior to final sanding and a primary coat of sanding sealer. ( I did a test piece and the finish of the walnut planking was unbelievable! )     |
|
|
|
Post by Mark on Jan 4, 2008 0:06:20 GMT 1
Very nice Mike, and I just love the idea of using map pins to hold the second layer planks !!
|
|
|
|
Fillers
Jan 16, 2008 20:19:50 GMT 1
Post by trevor on Jan 16, 2008 20:19:50 GMT 1
Hi Mike, I agree with mark nice job, and thankyou for your tip with the sawdust and PVA, I am going to use your method rather than filler.
Trevor
|
|
|
|
Post by Mark on Jan 17, 2008 4:10:02 GMT 1
The PVA & sawdust trick is great for very small areas and if you need a colour match. The disadvantage with it is that it tends to shrink so you may need more than one application.
|
|
|
|
Fillers
Jan 17, 2008 18:04:38 GMT 1
Post by swanrail on Jan 17, 2008 18:04:38 GMT 1
I have also found that if you do not use a very fine powdery sawdust, it can dry a bit gritty.
|
|
|
|
Fillers
Jul 21, 2008 19:27:10 GMT 1
Post by Mike B on Jul 21, 2008 19:27:10 GMT 1
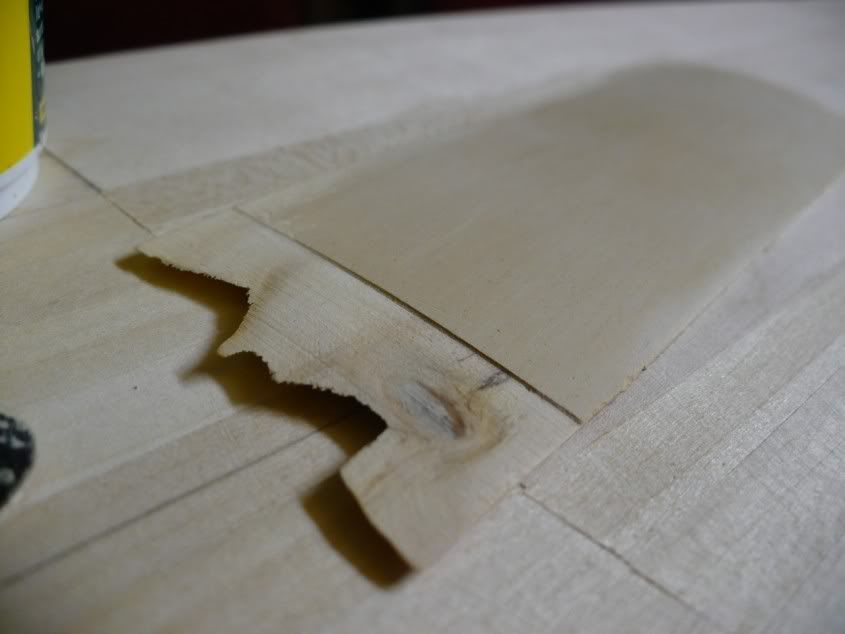
I have done some further experiments to create a better and easier filler and have come up with a perfect filler that is so easy to make, easy to sand and is compatible with PVA. I got a tub of wood filler from the DIY shop and mixed some of it with undiluted PVA. It goes on great with a tongue depressor and can be applied in any thickness. The filler in it's ordinary state, when dry, is powdery and very porous. When mixed with the PVA, it cannot be scratched with your fingernail but is very easy to sand. The hardness depends on the amount of PVA added to it. The filler itself, being designed for raw wood is PVA compatible so this does not change with the addition of PVA.  Test piece of pine coated with the filler and the end sanded back to the wood.  |
|
|
|
Fillers
Jul 22, 2008 14:35:15 GMT 1
Post by ph on Jul 22, 2008 14:35:15 GMT 1
Like Mike says its good.
Iv used that idea as well and find it work better than just wood filler,it gives a smoother finish and is easy to sand.
I only used it on small parts.
|
|
|
|
Post by matt on Aug 2, 2008 21:14:02 GMT 1
Eric I still used the Ronseal wood repair wood filler. Although it does set quite quickly I only used small amounts. I was able to sand about every 30 minutes. Still a little to finish but getting there.
Matt
|
|