

Post by swanrail on Jan 26, 2008 12:10:55 GMT 1
The question of portholes was raised recently on the forum. This is my idea for the Bismarck:
I have been lining portholes on other models, firstly my scratch built British Chancellor, with 4mm dia brass tube and araldite filler:
with the Titanic, I was very upset with the eyelets they provided, as the end result looked terrible and more like lace holes for shoes! I removed them all and replaced with 2 and 3mm brass inserts.

Method: buy brass rod to size (for some reason, model shops now only seem to sell imperial sizes) for the Bismarck, I reckon on 3mm or 3/32th. tube would do.
Make a jig as follows:

insert the brass tube, then cut off lengths of about 2mm or so, using a metal cutting disc in a Minicraft drill (I use) or a Dremel or similar. In my diagram, use the saw cut shown as a guide to drop the cutter into. Make sure that the cut is at right angles to the length of tube.

Next, place the cut offs on a sticky surface, such as double sided tape (a la Blue Peter!!), and fill in centre with a clear glue, such as resin or araldite. When dry, push into hole porthole making sure that the hull is drilled to the same size as the brass. For this, I recommend a wood drill (centre of picture above). This has a centre spur, and cuts a flat surface, unlike a standard HSS drill, which cuts a triangular surface (it not all the way through) and also, because its point is blunt, can easily wander off positon, with disastrous results!!!
If the hull hole is slightly to big, then glue into place with superglue.
If your are skilled enough, only drill into the hull by 2mm (the hull should be 2.5mm thick) this will stop the brass going right through. Before fixing, paint the bottom of the hole black!
Note that it is ESSENTIAL to fully paint the hull before fixing this version of portholes, else when you spray the brass will be covered up and you have wasted your time and effort!!
Note that on the Titanic model, some brave souls actually ground off the top of the eyelets provided so as to achieve the same result as me, my method was easier (I am lazy).
EYEBROWS
Above the portholes they are water guards known as eyebrows. Not all ships carried them, but they appear in the Bismarck book.
They could be made in two ways, firstly, buy tube of the next size up to the portholes, again cut into short lengths, the nearer 1mm the better, and cut the ring in half - you now have two eyebrows.
Alternatively, as I did on my Victory where the eyebrows over the ports were of a complex shape, fashion them from fine solid core telephone wire, and glue over the port. Best doen BEFORE fixing in the portholes, as you can then spray them to match the hull colour!
Addendum
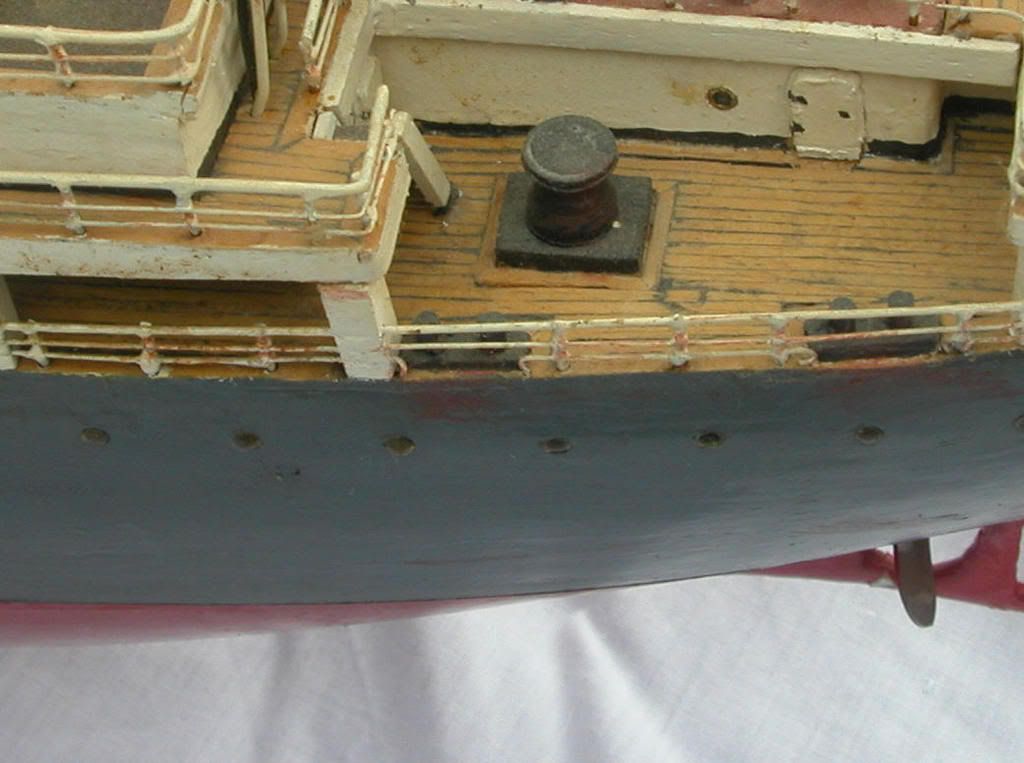
With my picture of the Chancellor above, you will notice that my model is "distressed". This has been done deliberately, and is intended to show a "real" ship, which in service gets rust streaks for the salt air. Only passenger ships, naval vessels and the Royal Yacht are usually pristine. Even the Bismarck at the end shows partial overpainting of the camaflage, not very well done as she was in a hurry! Sure that there will be signs of waer and tear elsewhere on the ship, such as the decks where now doubt, oil spillages, etc would have marked the deck.
I have been lining portholes on other models, firstly my scratch built British Chancellor, with 4mm dia brass tube and araldite filler:
with the Titanic, I was very upset with the eyelets they provided, as the end result looked terrible and more like lace holes for shoes! I removed them all and replaced with 2 and 3mm brass inserts.
Method: buy brass rod to size (for some reason, model shops now only seem to sell imperial sizes) for the Bismarck, I reckon on 3mm or 3/32th. tube would do.
Make a jig as follows:
insert the brass tube, then cut off lengths of about 2mm or so, using a metal cutting disc in a Minicraft drill (I use) or a Dremel or similar. In my diagram, use the saw cut shown as a guide to drop the cutter into. Make sure that the cut is at right angles to the length of tube.
Next, place the cut offs on a sticky surface, such as double sided tape (a la Blue Peter!!), and fill in centre with a clear glue, such as resin or araldite. When dry, push into hole porthole making sure that the hull is drilled to the same size as the brass. For this, I recommend a wood drill (centre of picture above). This has a centre spur, and cuts a flat surface, unlike a standard HSS drill, which cuts a triangular surface (it not all the way through) and also, because its point is blunt, can easily wander off positon, with disastrous results!!!
If the hull hole is slightly to big, then glue into place with superglue.
If your are skilled enough, only drill into the hull by 2mm (the hull should be 2.5mm thick) this will stop the brass going right through. Before fixing, paint the bottom of the hole black!
Note that it is ESSENTIAL to fully paint the hull before fixing this version of portholes, else when you spray the brass will be covered up and you have wasted your time and effort!!
Note that on the Titanic model, some brave souls actually ground off the top of the eyelets provided so as to achieve the same result as me, my method was easier (I am lazy).
EYEBROWS
Above the portholes they are water guards known as eyebrows. Not all ships carried them, but they appear in the Bismarck book.
They could be made in two ways, firstly, buy tube of the next size up to the portholes, again cut into short lengths, the nearer 1mm the better, and cut the ring in half - you now have two eyebrows.
Alternatively, as I did on my Victory where the eyebrows over the ports were of a complex shape, fashion them from fine solid core telephone wire, and glue over the port. Best doen BEFORE fixing in the portholes, as you can then spray them to match the hull colour!
Addendum
With my picture of the Chancellor above, you will notice that my model is "distressed". This has been done deliberately, and is intended to show a "real" ship, which in service gets rust streaks for the salt air. Only passenger ships, naval vessels and the Royal Yacht are usually pristine. Even the Bismarck at the end shows partial overpainting of the camaflage, not very well done as she was in a hurry! Sure that there will be signs of waer and tear elsewhere on the ship, such as the decks where now doubt, oil spillages, etc would have marked the deck.