|
|
Post by Mark on May 30, 2008 14:04:11 GMT 1
It's coming together nicely Mike. Really looking the part.
|
|
|
|
Post by nm on May 30, 2008 14:53:35 GMT 1
Great stuff.
NM
|
|
|
|
Post by Mike B on Jun 1, 2008 18:26:58 GMT 1
Now for the railings. These are the thinnest railings that I have made so far. I measured from the railing template drawing supplied and the stanchions came out at 0.6mm and the rails 0.2mm, all copper electrical wire. There will be twelve sets of deck edge railings, six on each side of the boat covering the two deck levels. There will be four small sets of superstructure railings, one each side of funnel No. 3 and one each side of the 47mm gun deck. Here is the first set of railings. 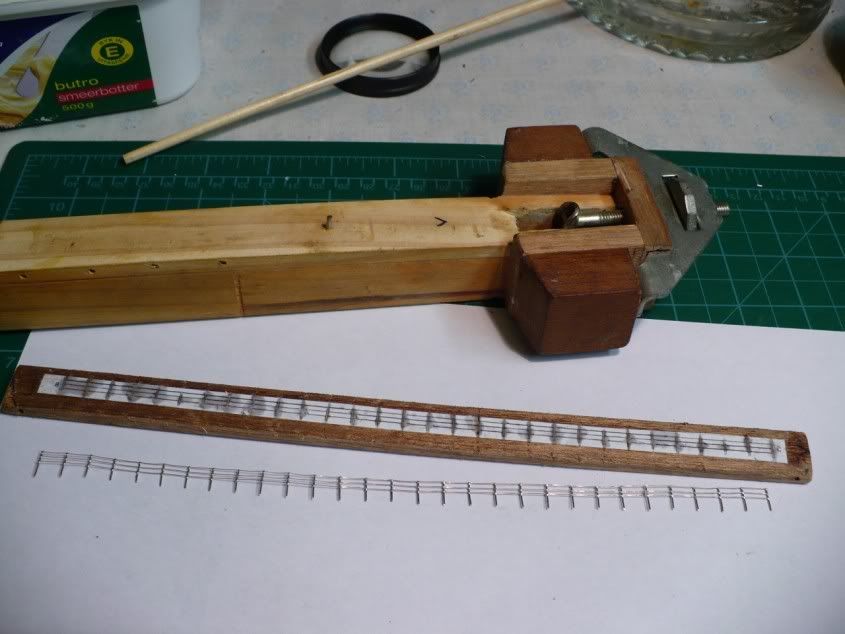 They will be sprayed grey. The mounting holes will be marked and pierced with a pin. Thin CA will then be applied to these holes to seal the card and left to dry. These holes will then be drilled out 0.8mm and the railings fitted. Thin CA will then be applied to the stanchion bases to fix them in place. 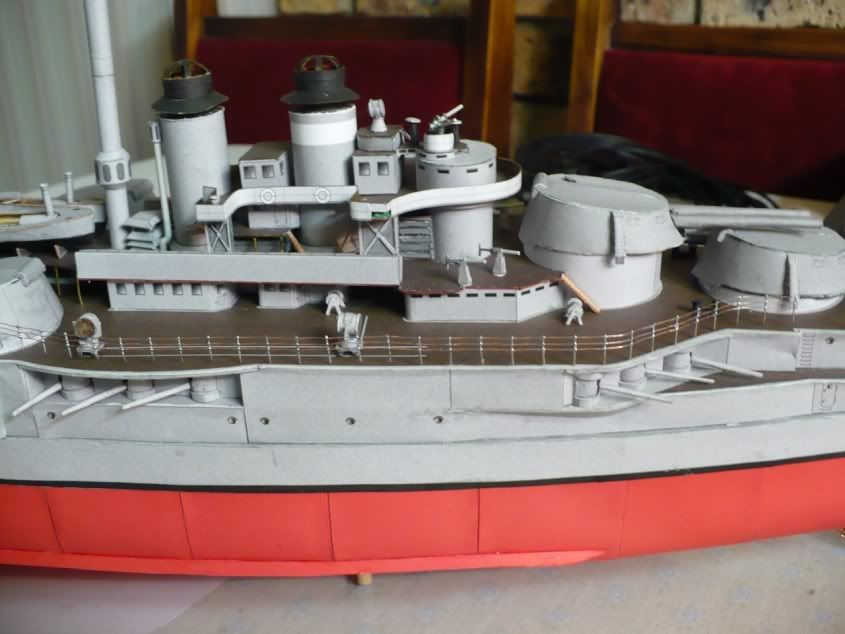 |
|
|
|
Post by nm on Jun 1, 2008 21:14:31 GMT 1
Laughing at myself, not at the Courbet: at first glance at your recent photos I said to myself "oh, he put in some models of sailors" then realised they were firehoses or something.
Nice work.
NM
|
|
|
|
Post by Mike B on Jun 2, 2008 21:10:35 GMT 1
Laughing at myself, not at the Courbet: at first glance at your recent photos I said to myself "oh, he put in some models of sailors" then realised they were firehoses or something. NM Thanks, nm. I was wondering what they were!   |
|
|
|
Post by Mike B on Jun 5, 2008 21:13:57 GMT 1
Rigging & Railings. Here is the rigging. It was done with DMC embroidery cotton. This came six stranded. I separated the strands and used single strands. I first put some PVA on my finger and then ran the cotton between my finger and thumb a couple of times to seal it. I then super glued the cotton in place at the various points on the masts. The various views shown on the assembly diagragms conflicted with each other as far as the rigging was concerned so I ended up doing my own thing with the drawings as a guide. 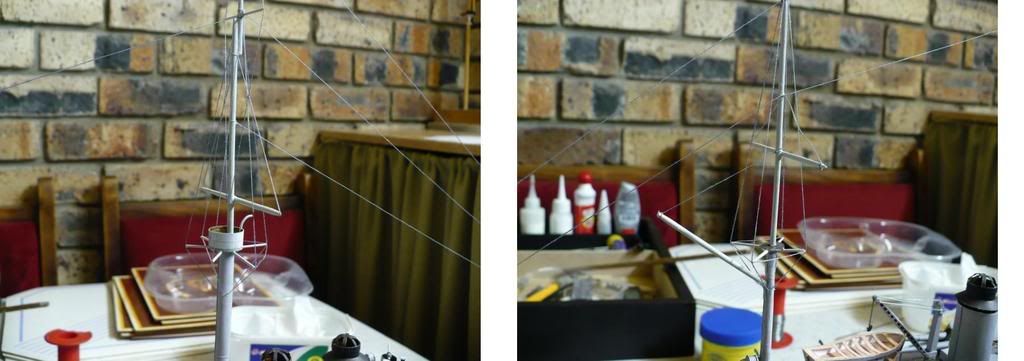 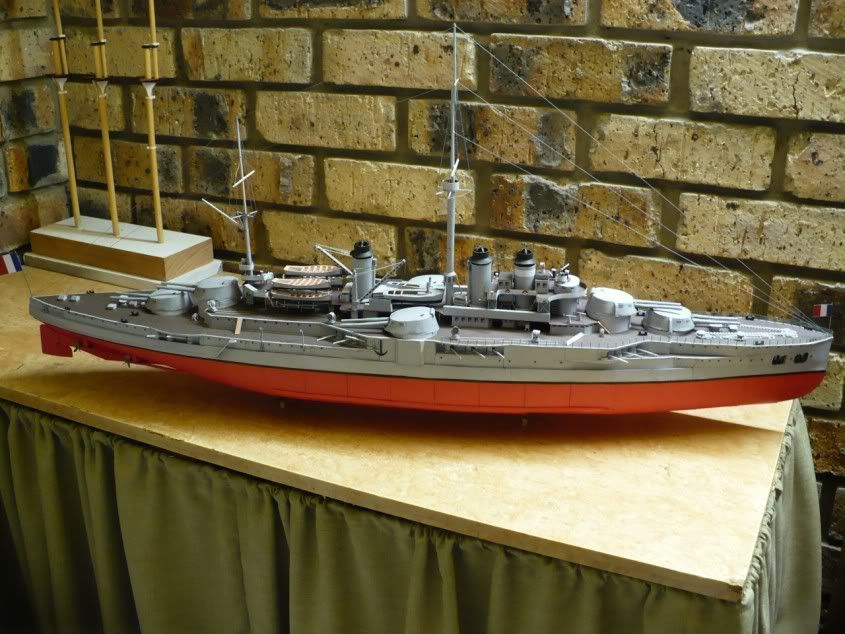 I have done the anchor chains and started making and fitting the railings. See the railing jig at:- forum.zealot.com/t159220/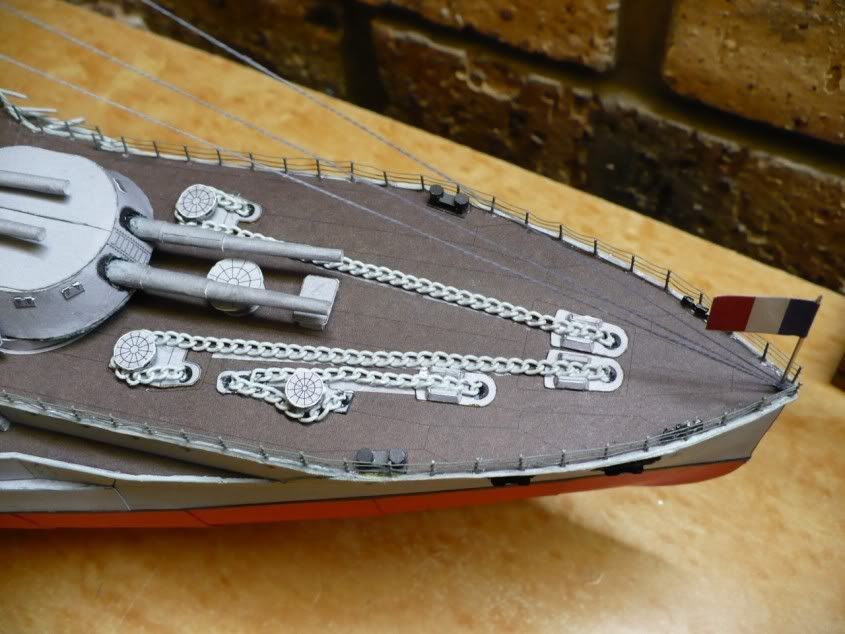  |
|
|
|
Post by poulw on Jun 6, 2008 2:47:41 GMT 1
That is a terrific job you have done so far. What a present for your dad.
Re. rigging, this is something I have pondered on how to go about.
So, being a novice here I'll try to benefit from your experience:
1. Why are you using embroidery cotton, and is there a difference between that and normal sewing thread? I also read somewhere that fishing line would be a viable option.
2. I guess that you seal the strand so it doesn't look "woolly" and to keep it straight?
3. Do you have to put strain on (tighten) the rigging, or is sealing it with PVA glue enough to keep it straight?
4. What colour rigging would you recommend for the Bismarck (and of course for my Rihelieu)?
|
|
|
|
Post by Mike B on Jun 6, 2008 13:50:31 GMT 1
Re. rigging, this is something I have pondered on how to go about. So, being a novice here I'll try to benefit from your experience: I don't know about experience, this is my first rigging also! 1. Fishing line might be OK but I suspect that it will be harder to glue and knot. PVA and CA are compatible with each other. I think that normal sewing thread only comes in one thickness but if it is thick enough it should be OK. I used the embroidery cotton because the original stuff I bought looked good but appeared too thick when I started using it. My wife agreed and she found some nice grey coloured stuff in her cotton box. 2. Yes, it stiffens it up slightly, stops it curling and makes it easier to work with. A drop of medium CA was applied to the ends of the spars (scrape the paint off first) and the cotton was pulled against it until it grabbed. 3. Time will tell! I just put enough tension on to balance the lines. 4. I reckon you can't go wrong with a slightly darkish grey colour to contrast with the lightish grey of the rest of the ship. |
|
|
|
Post by Mike B on Jun 6, 2008 21:16:50 GMT 1
Change in method of mounting the railings. I marked the holes with a dressmakers pin fitted into a pin punch. 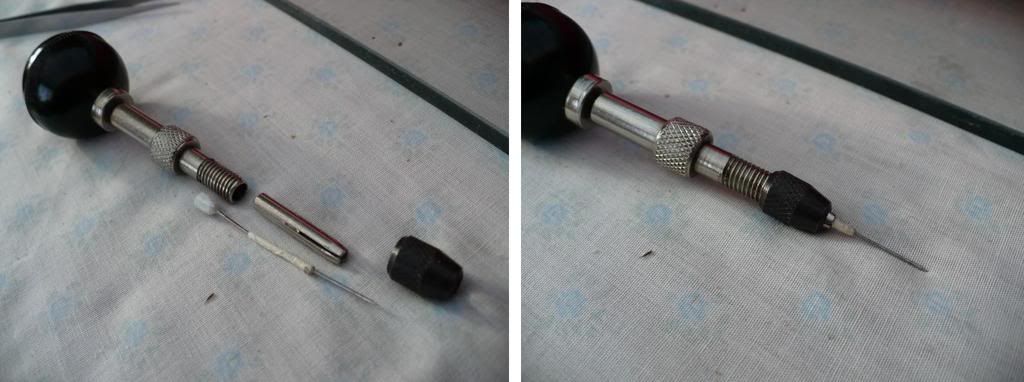 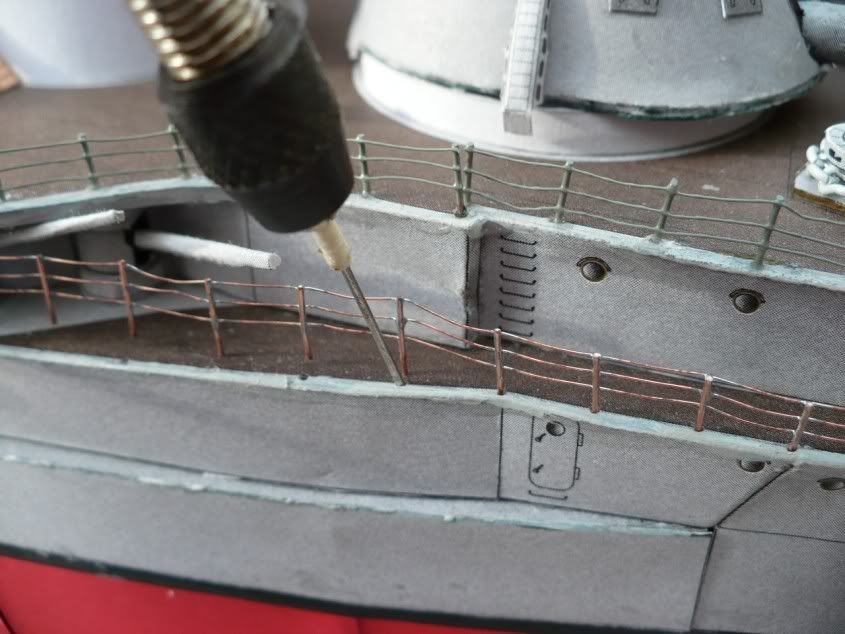 I didn’t bother putting glue into the holes and then drilling out as the drill did not give a clean hole in the card. The hole was perfect just using the dressmakers pin. After spraying, I fitted the rails and then put a drop of medium CA at the base of each stanchion with a toothpick. |
|
|
|
Post by Mike B on Jun 12, 2008 17:08:04 GMT 1
THE BASE AND COVER. Dust is the enemy of a paper model: it is impossible to dust it without incurring some sort of damage! It must have some sort of covering, be it inside a glass fronted unit or a dedicated case. I make dedicated cases for my models. They are made from 3mm Ultra high impact (UHI) acrylic sheet (Acrylan), and a veneered chipboard baseboard. I use Acrilan as glass is too dangerous and heavy and the full size Acrylan sheet (1250 x 2500mm) can be rolled up and transported home in the car. Acrilan is also ideal for DIY as it can be cut with a circular saw with an ordinary tungsten toothed blade. Keep the blade depth just enough to cut the sheet and keep pressure on the sheet near the blade where cutting so that the sheet does not lift: this causes judder and chipping. The base is an ordinary piece of veneered chipboard, cut to a suitable size and edged all round with iron-on pre-glued veneer edging. I then made a moulding from a strip of meranti to glue around the edge. This is stepped so that the frame sits in it. 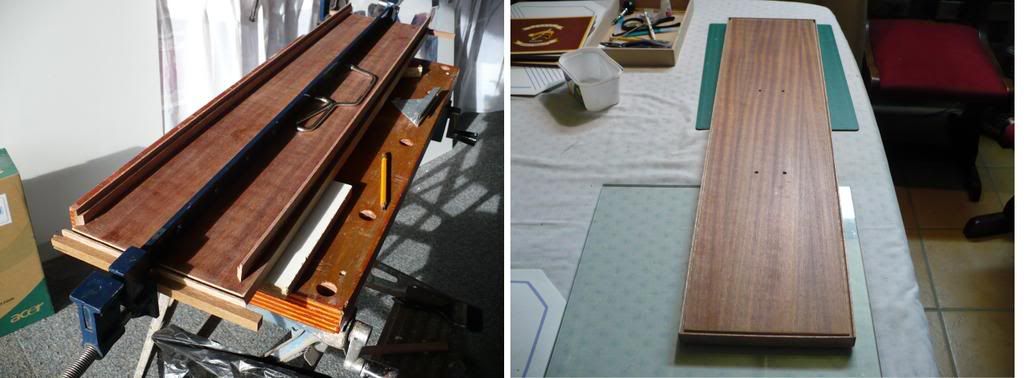 I normally use a bigger moulded edging but here I was restricted to the length of the case because of the wall unit shelf it was going on, so I had to make a very thin one. 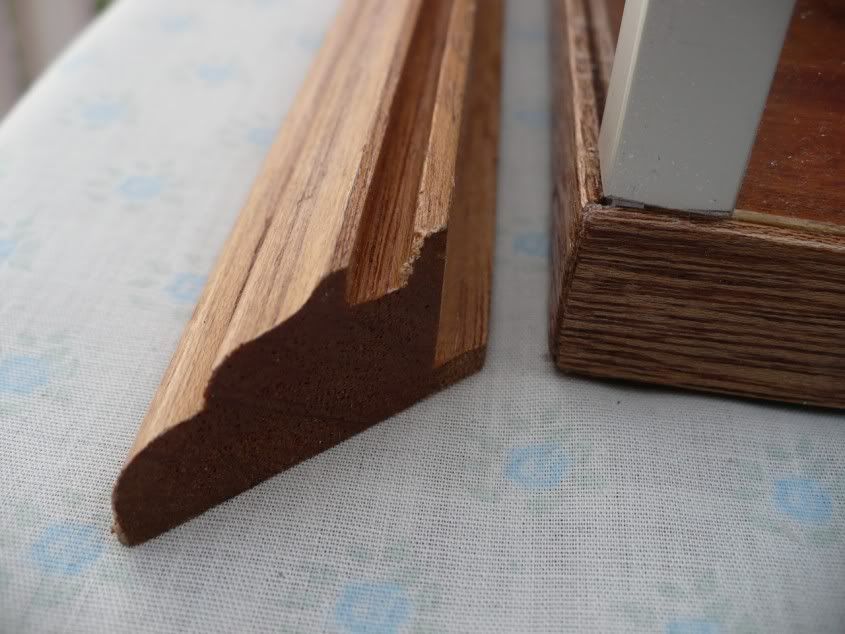 The Acrylan was cut to size and temporary fitted to the base to check it was correct. Next, I drilled 1mm holes in the sides where they joined to pin the sides together. The holes were drilled 8mm into the piece on edge (reason to follow) and then using a piece of 1mm brass rod, I measured and cut pins and nailed them into the holes. This gave the case some rigidity. 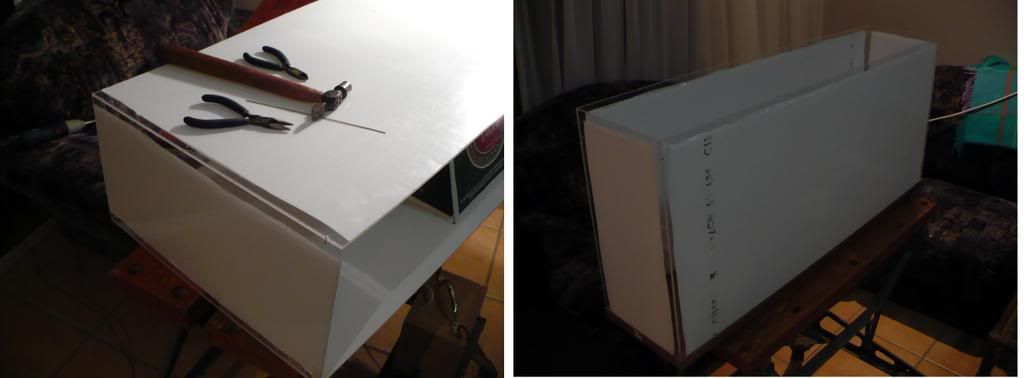 When this was done for all four sides, thin CA was fed by capillary action down all the joins. Be careful you do not apply too much as any overspill will mark the sheet. The case is now rigid enough to apply Anodised aluminium edging (12.7mm equal angle). This edging will hide the pins (11mm). The aluminium edging is cut to size, allowing 0.5mm extra length to allow for the silicone sealer which will fix the edging. 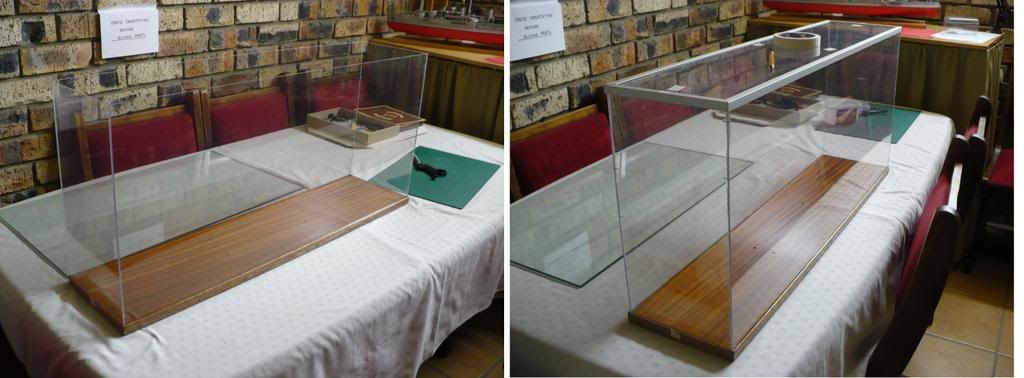 A thin bead of clear silicone (I use Bostik Marine) is applied centrally along both edges and then the edge is pressed into place, lining it up with the side pieces. This is repeated for the other three top pieces. 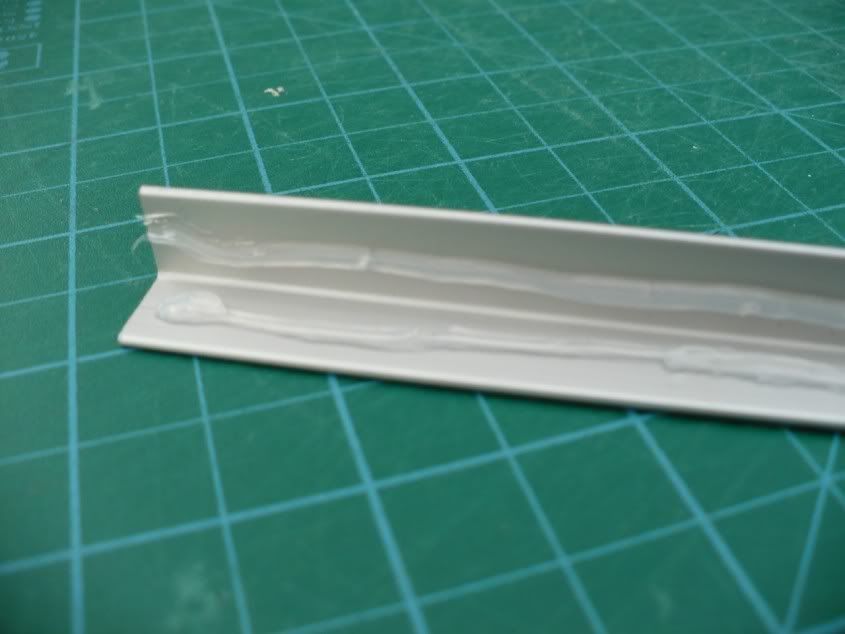 The vertical side pieces are then measured and fixed in place. Leave a slight gap at the bottom of the vertical pieces so that the case fits freely in it’s groove. This is what it looks like when done. 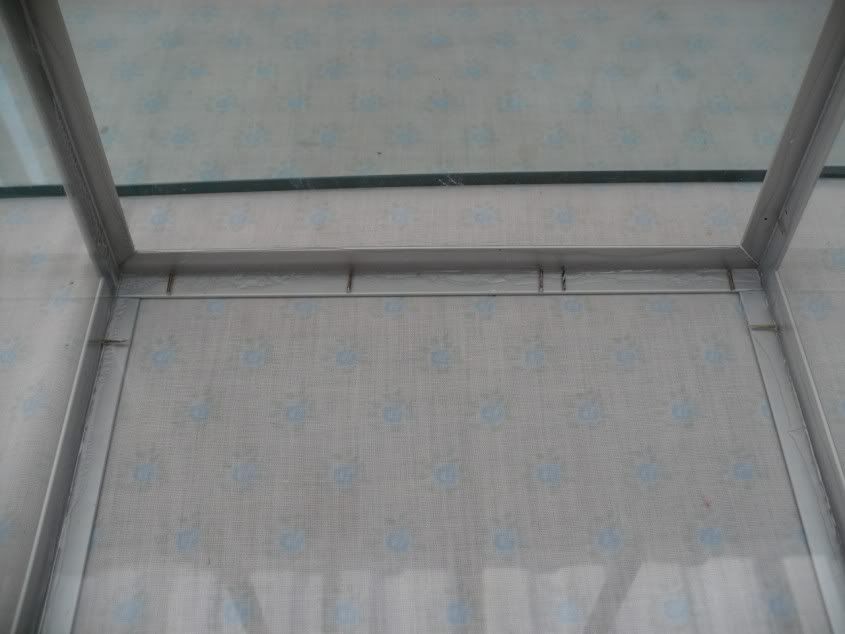 We now “hide” the pins. I found some 9mm adhesive silver tape in a car accessory shop and this was a perfect match for the anodised aluminium. The tape was cut to size and fitted on the inside of the case, covering the parts of the case where the pins showed. 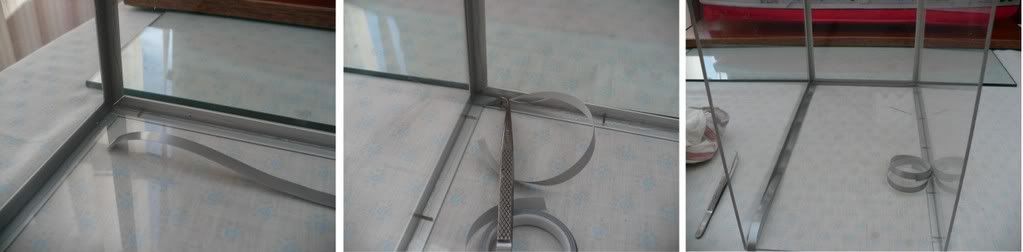 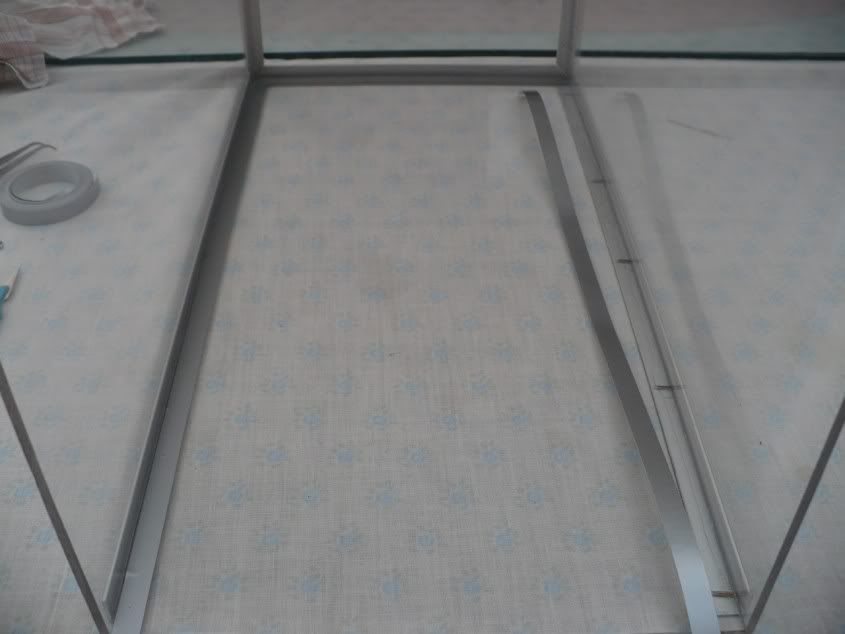 Here is the finished case. 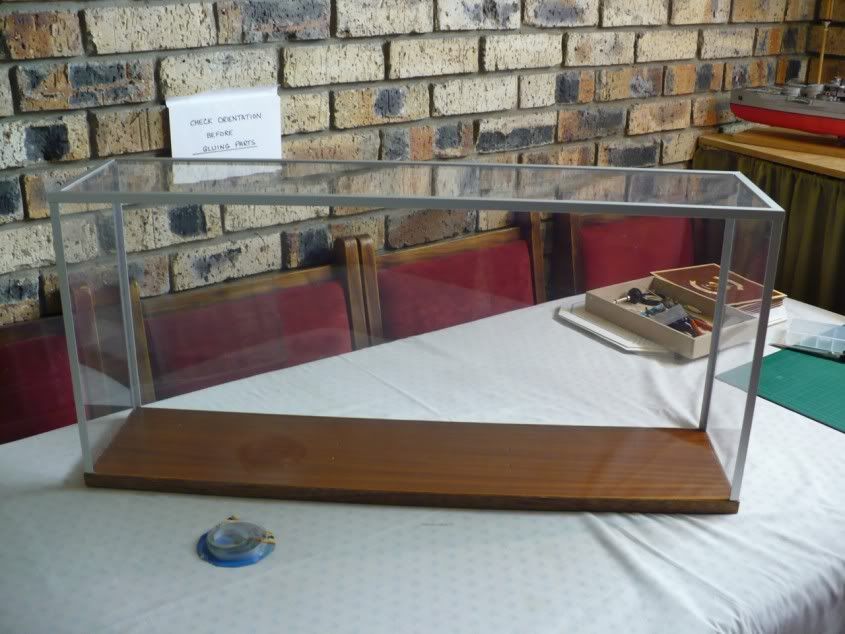 And the finished model. All that is left is a fine tune and touch-up. 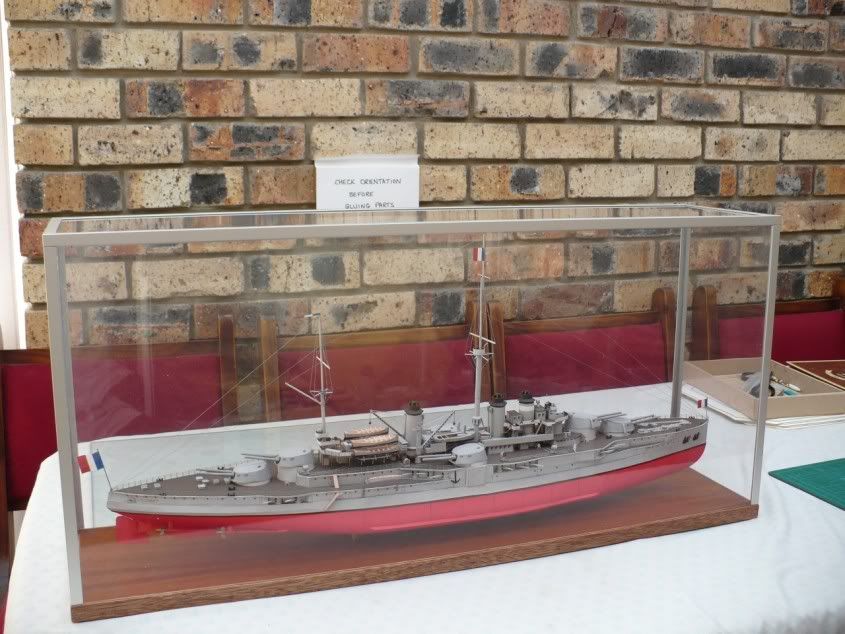 |
|
|
|
Post by alanv on Jun 12, 2008 19:09:49 GMT 1
Nice work on the case Mike. Where do you get the Acrylan from is it a specialist supplier or diy store?  ?? |
|
|
|
Post by nm on Jun 12, 2008 20:37:51 GMT 1
Neat! When's your dad's birthday again?
Any chance of a picture of him with the model?
NM
|
|
|
|
Post by gordon on Jun 12, 2008 21:19:00 GMT 1
Well done Mike. first class job and i'll bet your dad will be over the moon.
|
|
|
|
Post by nemesis on Jun 13, 2008 15:04:10 GMT 1
Excellent work, Mike. That was a master class. Thanks for all the tips, mate.
|
|
|
|
Post by Mike B on Jun 13, 2008 17:33:38 GMT 1
Nice work on the case Mike. Where do you get the Acrylan from is it a specialist supplier or diy store? ?? The Acrilan is made by Amperglas www.ampaglas.com/abs_acrilan.htmland is from a specialist plastic sheeting supplier. I googled "High impact Acrylic sheet" and found this site in the UK. www.quinn-plastics.com/ |
|


 ??
??