|
|
Post by eric on Jul 26, 2007 16:31:22 GMT 1
My hull seemed to have this bend from before I started planking, in fact I left her for several days weighted down AND with a 2mm piece under her bow in order to increase the bend back into place, still no luck. I'm not too bothered, it's so small that even if I can't get rid of it (and I hope I can) I can certainly live with it.
|
|
|
|
Post by bob on Jul 26, 2007 17:00:21 GMT 1
I dont think it will matter too much myself only noticing it on a flat surface when the model is on a stand it wont be noticeable.
|
|
|
|
Post by russ on Jul 26, 2007 17:47:45 GMT 1
oaky i dinno wetehr any one all ready answered my question but if you put wood filler on the 1st planking wont it make the second layer stick out above the resin parts
|
|
|
|
Post by bob on Jul 26, 2007 18:25:56 GMT 1
The idea of using wood filler to fill small gaps or depressions in the hull. you should allow it to dry and then sand it down to the same level of the planks. The smoother the first layer of planks the better the finish when you apply the second layer later on.
|
|
|
|
Post by russ on Jul 26, 2007 20:18:29 GMT 1
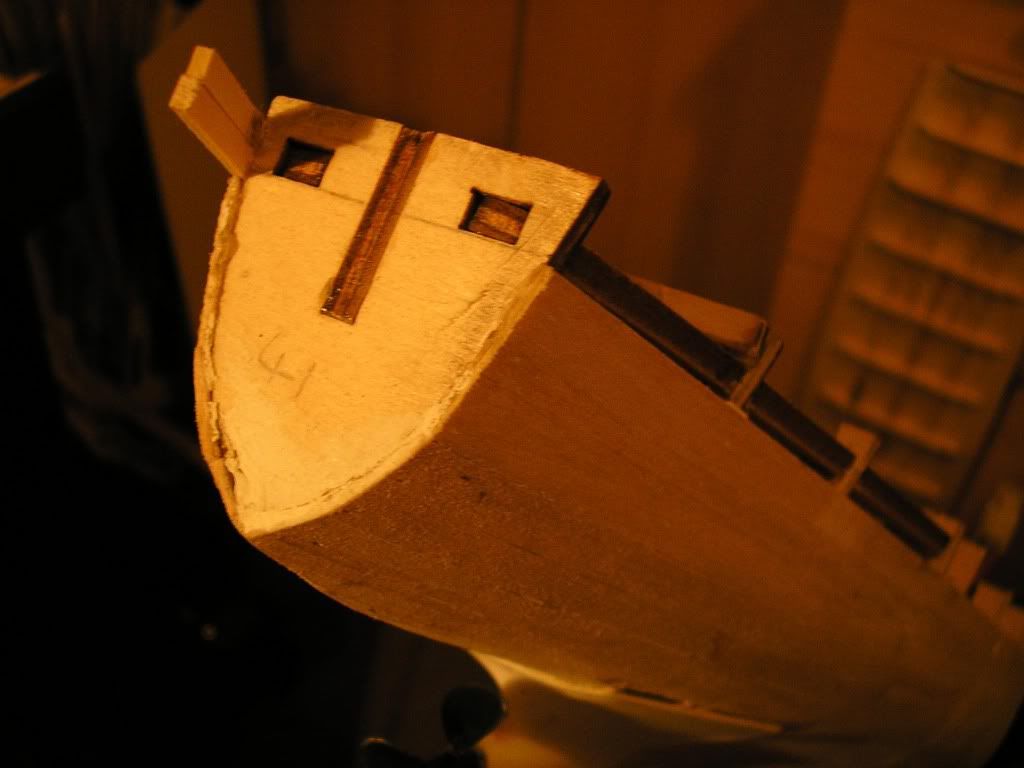
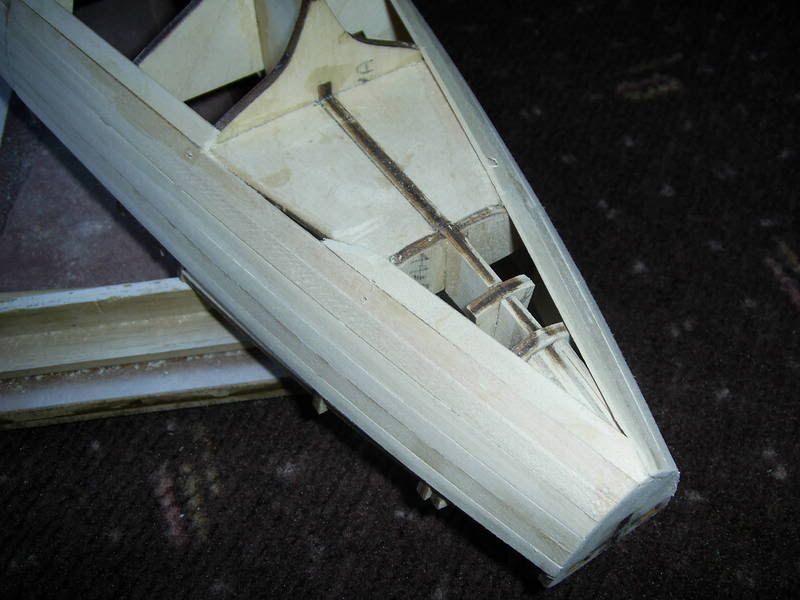
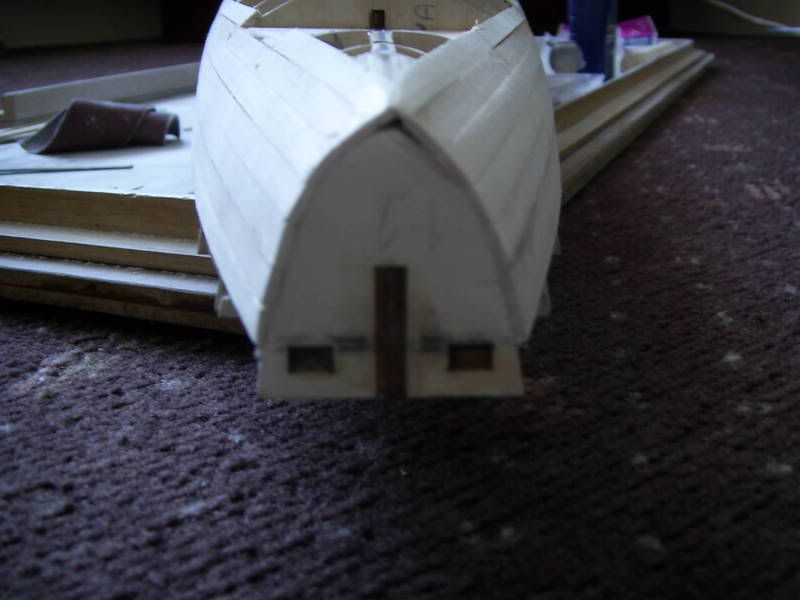
okay thanks for that i know have a nothewr little question can any one show me there stern close up with al the planks on with out the resin part as i think i made a bit of a cock up on mine,(sorry to be a big pain this my 1st build)
|
|
|
|
Post by bob on Jul 26, 2007 20:53:38 GMT 1
There are some pics in the radio control thread of Marcus model I think one will show the resin part . Really no need to stick it on yet unless you are doing a centre prop job. You will have to read through some of the posts they will help. There is a one picture on Page one of German Radio Gear and some more later on. Please note most of these pictures have the second layer of planking done. You could also visit some of the german Sites they have lots of pictures. Really though as I said earlier there is no need to fit the resin stern yet. Stick to the instructions in the Magazine. Also follow Marks build the Model week by week he has a lot of pictures there.
|
|
|
|
Post by swanrail on Jul 26, 2007 21:02:06 GMT 1
 This is a picture of the stern of my model, also has two planks of issue 22 added (port side). (Note; not rubbed down completely smooth yet, waiting for issue 35.) |
|
|
|
Post by eric on Jul 28, 2007 21:20:14 GMT 1
Er.... I know I'm getting a bit ahead of myself here, but when we second plank the hull, do we still stick vast numbers of pin holes all over the blessed hull to secure the planks, or is there some cunning plan involved???
|
|
|
|
Post by russ on Jul 29, 2007 18:14:23 GMT 1
thanks for the stern pic can some one please tell me wether i am doin mine al right please   yet again sorry to be a pain i have been dredding this part for ages |
|
|
|
Post by rem2007 on Jul 29, 2007 18:16:21 GMT 1
Hi everyone, Just awaiting arrival of planking clamps from ebay to start week 11, I have been reading over the pages here and feel confident about the method. As this is my first build of this size I was apprehensive, but after finding this site and others feel more assured, so onward. I was looking at some Canadian webpages earlier for planking clamps as well and they have a metal set with the screwy in bit much narrower for $23.00 a set of 10. As we are going over in a couple of weeks I thought I might purchase a set to compare, just set your yaoo international to canada and search planking clamps its called cast your anchor in toronto
cheers for now, robert
|
|
|
|
Post by napoleon on Jul 29, 2007 21:12:39 GMT 1
Hi Russ,
Pics of stern look OK to me, same as what mine looked like at that stage.
Regards
Napoleon
|
|
|
|
Post by swanrail on Jul 29, 2007 22:25:55 GMT 1
Hi Russ,
just had a look at your pictures and can make the following comments:
At the stern, part 41, the planks should be tight to the frame, not with a large gap.
Solution:
Remove the top plank left hand side, this is too short anyway and should enclose the part D bay, and trimmed down flat (yours shows a large gap where there should be plank).
Next, force the top two planks right hand side tight to the frame part 41.
To do this, put wood glue between the planks and the frame first, tie a tournequet (use string wrapped loosely around the whole of the hull just forward of part 41, then insert a long strong piece of wood, say a pencil, and twist around the loose string until it tightens up, keep doing this until the gap is closed tight, and wedge the turning wood until the glue has dried. With my quick acting waterprrof wood glue by Evo-stik, I would recommend a min of 24 hours).
If all OK, you can then refit a filler plank on the left hand side to completely fill the gaps upto part D bay, this will need to be trimmed down level when glue has set.
Otherwise, you seem to have done an excellant job on the planking, well done!
|
|
|
|
Post by bob on Jul 30, 2007 7:47:49 GMT 1
I am wondering if Russ has sanded down the two keel supports at the stern enough and this is preventing the planks from fitting properly to the stern
|
|
|
|
Post by Achtung!! on Jul 30, 2007 9:39:00 GMT 1
Morning, need a bit of help, how many planks shoudl there be in issue 14. As I think Ihave been short delivered in my mag.
|
|
|
|
Post by Mark on Jul 30, 2007 10:02:07 GMT 1
Morning, need a bit of help, how many planks shoudl there be in issue 14. As I think Ihave been short delivered in my mag. 20 by my reckoning |
|