|
|
Post by rwclancer on Jul 30, 2007 20:24:55 GMT 1
The stern of my ship is turning into a bit of a disaster. I think I will need some filler. Can anyone recommend any? Thanks
|
|
ian
New recruit

Posts: 2
|
Post by ian on Jul 30, 2007 20:37:24 GMT 1
First timer to this forum. Currently as most people are on th hull planking. Been struggling on methods of clamping, getting by on a combination of elastic bands and spring clips but only able to do about 2 a side at a time. Currently 50% through first layer, any suggestions on better clamping methods would be appreciated  |
|
|
|
Post by Achtung!! on Jul 30, 2007 20:45:04 GMT 1
The stern of my ship is turning into a bit of a disaster. I think I will need some filler. Can anyone recommend any? Thanks Sounds like the reverse of what happened to me - my bow went horribly screamingly wrong - I ended up stripping it back and starting again. Is this something that you can do? |
|
|
|
Post by swanrail on Jul 30, 2007 22:20:46 GMT 1
I use a two part wood filler on my model, it acts exactly the same as wood when dry (seconds!), easy to sand, mould, nail, paint etc.
A bit pricy, but I use mine elsewhere on bigger jobs I get involved in, restoration wise!
|
|
|
|
Post by swanrail on Jul 30, 2007 22:26:36 GMT 1
Hi ian,
I use mostly small pins (leftover from Titanic) half driven into the plank to force it tight against its neighbours. When dry, pulled out with pliers. Small hole easily filled and then not noticeable (see my reply re wood filler).
This way, you can put 6 planks per side per day easily (never put more than 2 on "downwards" per session, else you might get a twisted hull - let glues set first.)
This method also improves situation where planks twist as well as turn, often use two pins per frame then, normally one per frame.
|
|
|
|
Post by rwclancer on Jul 30, 2007 22:27:04 GMT 1
Thanks for the advise. I dont think I have the skill to strip and rebuild the stern so it looks like filler. I have also noticed another mistake I have done, I have not left a mm overhang on the bow planks. Will this cause me major problems when I come to fit the resin bow?
|
|
|
|
Post by swanrail on Jul 30, 2007 22:33:22 GMT 1
Think that you will find that the 1mm recommended is sanded back when resin part fitted, if not then wood fill!! (I have sanded mine back anyway, not quite flat, but near enough)
Think it sensible for the resin bit to have max gluing area, not onto the edges of planks!, else it will fall off the first time the bow hits a wall when sailing (or another vessel!).
|
|
|
|
Post by russ on Jul 31, 2007 15:23:59 GMT 1
Hi Russ, just had a look at your pictures and can make the following comments: At the stern, part 41, the planks should be tight to the frame, not with a large gap. Solution: Remove the top plank left hand side, this is too short anyway and should enclose the part D bay, and trimmed down flat (yours shows a large gap where there should be plank). Next, force the top two planks right hand side tight to the frame part 41. To do this, put wood glue between the planks and the frame first, tie a tournequet (use string wrapped loosely around the whole of the hull just forward of part 41, then insert a long strong piece of wood, say a pencil, and twist around the loose string until it tightens up, keep doing this until the gap is closed tight, and wedge the turning wood until the glue has dried. With my quick acting waterprrof wood glue by Evo-stik, I would recommend a min of 24 hours). If all OK, you can then refit a filler plank on the left hand side to completely fill the gaps upto part D bay, this will need to be trimmed down level when glue has set. Otherwise, you seem to have done an excellant job on the planking, well done! Hey well after i posted the pictures i went pback top the model and did the next p[lank up when i cut the parts out for part d i decided tyo make a new slightly more sloped piece for both sides that could be sloted in, the rest odf the planks i was planning on leaving the way they are, unfortunatelly i think i have sanded part 41 down to a dodgy shape which is y the planks dont sit there my soloution for this is to put wood filler in that small hole Also as u will see in one of the poictures below there is little gaps between part D bits of wood filler will hel there i hope 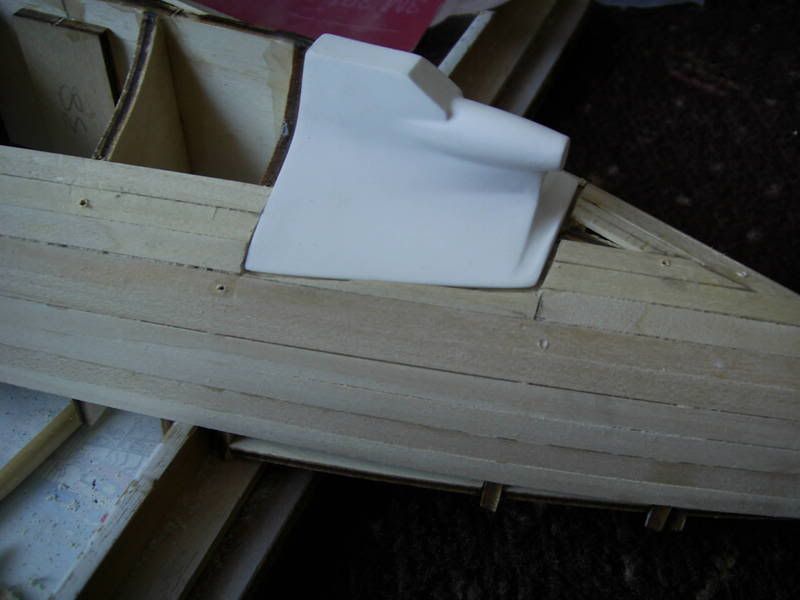 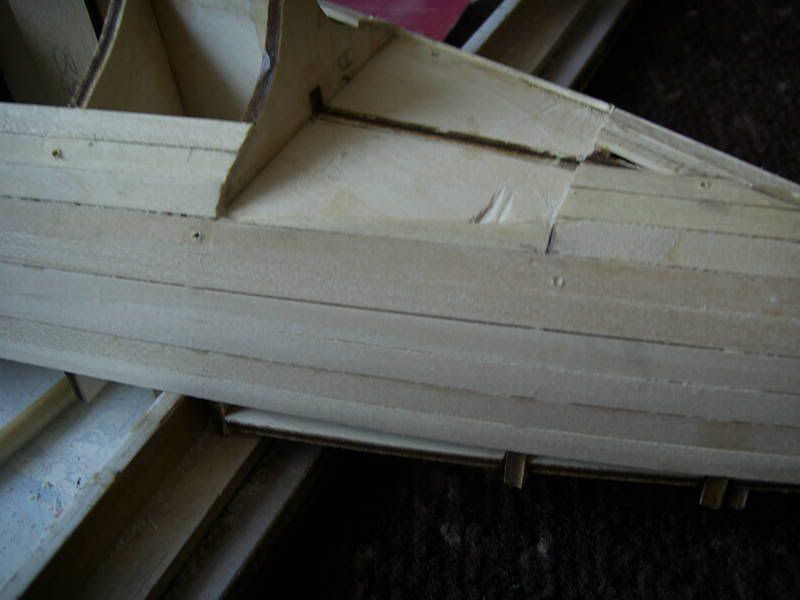 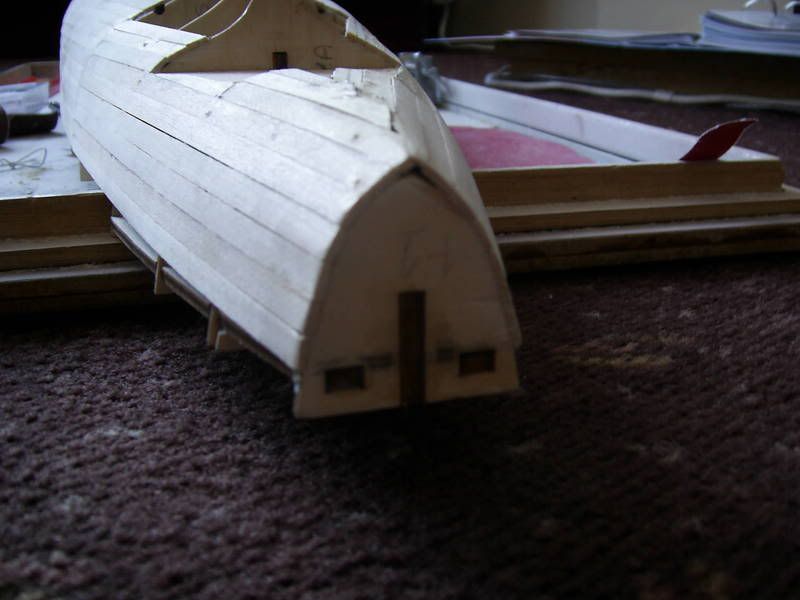 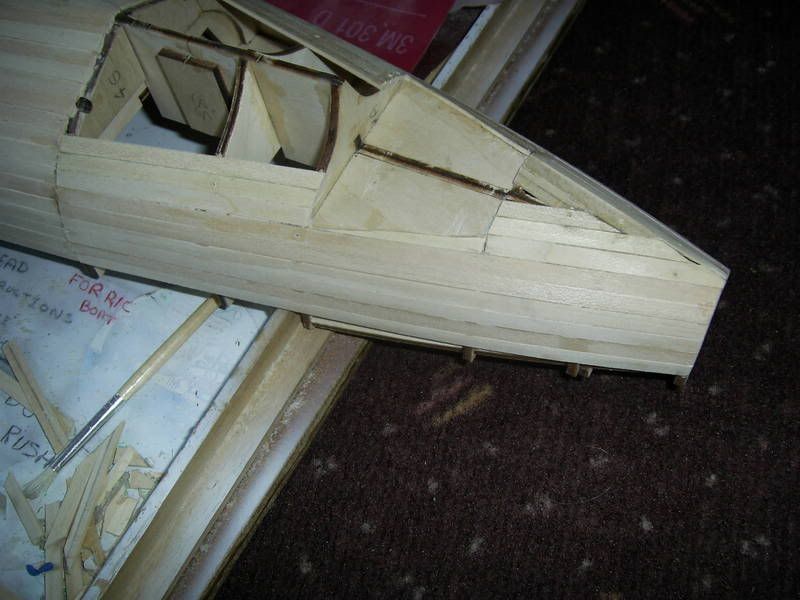 (Sorry for the long message) last quick note i havent finished the stern yet as u can see also the planks need sanding to get the nice shape and little gaps between then fillin with wood filler |
|
|
|
Post by valleydweller on Jul 31, 2007 19:14:36 GMT 1
|
|
|
|
Post by Achtung!! on Jul 31, 2007 19:39:45 GMT 1
Have you tapered the edges of the planks for the bow?Looks like you have.
|
|
|
|
Post by valleydweller on Jul 31, 2007 19:45:10 GMT 1
I started to taper them but got sick of it after the first 20 so no by the time I did the bow they were just edged together and held with the plank clamps recommended here ;D
I did find putting a slight twist in the planks before gluing help place them correctly (you shouldnt need to moisten or steam them either - not that I know how thats done correctly anyway ;D).
|
|
|
|
Post by swanrail on Jul 31, 2007 20:23:45 GMT 1
Hi Valleydweller, you model looks excellant.
On slight query:
is part D slightly raised all round to allow for the second planking? (which will then sit flush with them).
Markus found, and I have followed suit, that it is necessary to put in a plank on the flat part of where part D sits to raise it so that the step is made. You might have already done this, you pictures are not clear enough in his area.
Well done though, the bow looks very good.
|
|
|
|
Post by valleydweller on Jul 31, 2007 20:33:42 GMT 1
Hi Swanrail,
I havent had to raise it (luckily) but I havent glued it down yet either (I'm currently saving up for Markus's setup). I have noticed it doesnt sit completely square on the vertical portion though (as was reported somewhere here).
Dean
|
|
|
|
Post by bob on Jul 31, 2007 21:52:06 GMT 1
Hi Valleydweller,
Your model looks fine, nice job on the planking. Are you planning on three or two motors. I see you drilled out part D, so I guess three. You may have to raise it up 1mm so that the second layer of planks butt up to it. I bought the three motor kit from Markus and was pleased with the quality of the bits plus the motors came pre mounted on the bracket. I used his instructions and they fitted great.
|
|
|
|
Post by eric on Jul 31, 2007 23:43:46 GMT 1
Every one else is doing it, so why can't I?  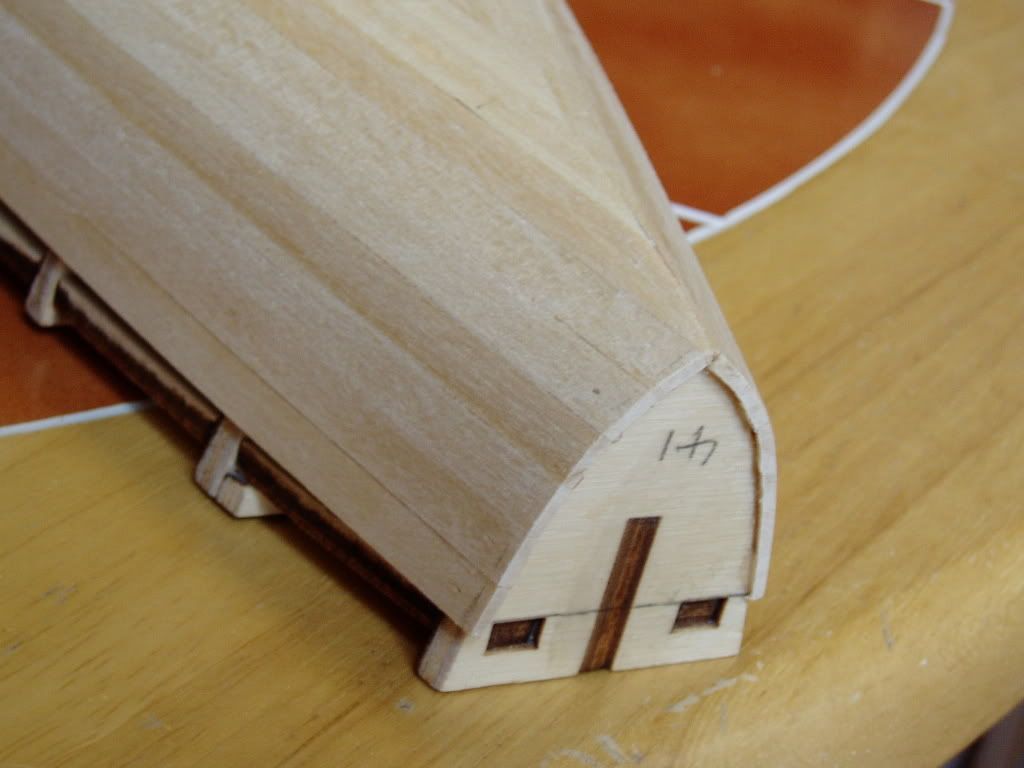 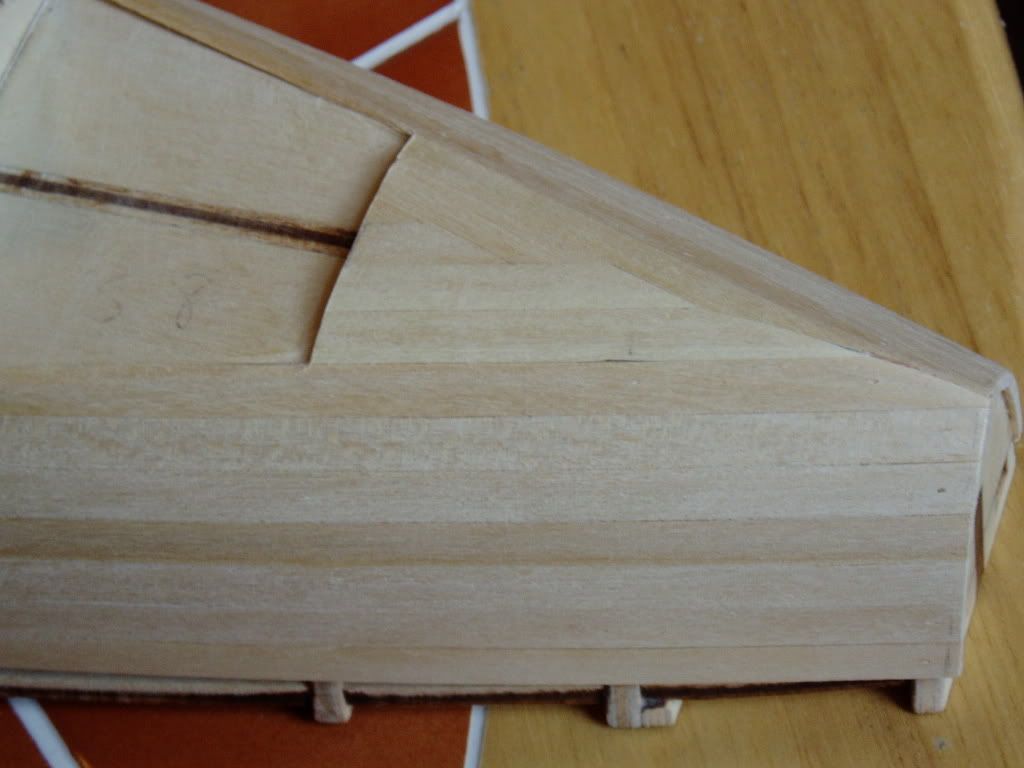 Any Good?? |
|