|
|
Post by nemesis on Aug 4, 2007 11:48:05 GMT 1
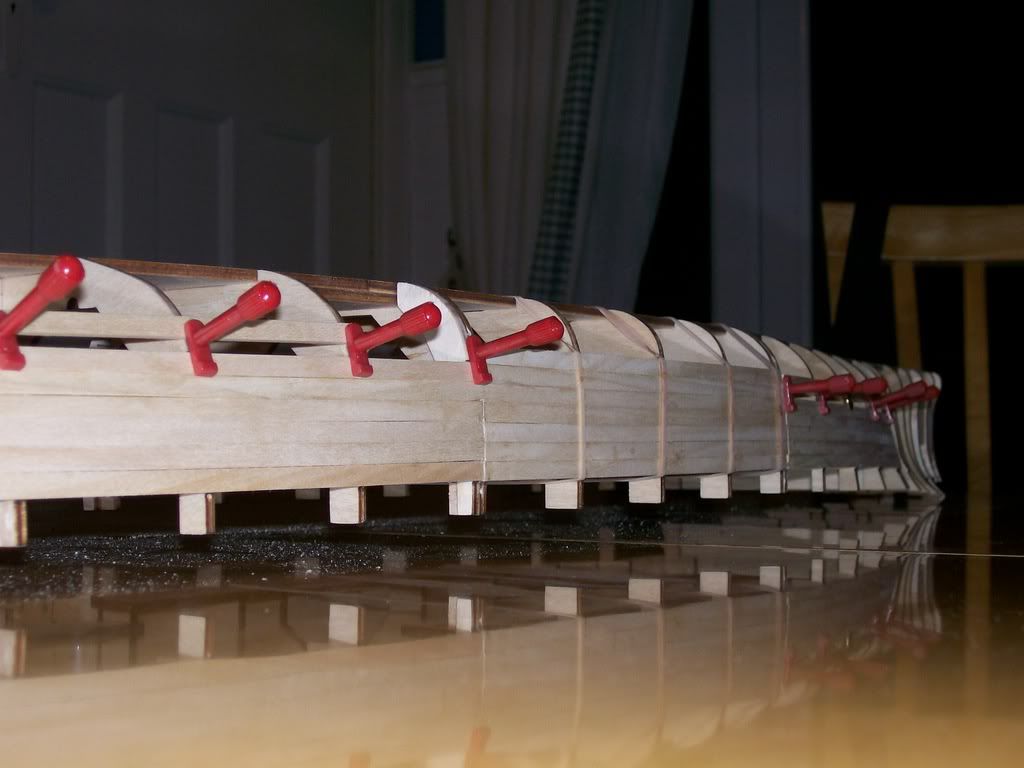
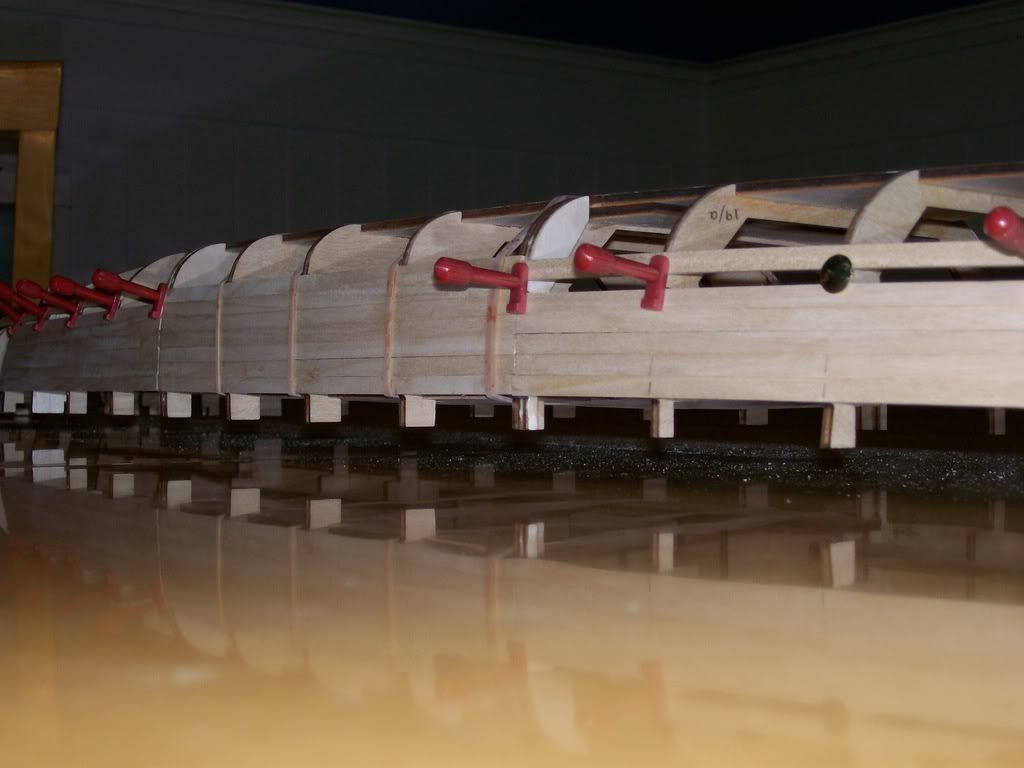
Well I figure I may as well join the club and add a picture of the finished first planking layer on my very first wood build. It's not perfect but for my first attempt I'm quite satisfied with it.  |
|
|
|
Post by Mark on Aug 4, 2007 15:26:17 GMT 1
Give your a pat on the back - nice job.
If I may be so bold as to make a suggestion, it could do with a little more sanding (don't tell me, you haven't finished the sanding yet !!) If your planks went down well (looks like they did) you should be able to get them completely smooth. That will make it easier to fit the second planking.
|
|
|
|
Post by nemesis on Aug 4, 2007 16:26:38 GMT 1
Thanks guys. It certainly is more satisfying than the plastic kits I used to make. Feels more like actually "making" something as against just constructing a collection of parts like a jigsaw puzzle.
As for the sanding, I agree it could do with a little more. I wasn't sure just how far to take it on the first layer. Having never done a project like this before I was concerned about the tolerances involved. I didn't know if I could end up taking too much off the thickness and compromise the alignments with the second layer.
if that isn't an issue, i'll certainly give it another going over.
|
|
|
|
Post by markus on Aug 4, 2007 20:05:50 GMT 1
Thanks guys. It certainly is more satisfying than the plastic kits I used to make. Feels more like actually "making" something as against just constructing a collection of parts like a jigsaw puzzle. As for the sanding, I agree it could do with a little more. I wasn't sure just how far to take it on the first layer. Having never done a project like this before I was concerned about the tolerances involved. I didn't know if I could end up taking too much off the thickness and compromise the alignments with the second layer. if that isn't an issue, i'll certainly give it another going over. well done ! i think you still can sand a bit until all planks have the same height. this gives a better surface for gluing the second layer and also makes the resin parts fit better markus |
|
|
|
Post by rem2007 on Aug 9, 2007 0:24:05 GMT 1
sorted   |
|
|
|
Post by Mark on Aug 9, 2007 4:47:15 GMT 1
Looking good Robert. Clever use of a drawing pin as a planking clamp.
|
|
|
|
Post by eric on Aug 9, 2007 13:59:51 GMT 1
|
|
|
|
Post by napoleon on Aug 9, 2007 20:21:42 GMT 1
Just like to say Eric that your pics are nice and clear and what a smooth job you have done with the stern planking! Must add that rem2007's photos are really sharp, what make camera did you buy?
|
|
|
|
Post by eric on Aug 9, 2007 22:32:04 GMT 1
Kind of like Torbay' .....would like to get up there again sometime,..... this year its home to Canada to see the relatives.....the wife , 3 kids and 7 hours on the plane.....don't know why they call it a holiday....kind of an oxymoron that word holiday, 4 planks tonite and finished week 11 I always say that after a good holiday you need a REALLY good rest!! I've got relatives comming tomorow to stay for some days, my little nephew has a very nasty habit of destroying ANYTHING he gets his little hands on.... Needless to say Bismarck shall be kept out of sight for the duration  Napoleon, try experimenting with light, I always place mine in natural light at the window, not direct sunlight, use the macro setting, disable the flash and use the zoom to get in close. Mine is only a 3.2 meg, but will give good pics if set up right. Well done Chill, look forward to seeing some pics from you? |
|
|
|
Post by Mark on Aug 10, 2007 7:32:17 GMT 1
I've just started a 'photography' thread in the Officer's Mess. Good chatter here and I'd hate it to get lost in the middle of a planking thread  |
|
|
|
Post by eric on Aug 19, 2007 20:02:21 GMT 1
well, I think I have got my hull to sit level, it has spent the last week with a LOT of weight bearing down on it as it sat on a surface with a slight dip in it. The weight was not by its self enough to push th hull down flat straight away, rather it slowly pressed it down flat onto the surface as the hull bent down. It has sprung back slightly, but is still sitting (on a perfectly flat surface) with it's bow and stern 1 or 2mm up. No damage to planking as far as I can see.  |
|
|
|
Post by eric on Aug 28, 2007 12:48:33 GMT 1
I need some clarification please, I am just about to start the planking from issue 22, and looking at the bow, in step 4, it seem they are telling you to put one plank right on the side of the bow deck....that can't be right can it?
I thought the planks would tuck up under the deck.
Could somebody who has already done this section please tell me if i've got it wrong, or just post a photo.
Thanks.
eric.
|
|
|
|
Post by napoleon on Aug 31, 2007 22:01:52 GMT 1
Hi Eric,
I'm still deciding whether or not to follow the instructions re the bow deck. Like you, I feel it would be better to tuck under the deck. Will make final decision over the course of this weekend, hopefully.
Napoleon
|
|
|
|
Post by eric on Aug 31, 2007 22:06:32 GMT 1
I'll post a photo tomorow when all the pins are out, maybe swanrail will be able to tell me if I got it right.
|
|
|
|
Post by nemesis on Aug 31, 2007 23:06:22 GMT 1
It took a few times of reading it but I eventually came to the conclusion that they do in fact mean for us to but the planking up to the underside of the deck. At least, that's what I've done.
|
|