|
|
Post by rushzombie on Dec 7, 2007 14:13:40 GMT 1
ok now it becomes intresting ,the second planking to the rear prop shaft has anyone got any ideas on the planking on this the instructions are pretty vague as to how the planking meets up with the flat section of planking that goes on top of the prop shaft resin piece
|
|
|
|
Post by swanrail on Dec 7, 2007 22:44:00 GMT 1
My second planking behind the centre prop shaft was carried out exactly the same as the first planking. But note that as the resin part for the prop was set lower than the Hachette instructions (see elsewhere as to why this is important), then the bottom of the resin came naturally 1m below the first planking. This means that when the second planking is fitted there is a nice smooth transition between the 2nd planking and the resin.
Note that issue 41, picture 04 shows the plank being laid OVER the resin. This is because Hachette did not lower their resin part by 1mm!!! I think that result shows a horrible finish and not very realistic.
Many thanks to Markus many moons ago for suggesting the inclusion of the 1mm spacer on the resin part!!!
|
|
|
|
Post by swanrail on Dec 8, 2007 12:22:44 GMT 1
This is my stern, completed to 2nd planking, with virtually NO sanding needed: 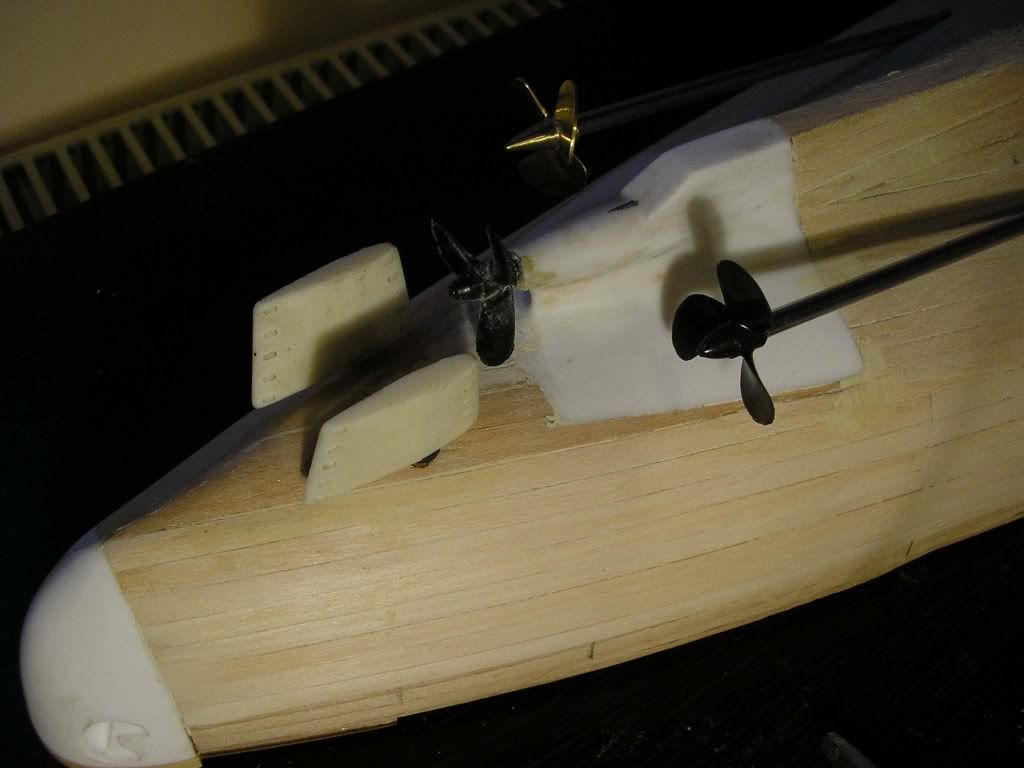 Note that I had to iuse a very small amount of filler to cover slight defects. |
|
|
|
Post by rushzombie on Dec 9, 2007 1:06:24 GMT 1
any chance of posting a piture which goes back a bit further to where the planks taper to the centre
many thanx if you can,ive done a bit but just want to make sure
|
|
|
|
Post by paulhbell on Dec 9, 2007 11:22:45 GMT 1
Looking good there, swanrail. Looks like you have got smooth joins between the resin and the planks.
|
|
|
|
Post by swanrail on Dec 9, 2007 18:07:28 GMT 1
Is this what you want??? 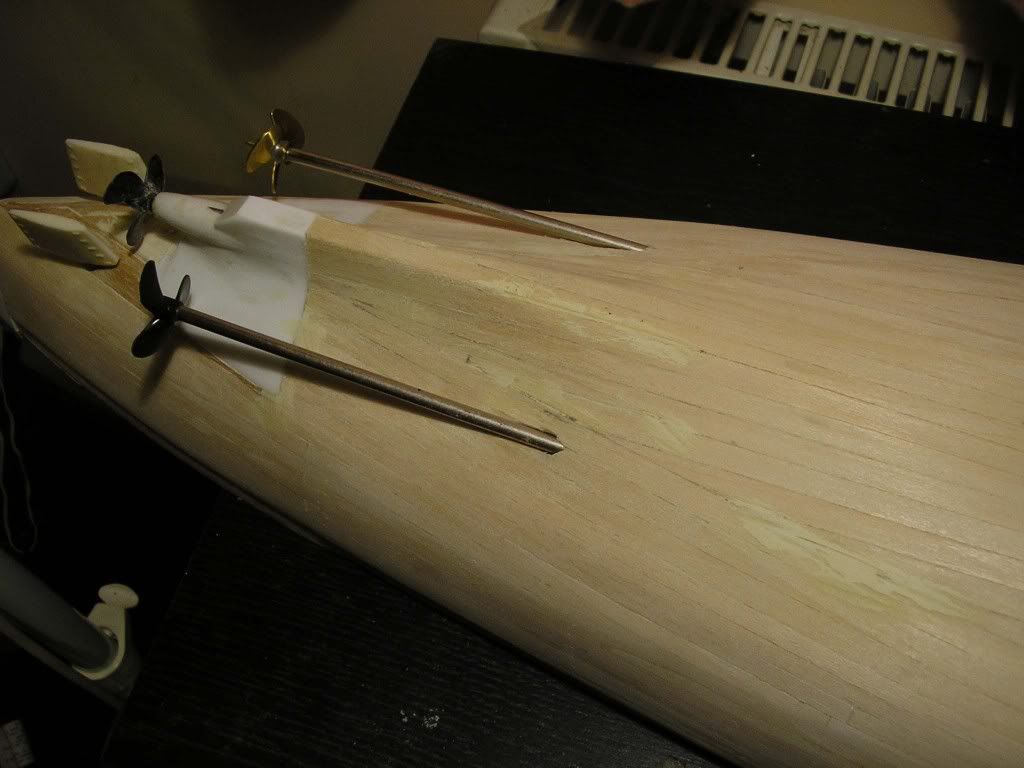 and 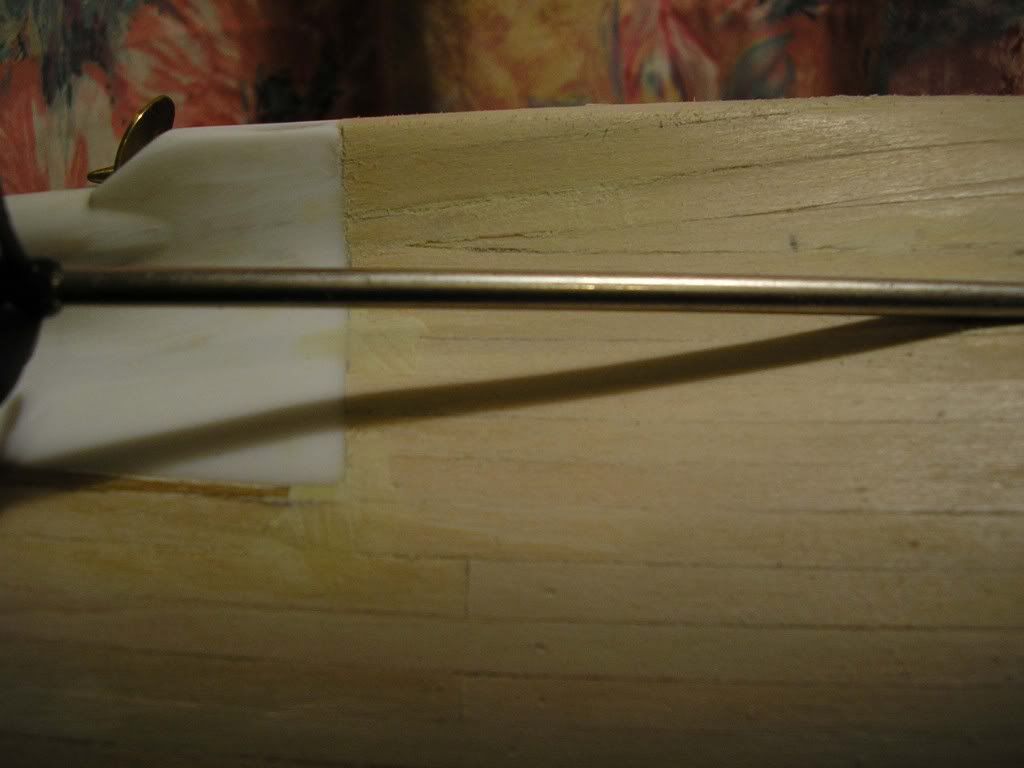 |
|
|
|
Post by Mark on Dec 9, 2007 23:34:33 GMT 1
Excellent Don. Much better than Amati's odd bit of plank going over the top (bottom ??) of the resin part. Note they skirted round the issue of the plank being a bit narrow....
|
|
|
|
Post by rushzombie on Dec 10, 2007 1:22:42 GMT 1
yup thanx thats fine un fortunately i didnt put the 1mm spacer under my resin piece so will have to sort that out , and yes the plank is not wide enough so i guess a bit of scratch building will resolve this matter
|
|
|
|
Post by rushzombie on Dec 12, 2007 1:46:00 GMT 1
well ive done mine now the way of the instructions because i didnt add the 1mm spacer below the resin piece and i gotta say its turned out great ,i,ll post some pics of it as soon as but i,m well pleased with it as i thought i was gonna have a problem
|
|
|
|
Post by Achtung!! on Dec 12, 2007 8:43:36 GMT 1
Im getting upto this part now. Sorry to be a pain but whats this 1mm spacer under the resin piece? Feel daft for asking!!
|
|
|
|
Post by Mark on Dec 12, 2007 9:52:21 GMT 1
The lump of resin (technical term, that !) that has the centre prop shaft is not tall enough. Stick some scrap wood underneath it so that the bottom of the keel is just under 1mm proud of the first layer planks. I.e. so that it's flush with the second layer planks as in Don's photos above. There is a photo showing it on the forum somewhere - can't remember where tho  |
|
|
|
Post by Achtung!! on Dec 12, 2007 10:20:53 GMT 1
Ah thank you .
|
|
|
|
Post by swanrail on Dec 12, 2007 12:22:57 GMT 1
By adding the 1mm spacer, you will also find that the resin juts out beyond the 1st. planking by exactly 1mm!! This lets the 2nd planking fit flush to the resin without any need to sand level, as per my photos.
(I used old planking to make the filler, so as to form a 1mm base for the resin part)
Markus first drew our attention to this many moons ago somewhere else on the forum, with pictures!!
|
|
|
|
Post by swanrail on Dec 12, 2007 12:28:26 GMT 1
Found it!!! See post number 75 in the Hull section, page 6. Markus has a picture highlighting the need for the 1mm spacer.
|
|
|
|
Post by Achtung!! on Dec 12, 2007 13:37:06 GMT 1
Nice one, I assume Markus used normal glue - or was it something stronger to take the weight of the resin part.
|
|