|
|
Post by Baz on Sept 4, 2009 11:10:30 GMT 1
Okay Here are the mods to the side hanger. Bin doin a bit of butcherin' Cut off half of the inside wall of the hanger as you suggested Eric Purchased some brass plate and off I went. Couldn't find my scans, so used a bit of technical cut and check to see if its close. 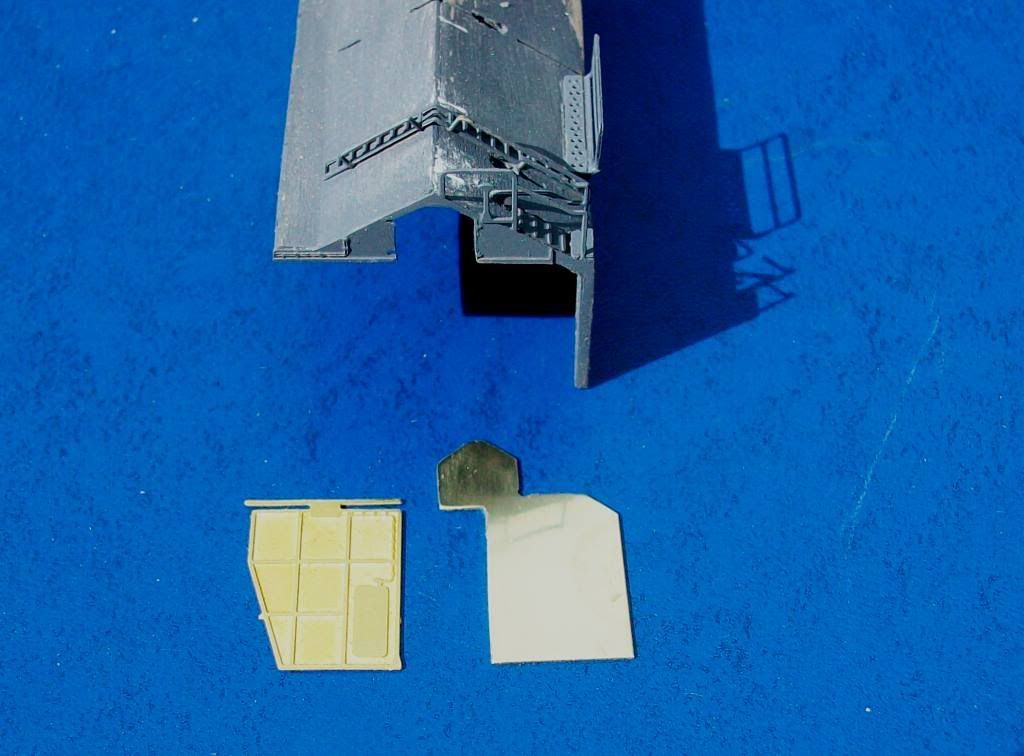 The door completed 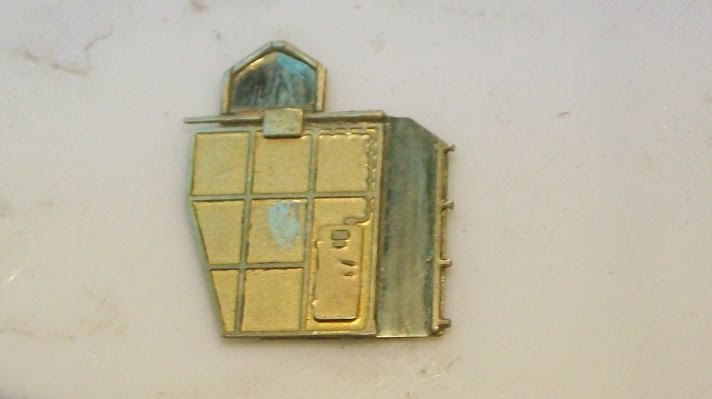 Had to do a test fit 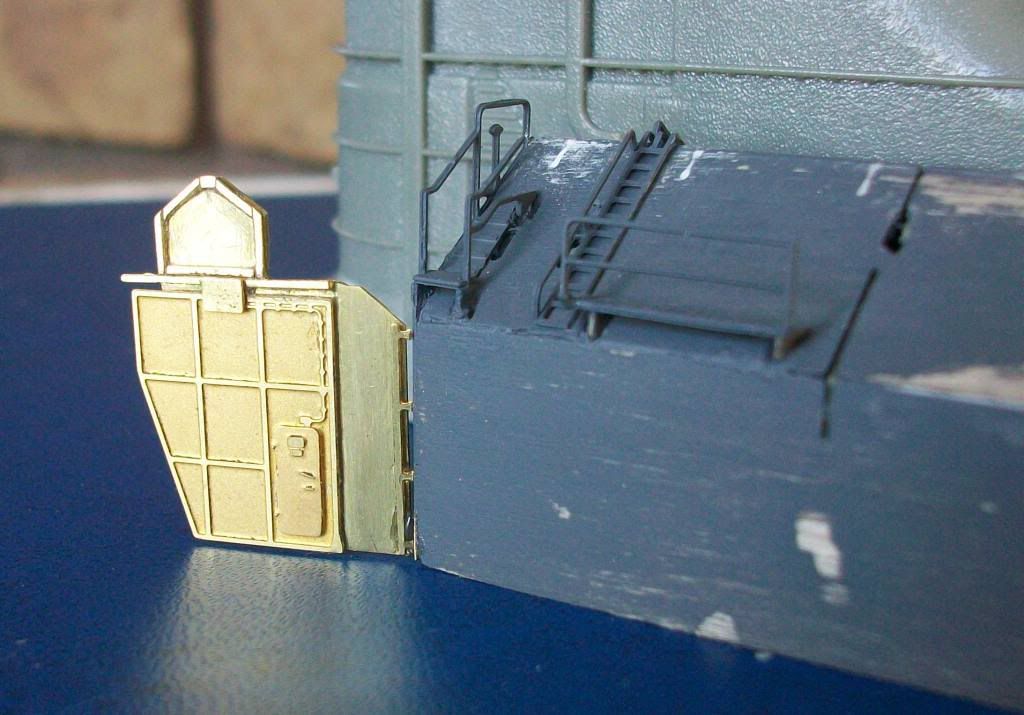 All the brasswork was attached to the hanger before finally placing and gluing the door in position 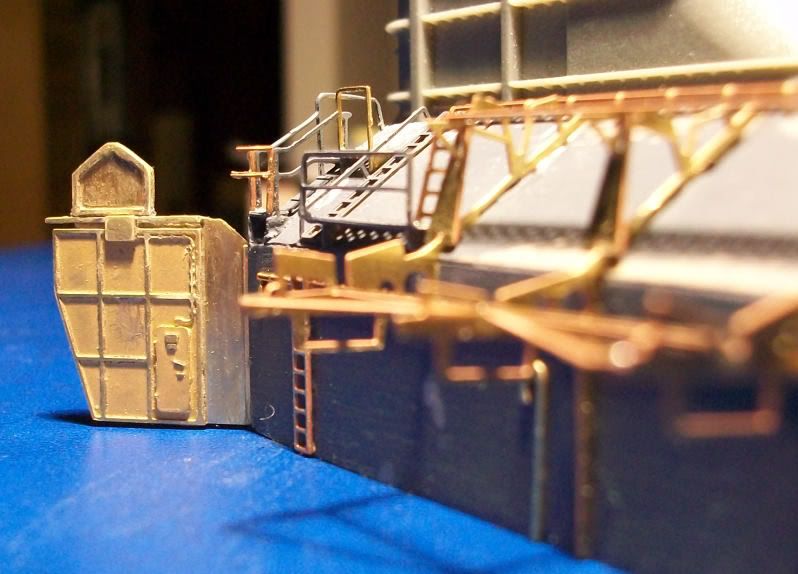 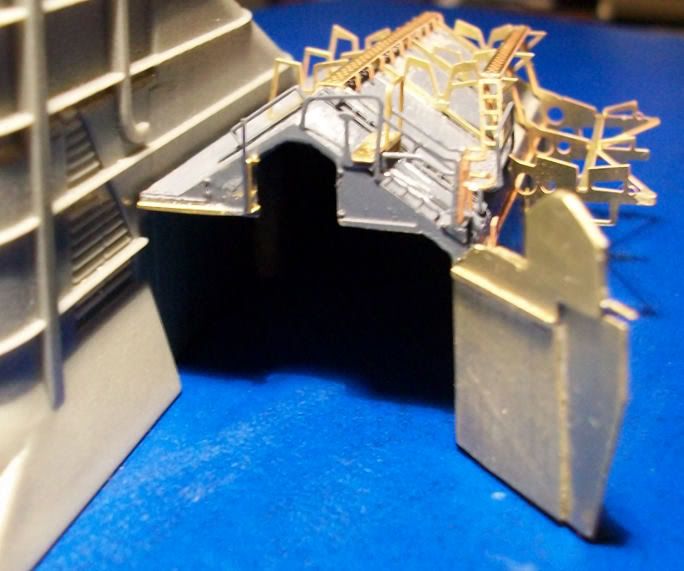 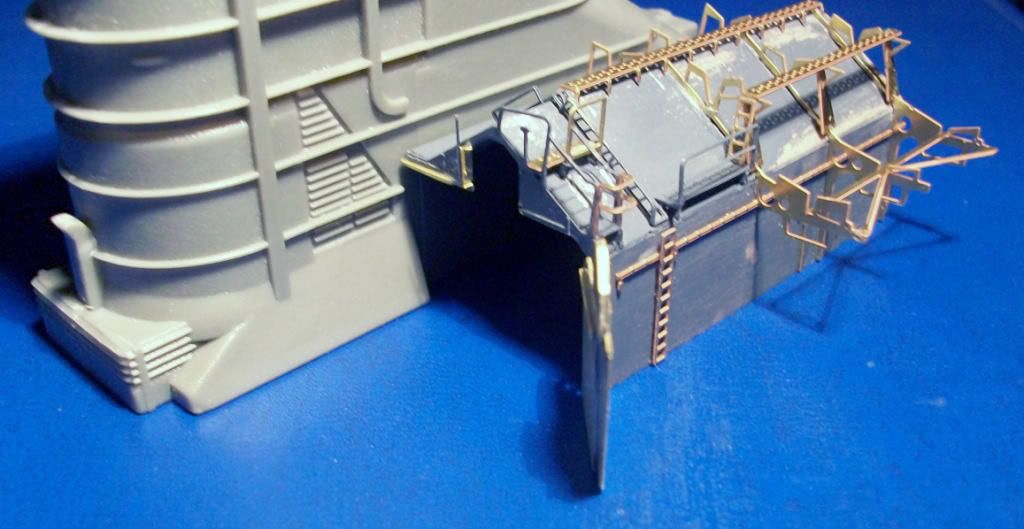 The detail of the brass is excellent. Its time consuming to get it right, but well worth the effort 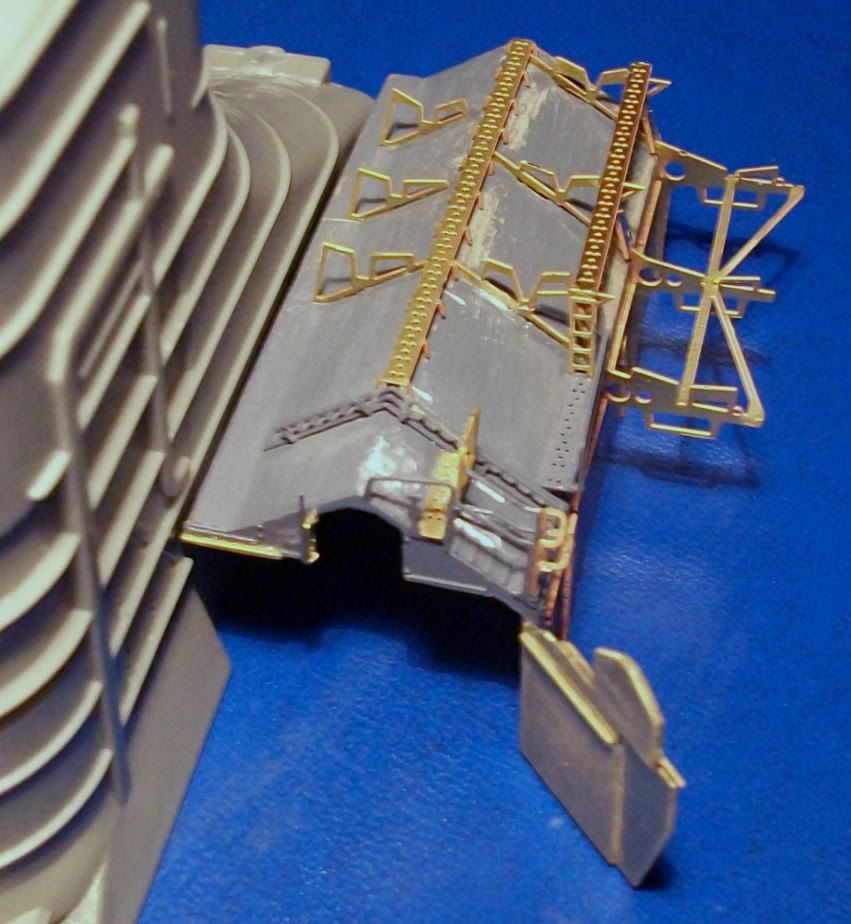 Baz |
|
Deleted
Deleted Member
Posts: 0
|
Post by Deleted on Sept 4, 2009 11:35:33 GMT 1
Looks good Baz, think I'll keep mine as standard.  |
|
|
|
Post by Mark on Sept 4, 2009 12:08:00 GMT 1
Excellent mod Baz. Really looks good
|
|
|
|
Post by mike on Sept 4, 2009 15:55:11 GMT 1
WOW
Thats a super job BAZ well impressed have a K
mike
|
|
|
|
Post by Robert on Sept 4, 2009 17:49:08 GMT 1
Stunning job there, Baz! The big booboo seems to be past history and everything looks like it was issued brand new from Amati. That calls for a K! And thanks for your holiday greetings. Actually, we'll be within one hand reach of Australia, well one arm or more likely one laaarge step. In the Merlion country, with the orchid as emblem on a tiny island... Have spotted the place? The airport's named Changi.  Cheers! |
|
|
|
Post by tigerace on Sept 4, 2009 21:53:14 GMT 1
brilliant work there baz ;D
|
|
Deleted
Deleted Member
Posts: 0
|
Post by Deleted on Sept 5, 2009 0:16:04 GMT 1
In the Merlion country, with the orchid as emblem on a tiny island... Have spotted the place? The airport's named Changi.  I've been there Robert in 2002 for 5 days, nice little island country with the city in a garden. A country by the name of Singapore.  |
|
|
|
Post by Baz on Sept 6, 2009 9:19:11 GMT 1
A coat of primer to check out what needs to be filled and tidied up. All things being considered, it seems to have turned out all right. A bit of rail straightening required and a small amount of filling and sanding.      Baz |
|
|
|
Post by mike on Sept 6, 2009 10:08:32 GMT 1
Looking good Baz
mike
|
|
|
|
Post by Baz on Sept 12, 2009 8:06:33 GMT 1
Saturdays update. issue 108 I will wait until I have all the ship's boats before painting and gluing. May as well do it all in one hit. Bin doin a bit of research on the funnel cap , but could find not one picture of the actual Bismarck showing the funnel top detail. Peter Beisheim seems to have completed some comprehensive research - ref his notes at the bottom of this page www.bismarck-class.dk/shipmodels/german_models/bismarckbeisheim.htmlLooking at photos the cap does seem to be a bit metallic in appearance. Will ponder this and not attach it to the body of the funnel until I take the painting plunge and ....just... do it ! Photos below show the start of my funnel mods 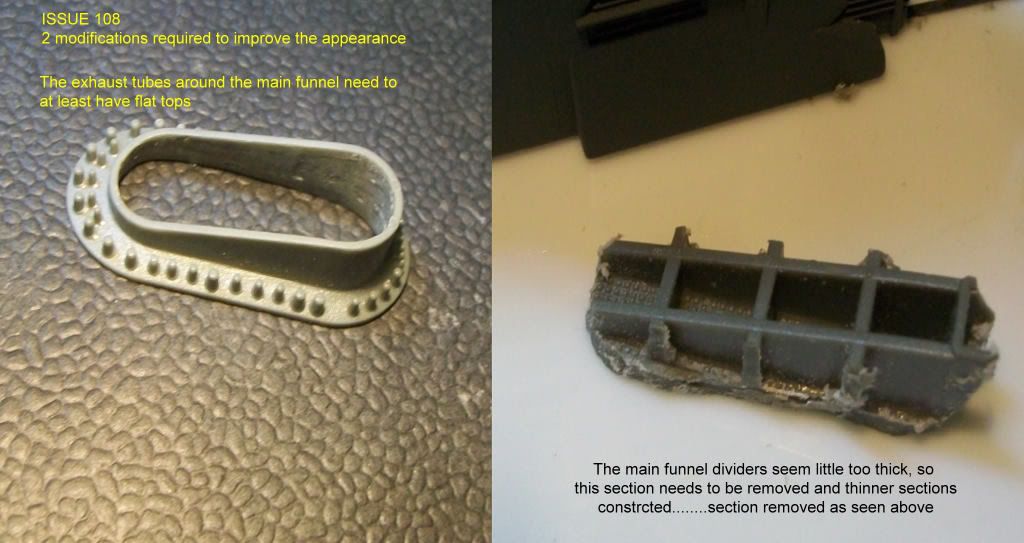  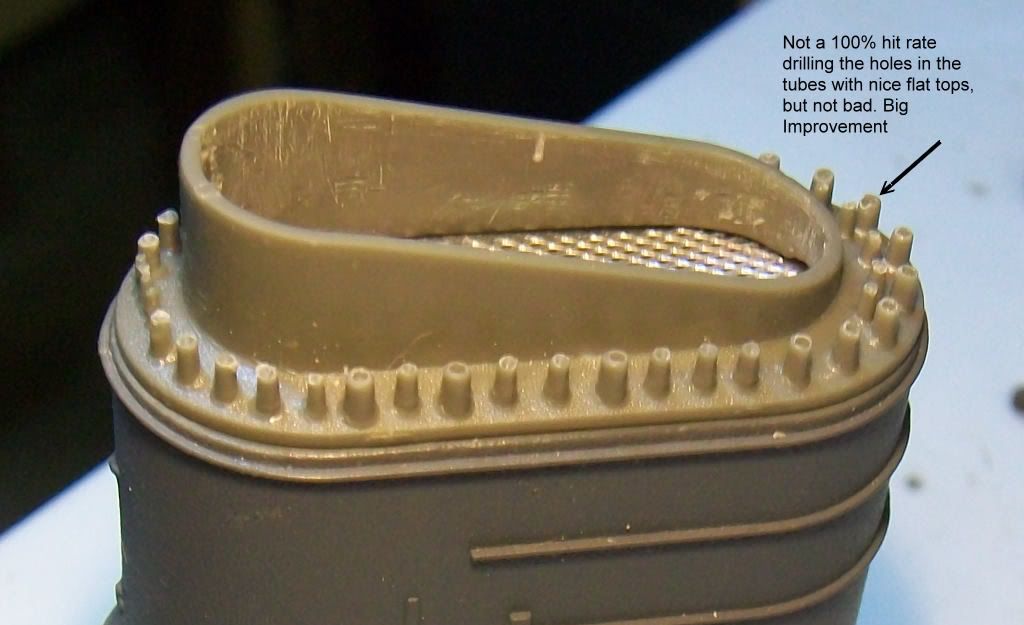 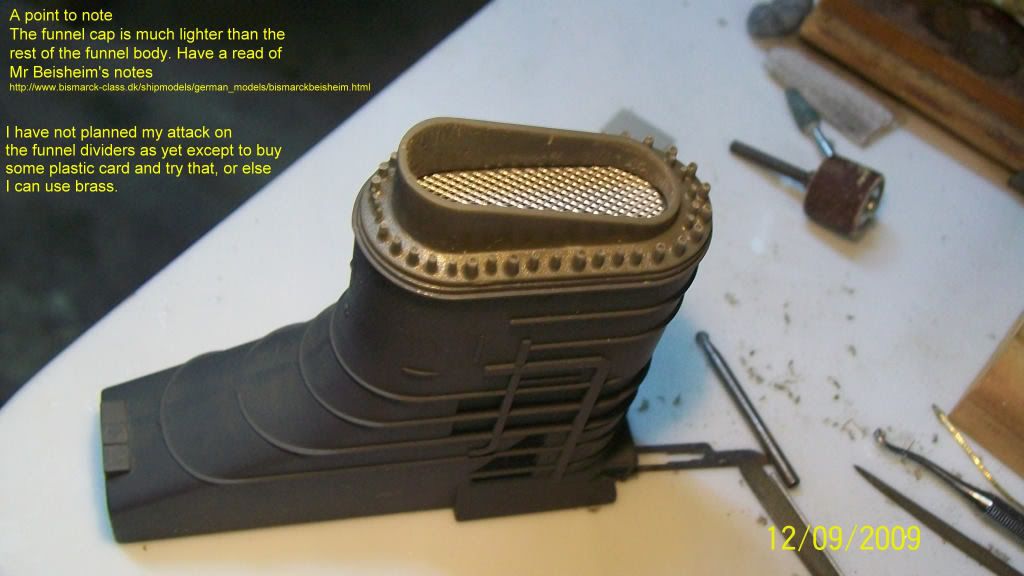 Baz |
|
|
|
Post by Baz on Sept 13, 2009 13:15:16 GMT 1
Weekend over.......... Kiwis beaten by Springboks at Union Silver Ferns cleaned up by Australian Diamonds at Netball.      All in all, not a great sporting weekend ......  But, lots of rain and the water tank is almost overflowing, so at least some positives......  Spent some time (many hours) in the shed (doghouse) and finally completed the funnel cap. In the end, I used plastic card for the funnel dividers and some fine wire discarded by my daughter. Just need to paint it now 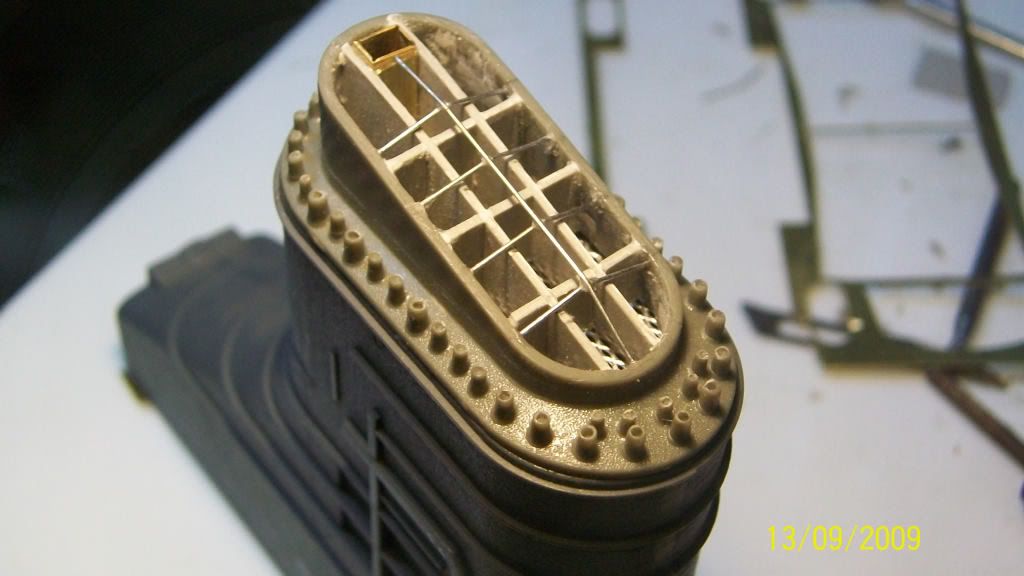 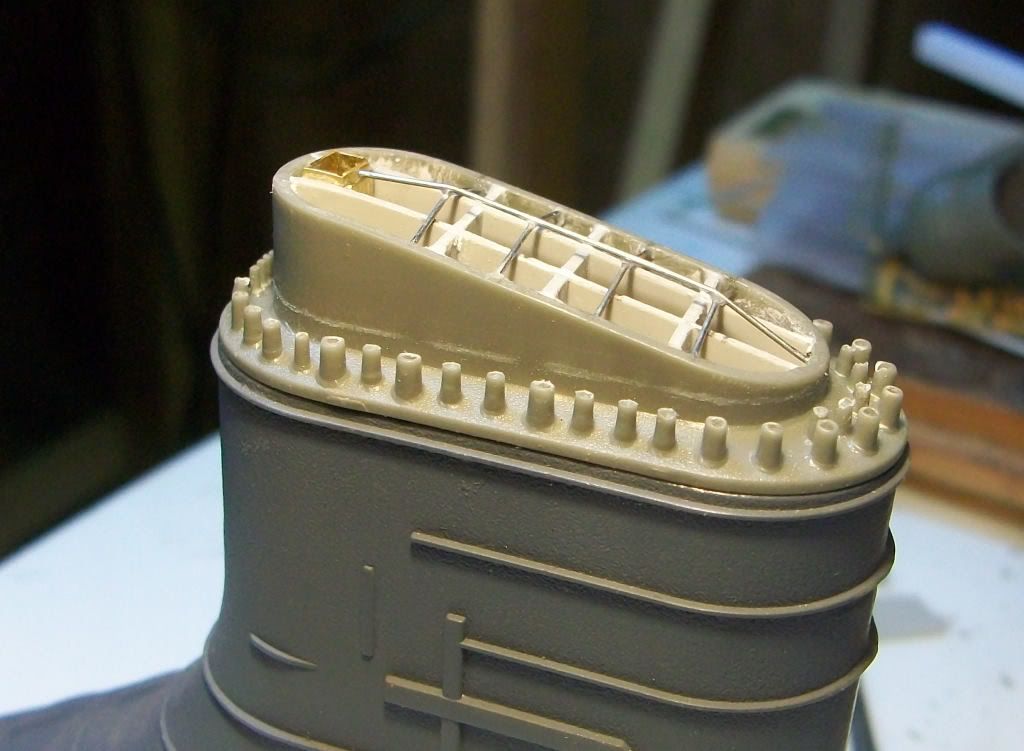 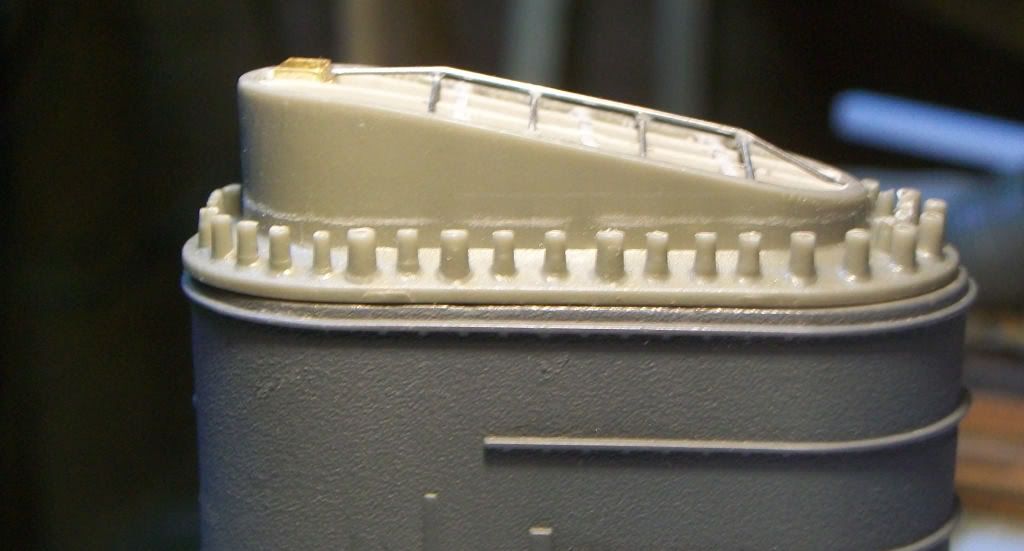 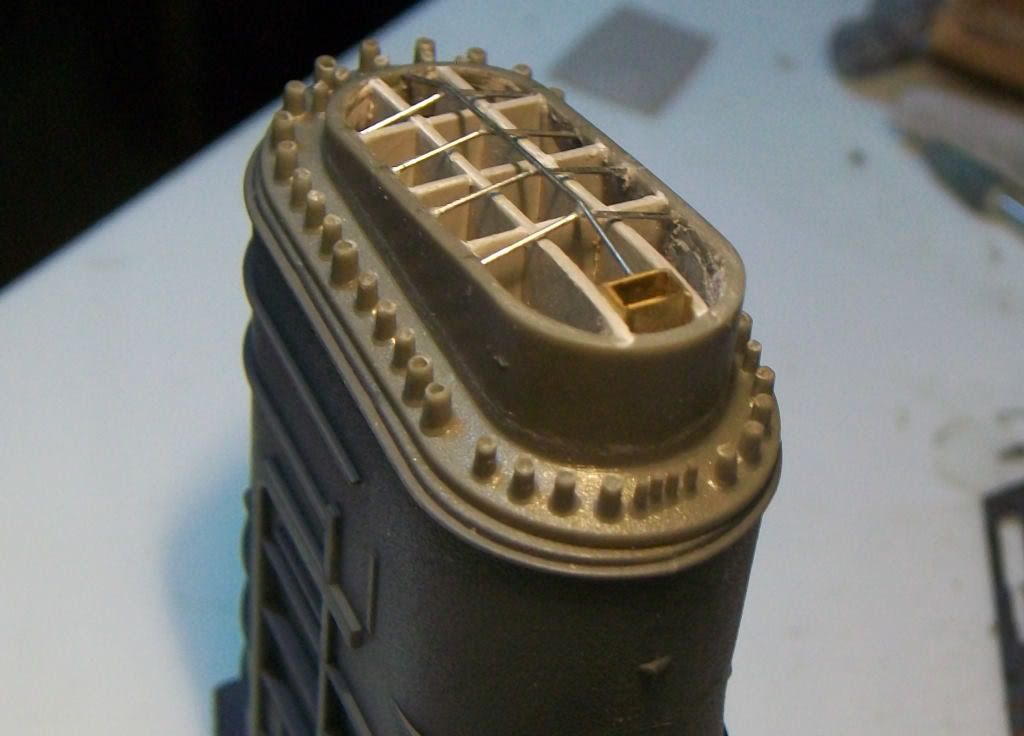 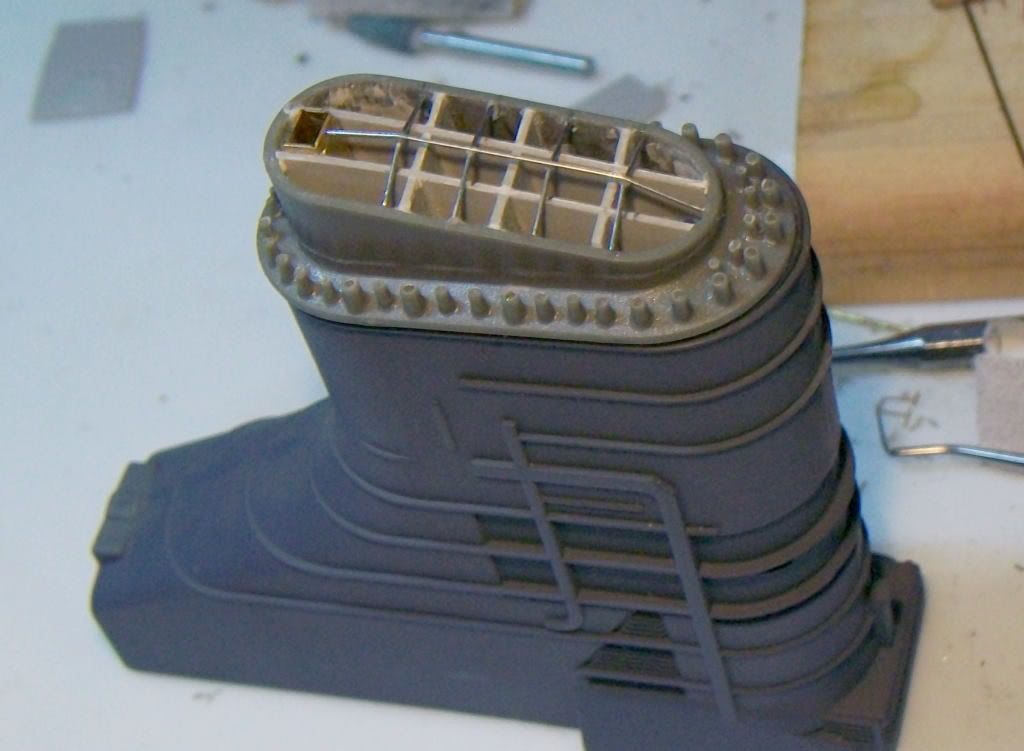 Baz |
|
|
|
Post by Mark on Sept 13, 2009 13:47:22 GMT 1
Nice extra touch of detail Baz. Did you manage to find any reference photos ?
|
|
|
|
Post by Baz on Sept 13, 2009 15:12:33 GMT 1
Nice extra touch of detail Baz. Did you manage to find any reference photos ? Hi Mark I've searched high and low without any real success In the pages of the partworks magazine there are 2 interesting pages....... if you look carefully Page 82 shows the the framework above the funnel cap and page 181 shows aview of the funnel from the main citidel. Apart from that, there is not much else. I have made my frame from the page 82 photo. Bit of guesswork and supposition really As for the funnel sections ....... I have reproduced the Amati (partwork) configuration. Baz |
|
|
|
Post by rem2007 on Sept 13, 2009 16:11:08 GMT 1
Very nicely done Baz..
|
|
|
|
Post by Mark on Sept 13, 2009 23:05:25 GMT 1
Have you got a copy of Anatomy of a Ship, Bismarck ? That shows a plan view and elevations of the funnel. Looks like you've got it pretty close. The drawings in the book don't show the wire you've added, but they are fairly clear on the photos.
There is also a handrail round the top of the funnel, if you feel like adding some really fine detail ! You can see it on the photos if you look really carefully !!
Excelent job - have a K
|
|