
Post by Baz on Jul 16, 2008 13:32:51 GMT 1
Thanks for the encouragement guys.
Getting almost no net time at the moment, so just a quick update
Trying to recreate the anchor well and rings, I copied as many photos of the area as possible, including an excellent wreck shot, used them as reference and guestimated it from there.
As you did David, I used wire guides to try and keep the hoops similar. And my word, your planking is immaculate. Congrats mate
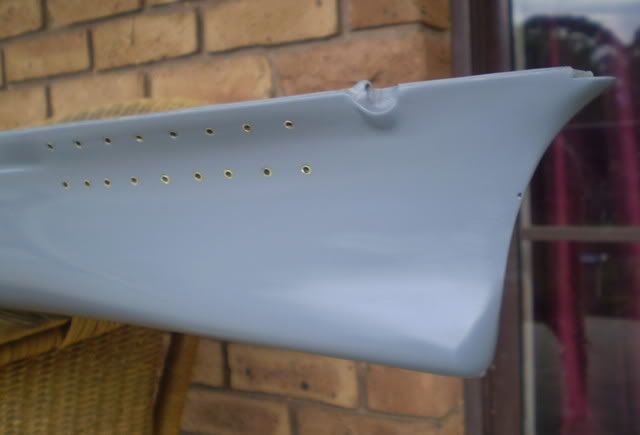
As for the bow section, I initially used a considerable amount of filler between the planking and the resin bow until I twigged (studying the ship’s bow photos) that the piece supplied was very blunt and rounded.
By sanding the filler and resin piece together, by the time I was back to the wooden planking, I had a bow that resembled the actual ship.
One interesting problem I have been struggling with over the past few weeks
The supplied limewood timber planking is quite susceptible to moisture.
I have bottom and edge glued each hull plank, using map pins to temporarily secure them in place until the glue dries.
The planks on the hull still move if taken from one area to another where there is a change in moisture content –eg 2 days in the garage, 2 weeks in the house.
It has proved to be quite frustrating.
This has continued to be a problem with spraying - wet, dry,wet, dry etc.
I have cheated in this department and used the talents of my daughter’s boyfriend who is a car spray painter.
The first 3 coats of primer have been quick dry and sprayed on with a professional gun that has droplets just a gnat’s larger than an airbrush.
This last coat, that is until further detail is added, is a 2 part epoxy primer that takes 24 hours to harden.
The photos are at this point. I have not attempted any sanding – yet.
But the finish is very pleasing.
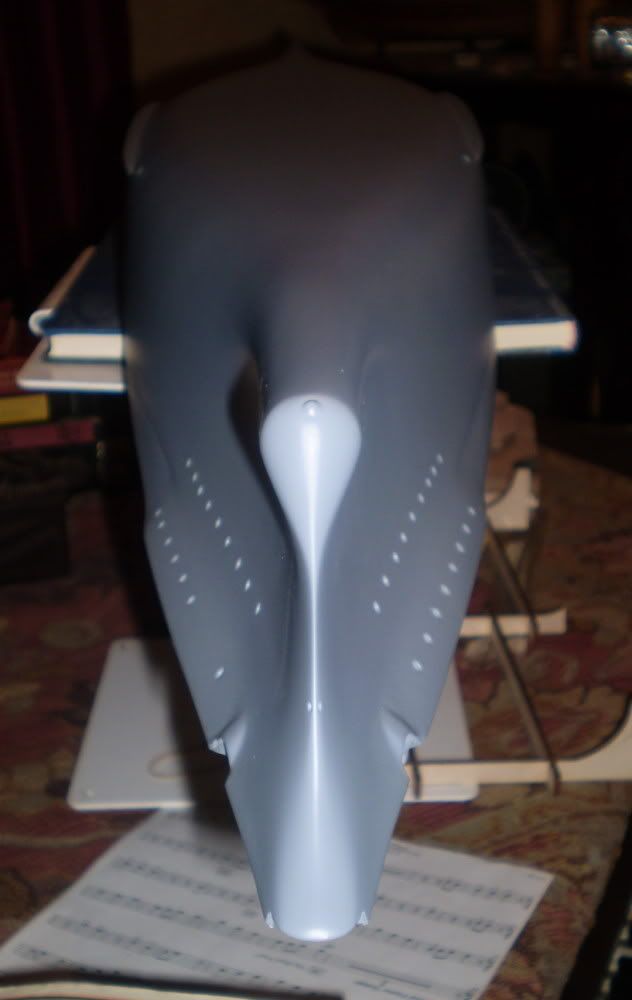
This first pic is after primer coat 1
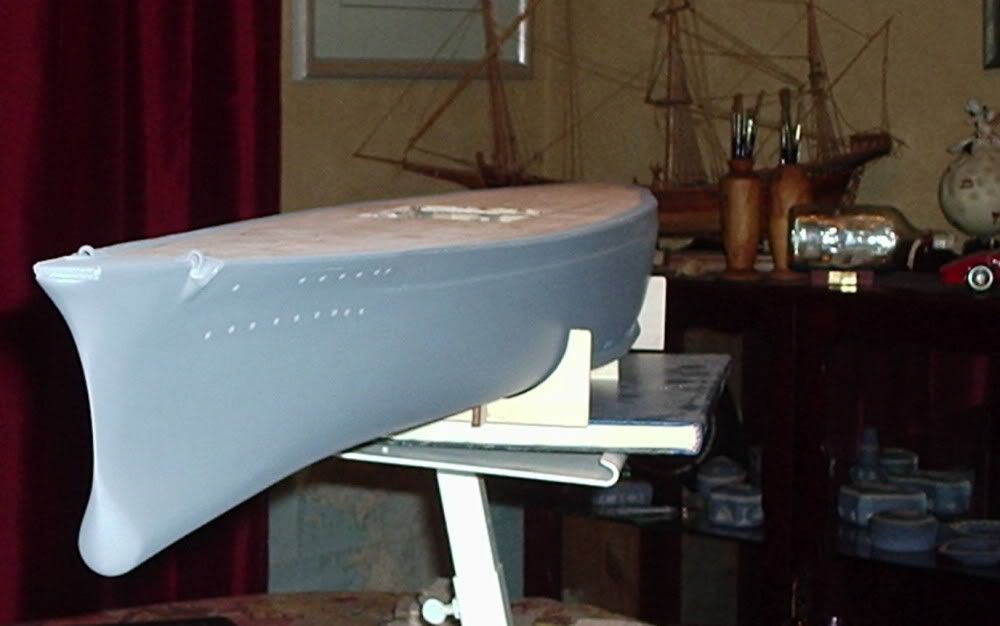
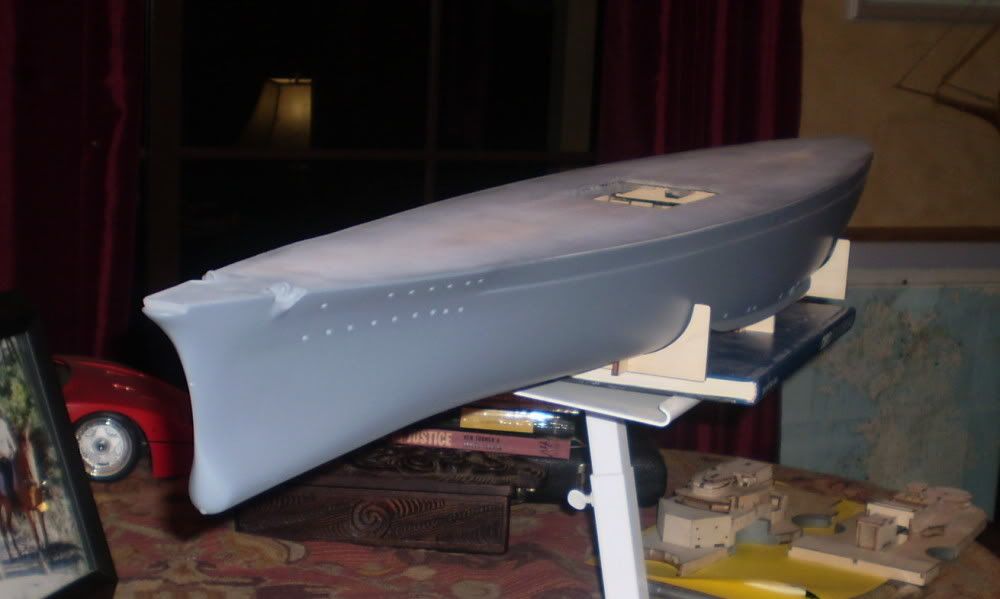
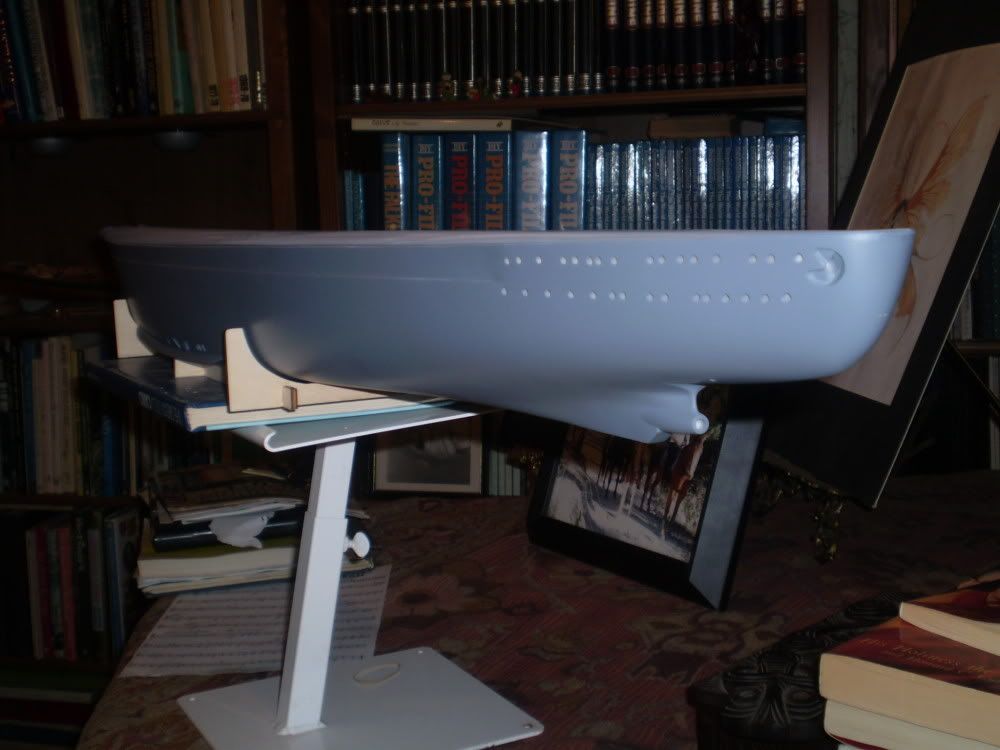
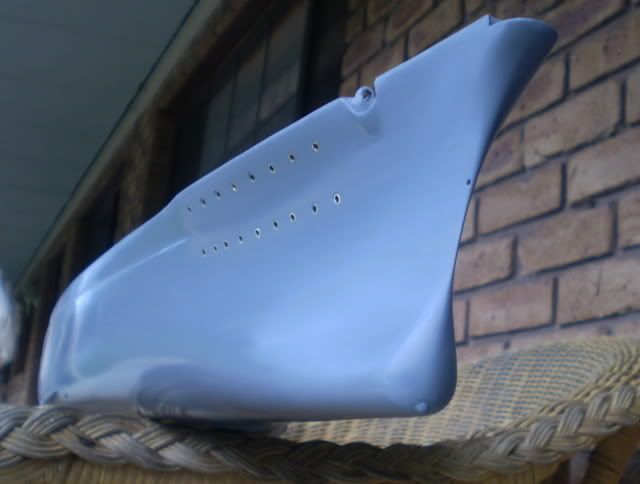
The rest are with the 2 part epoxy primer
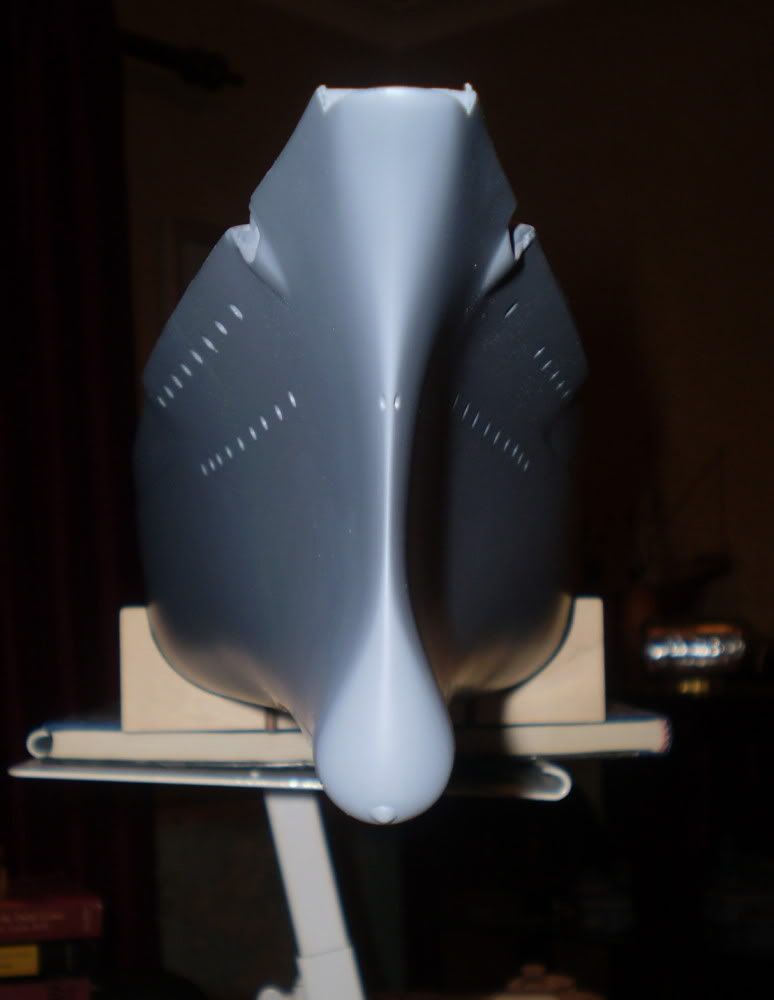
Note on these bow shots I have added the bow paravane cap and the bouy attachment hole.
Pretty hard to see.
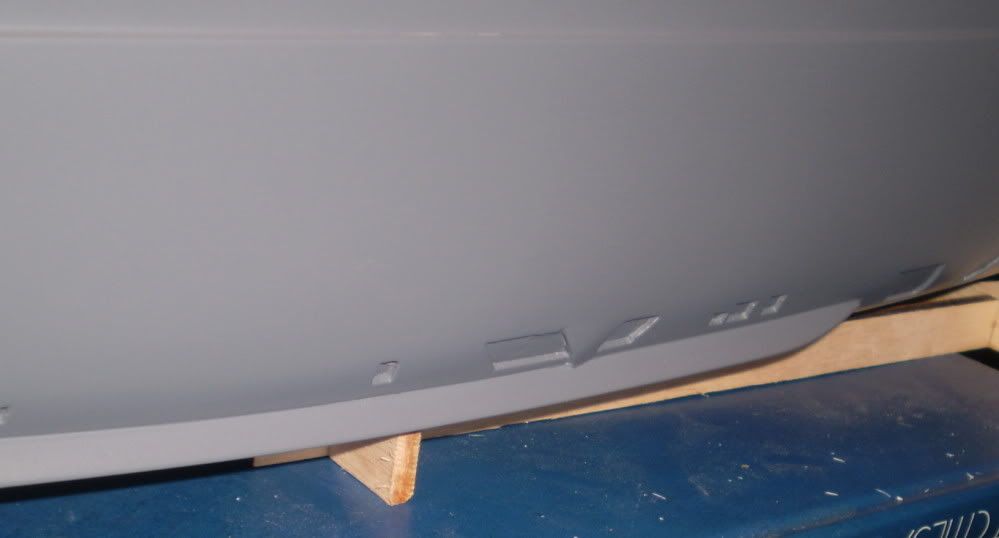
Final photo is the midships fiddle
Baz
Getting almost no net time at the moment, so just a quick update
Trying to recreate the anchor well and rings, I copied as many photos of the area as possible, including an excellent wreck shot, used them as reference and guestimated it from there.
As you did David, I used wire guides to try and keep the hoops similar. And my word, your planking is immaculate. Congrats mate
As for the bow section, I initially used a considerable amount of filler between the planking and the resin bow until I twigged (studying the ship’s bow photos) that the piece supplied was very blunt and rounded.
By sanding the filler and resin piece together, by the time I was back to the wooden planking, I had a bow that resembled the actual ship.
One interesting problem I have been struggling with over the past few weeks
The supplied limewood timber planking is quite susceptible to moisture.
I have bottom and edge glued each hull plank, using map pins to temporarily secure them in place until the glue dries.
The planks on the hull still move if taken from one area to another where there is a change in moisture content –eg 2 days in the garage, 2 weeks in the house.
It has proved to be quite frustrating.
This has continued to be a problem with spraying - wet, dry,wet, dry etc.
I have cheated in this department and used the talents of my daughter’s boyfriend who is a car spray painter.
The first 3 coats of primer have been quick dry and sprayed on with a professional gun that has droplets just a gnat’s larger than an airbrush.
This last coat, that is until further detail is added, is a 2 part epoxy primer that takes 24 hours to harden.
The photos are at this point. I have not attempted any sanding – yet.
But the finish is very pleasing.
This first pic is after primer coat 1
The rest are with the 2 part epoxy primer
Note on these bow shots I have added the bow paravane cap and the bouy attachment hole.
Pretty hard to see.
Final photo is the midships fiddle
Baz


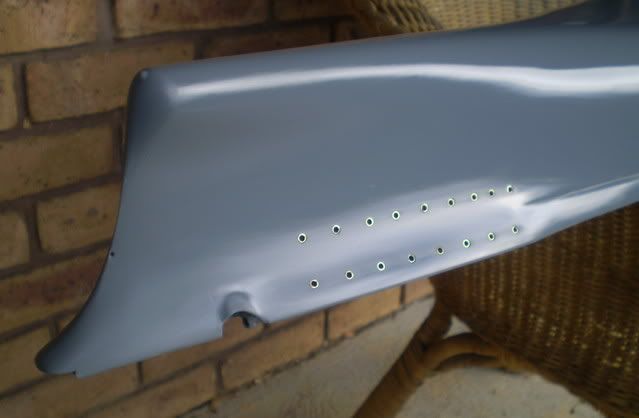

 . How did you do your portholes ??
  or perhaps the skill also , I only have a Bosch power drill and plyers with a few plastic clamps and the help of my wife`s steady hands when I need something held still
  . But I must admit your refinements to the model are a joy to behold Baz .