|
|
Post by netties on Jun 11, 2009 19:28:32 GMT 1
WEEK 54 & 59
Received the first catapult, this was easy as the second one has been done. Soldered the parts together for stability / strength. Week 59 easy and both parts being painted today. next week is the first of the printed decks, hopefully the quality is good.
|
|
|
|
Post by netties on Jun 18, 2009 5:32:31 GMT 1
WEEK 60
Received the first of the printed decks and they are good. I will glue the sides and paint them to get this particular stage done. Have painted hangar black inside. Looking good so far.
|
|
|
|
Post by netties on Jun 19, 2009 0:26:47 GMT 1
WEEK 60Put the parts together to get an idea of how its looking. I filled the gap under the ramp where the wood panels go with filler so that if I accidently push on this part in later assembly - I wont go through the flooring so to speak. This idea can be my handy hint for this weeks part issue. Nothing is glued at this stage. 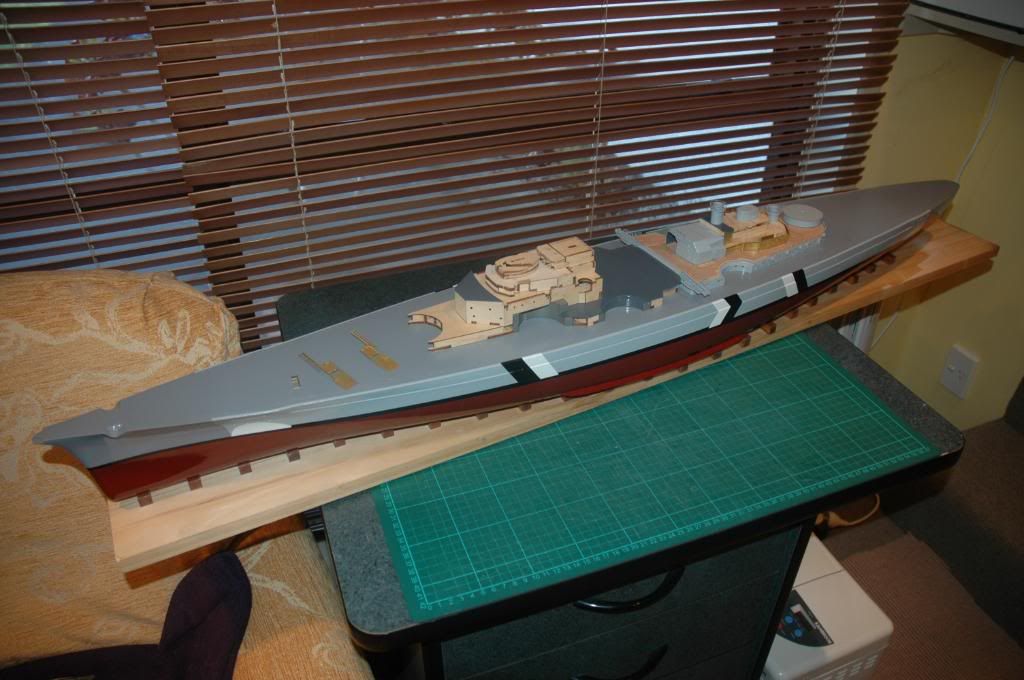 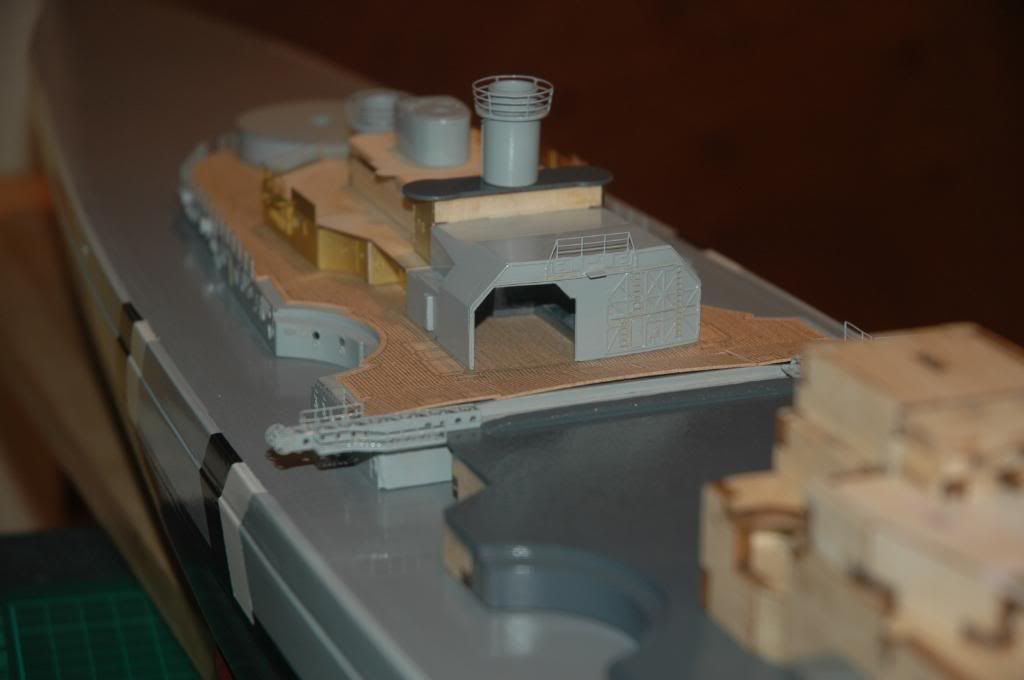 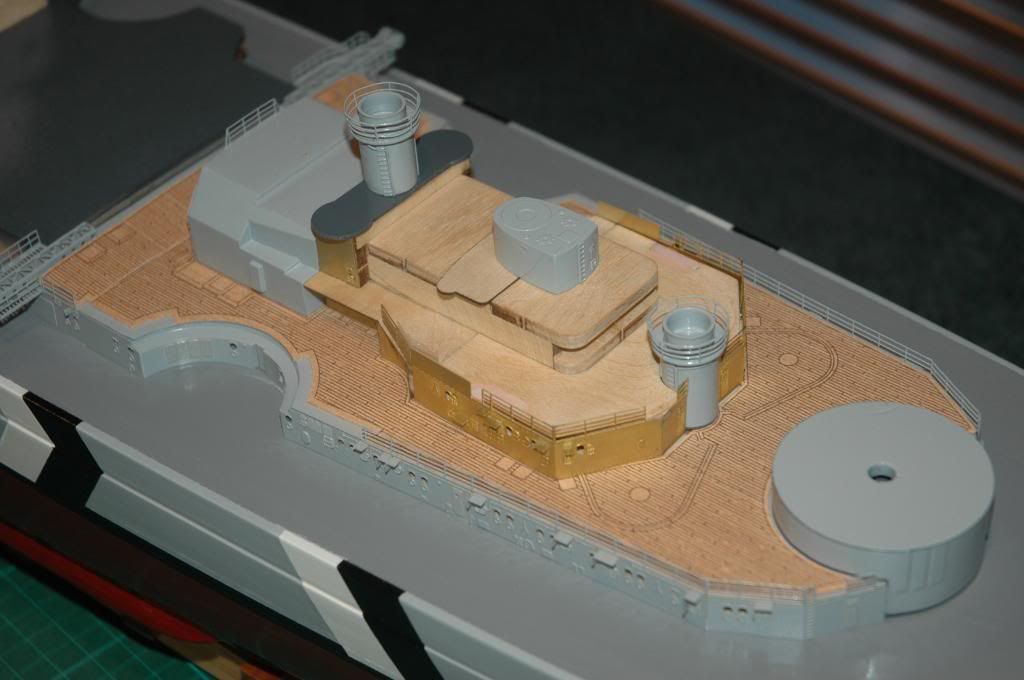
|
|
|
|
Post by Baz on Jun 19, 2009 6:18:09 GMT 1
Hi Netties Bissie looks fantastic. Are you going to test sail her across the ditch   ? Saw a documentary recently about an Ozzie who tried to Kayak across the Tasman from Oz. Disappeared with sight of Milford Sound.... very sad. Baz |
|
|
|
Post by Baz on Jun 19, 2009 6:33:00 GMT 1
Nettie
Just a thought
Did you remove the hanger door in one piece ?
If so, why not reglue a section of it inside so it just peeks out as if it was on its slides.
Make sure there is still enough room for the plane though
That would give a nice effect
Baz
|
|
|
|
Post by gordon on Jun 19, 2009 7:42:36 GMT 1
Nettie,
Looks fantastic. What kind of pait are you using?
|
|
|
|
Post by netties on Jun 19, 2009 7:51:49 GMT 1
I'm using spray paint in a can, quick drying and VERY light coats, otherwise you will loose the definition of the pieces. The main hanger door was cut out with drilling lots and lots of tiny holes. I was planning on having a bit of the second door showing just a wee bit out but I was going to have to get an extra copy of issue 58. Decided not to do that as I am going to have the arado aircraft half in / half out I am keeping the door fully open. These 2 aircraft arrive in approx issue 130 & 131 from memory.
|
|
|
|
Post by Baz on Jun 19, 2009 8:40:48 GMT 1
So nice to see it in print Netties Bit of Scottish heritage, but seems to be unique to the K1W1 in everyday language. Lots more oomph than a wee dram ..........  Baz |
|
|
|
Post by netties on Jun 20, 2009 7:37:12 GMT 1
Soldered the next deck level today and that went well. Hope to get around to painting that tomorrow. Make sure you get it level otherwise the next printed decking [issue 61] will show on the sides as you look at it through the handrails. Just another 9 issues and we will be halfway done here in NZ. this is a great winter project. Parts are now getting more smaller and intricate. With this project "on the go" I'm staying at home, so less chance of getting the swine flu.....
|
|
|
|
Post by tanus on Jun 20, 2009 9:57:45 GMT 1
Great work Netties,look forward to seeing the rest of your build.
Tanus.
|
|
|
|
Post by surfsup on Jun 20, 2009 10:14:30 GMT 1
Me likesa what I see netties. Great build so far and look forward to seeing the build in future...Cheers mate...Mark
|
|
|
|
Post by netties on Jun 20, 2009 21:38:51 GMT 1
Next lot of brass is glued. I have done in a way so it all looks complete but they still all come apart for painting ect. 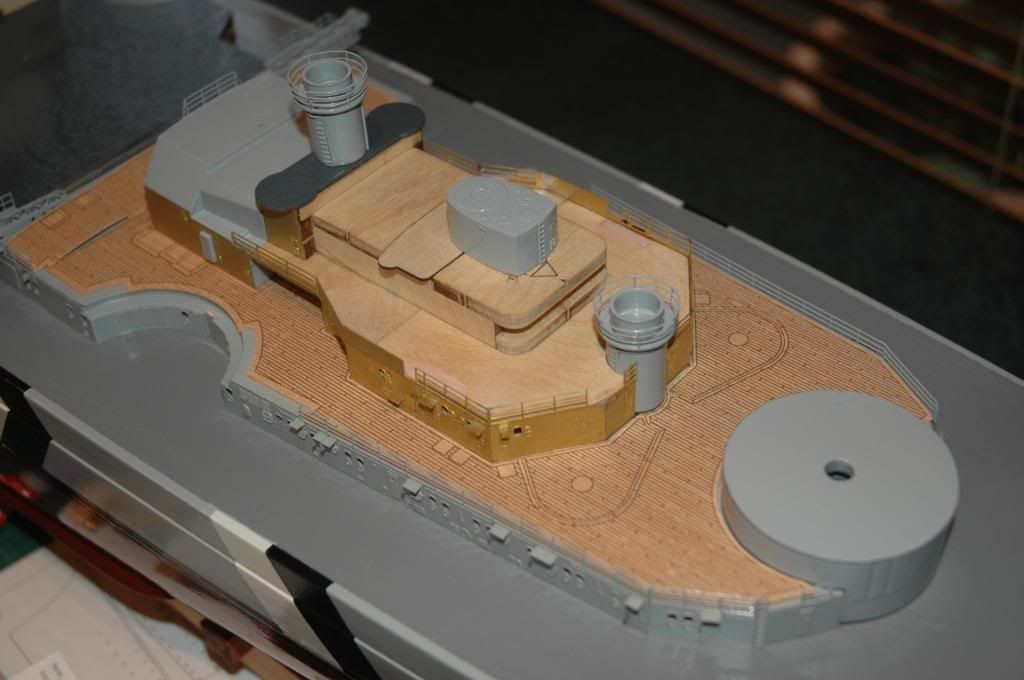 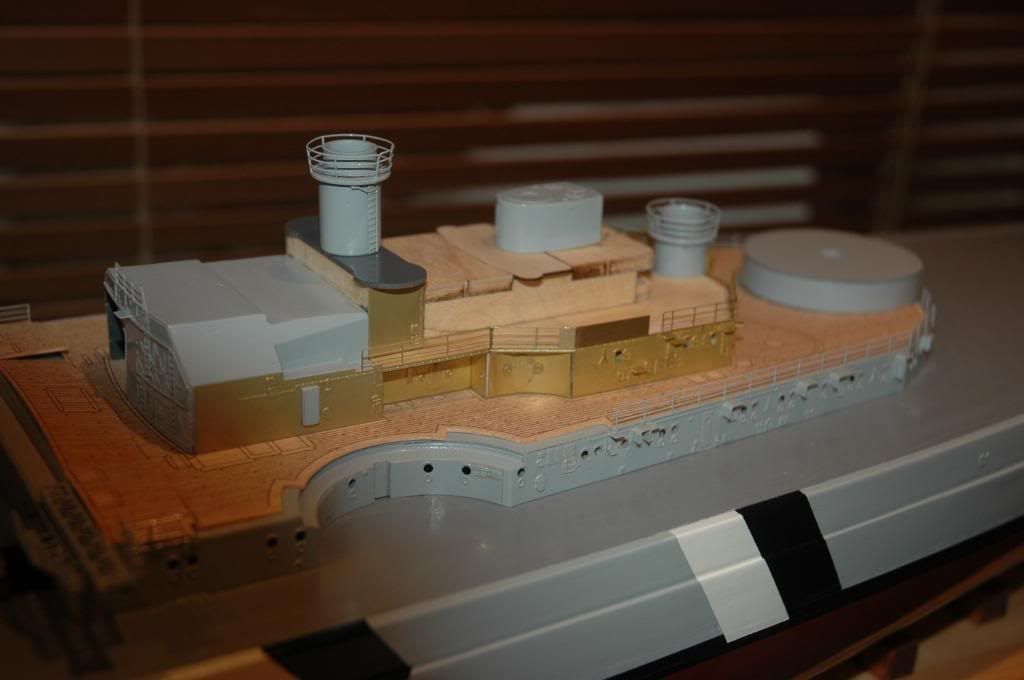 |
|
|
|
Post by scootermoose on Jun 21, 2009 0:11:31 GMT 1
Nice build there netties
Good to find another New zealander building the bissie
|
|
|
|
Post by netties on Jul 2, 2009 4:06:47 GMT 1
WEEK 62This week we got 62. I think to try and form the main brass piece around the wooden framework as described in the instructions is stupid to say the least. The lower deck rails are in the way. I simply formed this piece separately on my work bench, and note - I have not fitted the small extras at this stage either. Pre-form the panel curves around your standard size pencil - when the piece bounces back its the right curvature, just a tweek here and there. Once this is done, some members may find that this part is a bit longer at the front on test fitting, a millimeter for me. I thought about altering the wooden frame, but in the end put some tape to the inside of the brass part. I then simply put some filler to the front end of the wood, and wrapped the brass around and left it to set. 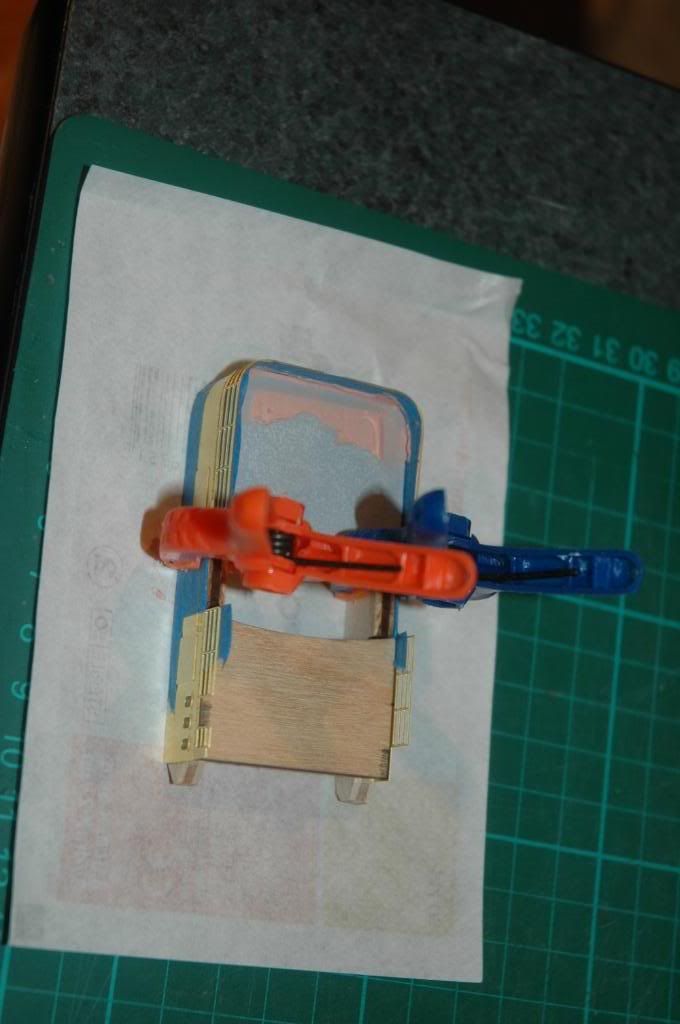 Came out perfectly. As you can see there is a small amount to be filled - pink part in this photo. No need to sand either. 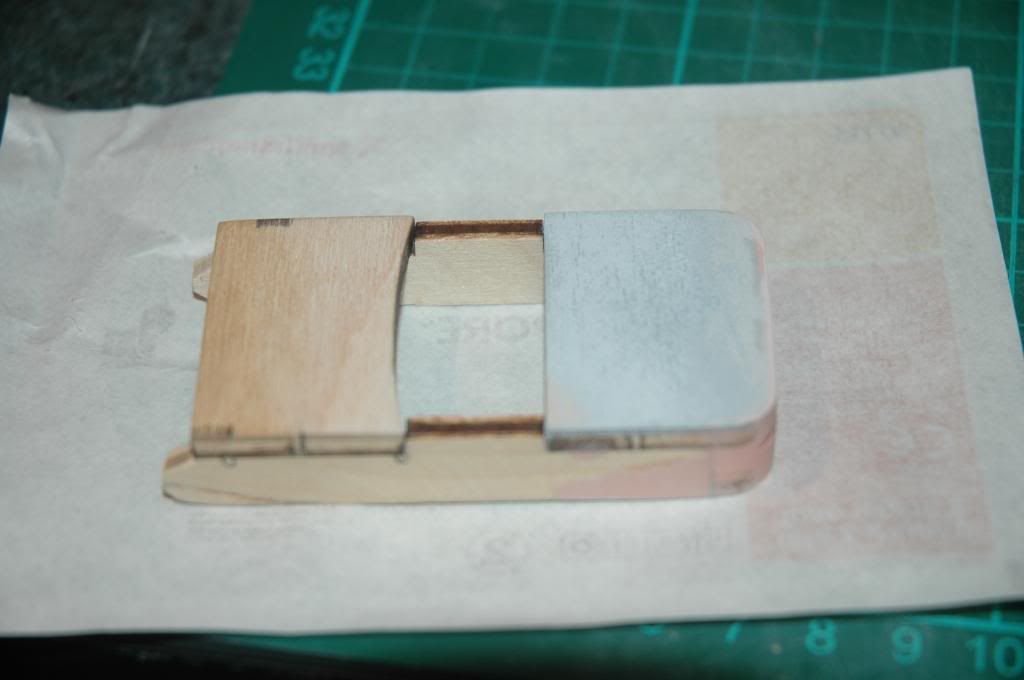 Then I painted the top of the deck as no wooden deck print is supplied for this piece. 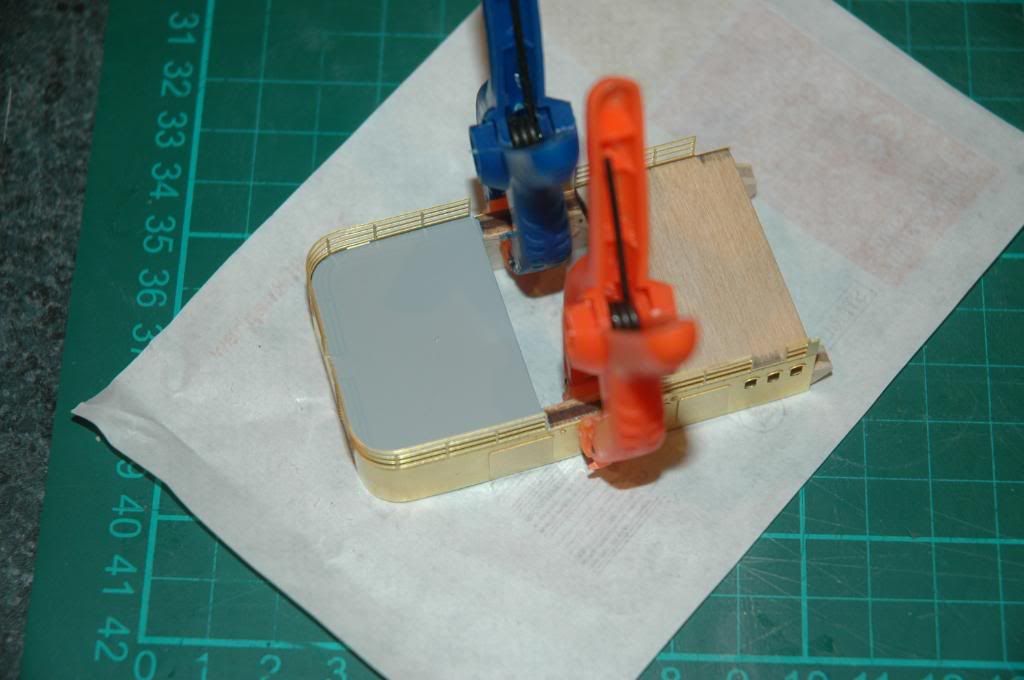 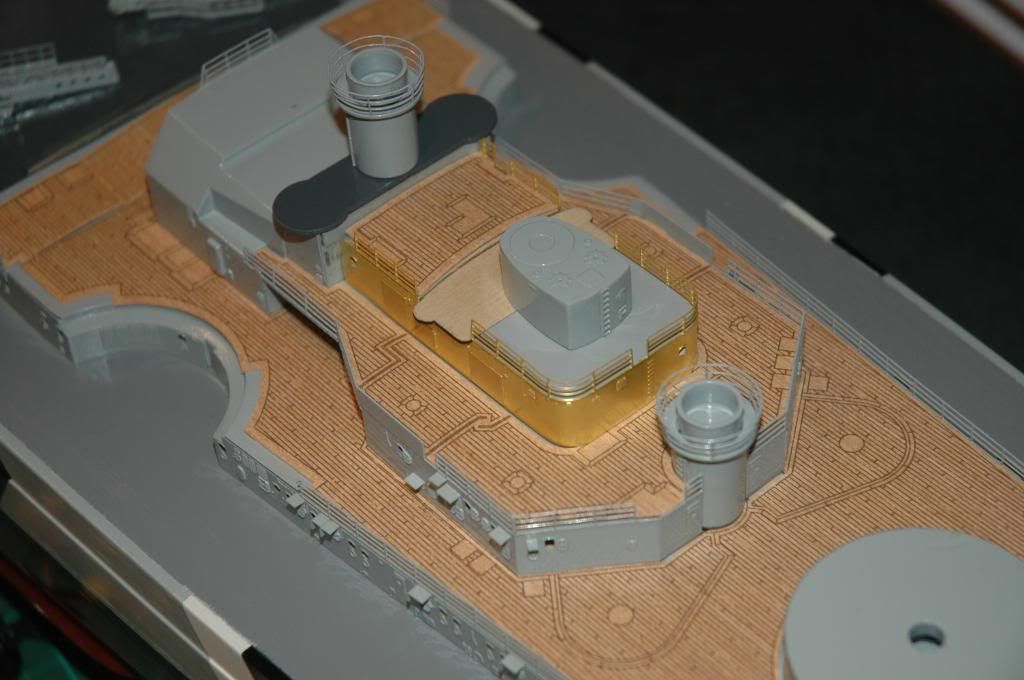 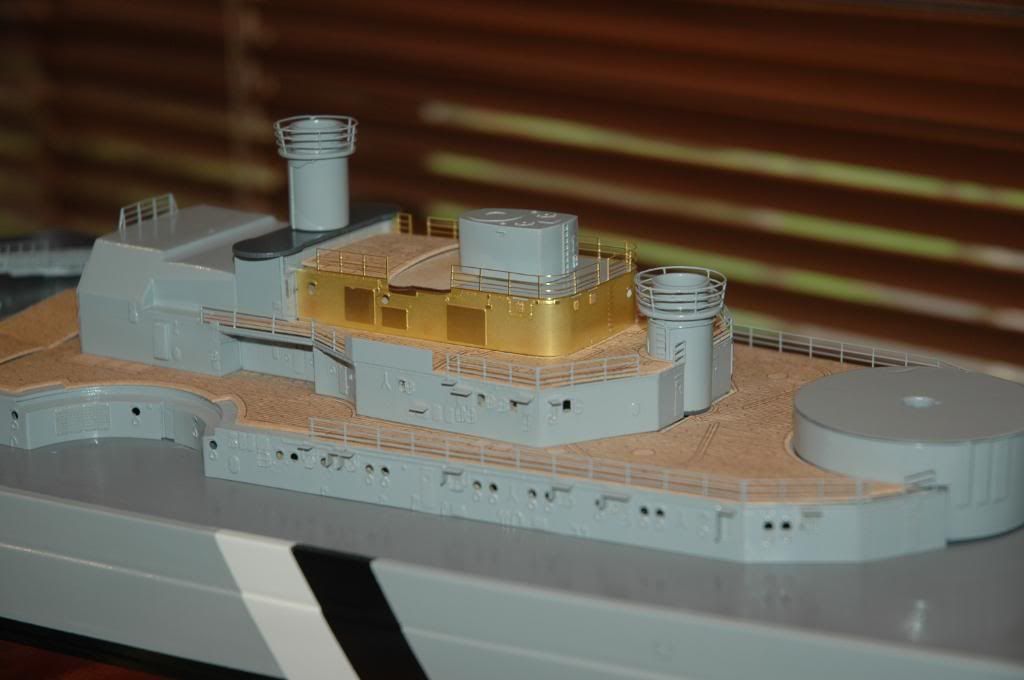 I will now put the other small parts on tonight and paint it all tomorrow. NOTE - Where the brass part ends at the main body below the tower there is no brass fret supplied to do the small side area. What I will do is use parts of the frames that I have saved and glue these on here. In 2 weeks [issue 64] we get the railings for the tower base [black painted oblong deck] and this is where the searchlights go - there is a bit of brasswork that will go down the front leading side so dont plate that area.
|
|
|
|
Post by netties on Jul 2, 2009 8:30:32 GMT 1
All the bits and pieces put on and painted. Now another 7 days to wait. 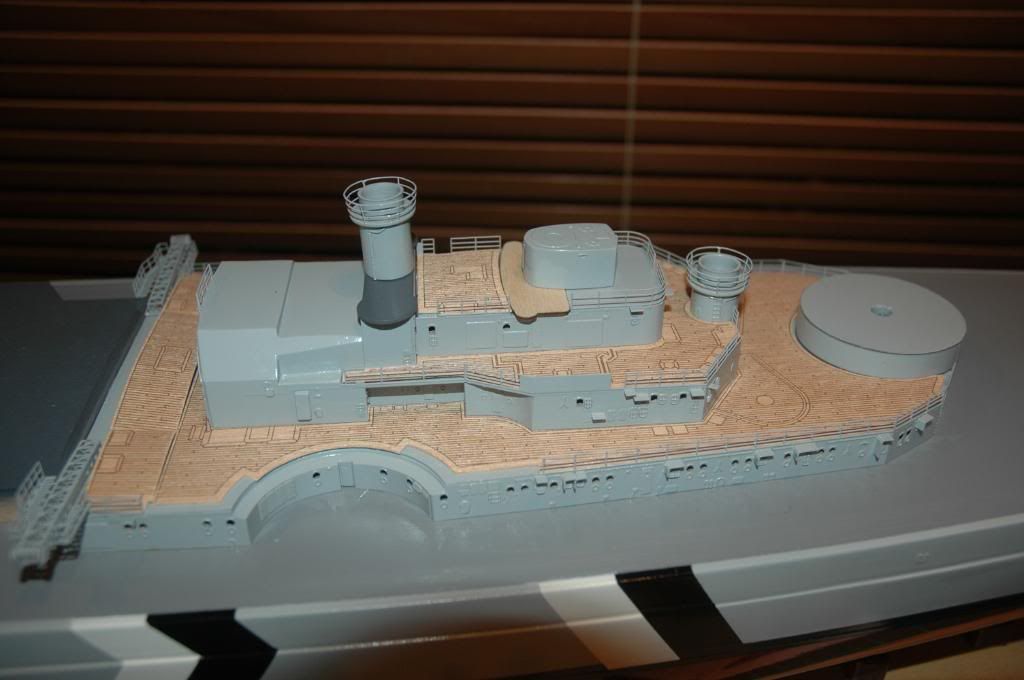 |
|