|
|
Post by mike on Oct 19, 2009 9:33:31 GMT 1
Hi Baz.
Had the same prob with my shaft brackets had to use filler to over come this.
I do like your hanger looks super good!!
mike
|
|
|
|
Post by Baz on Oct 19, 2009 12:31:19 GMT 1
Here is a quick question before shuteye Has anyone seen this photo before www.v-like-vintage.net/en/photo~details/57908~photo~noName/new~pics/?searchwords=bismarckIf so, can they confirm it is definitely the Bismarck Because...... if it is, I will a - remove the shaft supplied and replace with a tube with an increased diameter as it looks like the propeller shaft was inside this outer casing b - remove and modify the prop brackets c - modify the prop shaft tunnel Baz |
|
|
|
Post by Mark on Oct 19, 2009 14:44:27 GMT 1
|
|
|
|
Post by Baz on Oct 20, 2009 1:46:28 GMT 1
I went straight to the above page to compare once I found the photo Mark Here is another photo of the launch and it seems to confirm the detail photo. It's the last picture on page 1 www.maritimequest.com/warship_directory/germany/pages/battleships/bismarck_page_1.htmThe cone section behind the bracket (towards the stern) would be a temporary 'plug' as it would be replaced by the propeller after the Bismarck entered dry dock for final fitting out. The overall shape looks beautifully streamlined and just perfect for the task. Also the fin of the tunnel seems to be knife edged and not squared off as supplied by the kit Here is a rather sad looking piccie of the mods required to end up with something that resembles the real thing 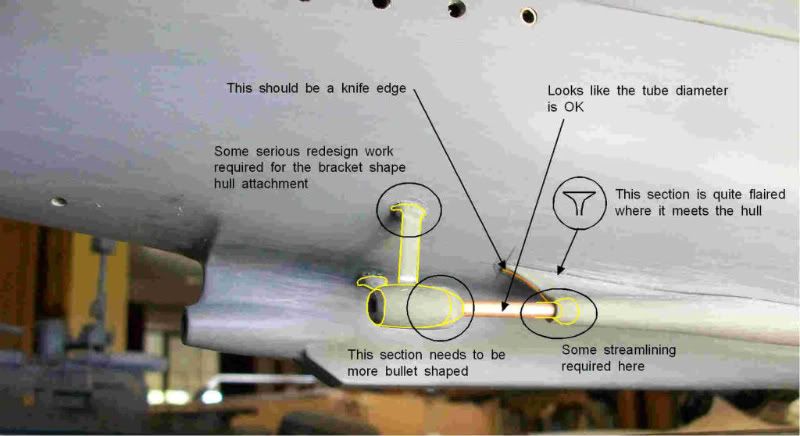 Baz |
|
|
|
Post by Mark on Oct 20, 2009 12:48:01 GMT 1
This is the bit that looks wrong to me. The tapered bit outlined in red is where the prop should be  Other than than it looks right. I think you've got your proposed corrections right. The 'bullet' of the prop boss should run smoothly into the prop hub, as per the drawing in my earlier link I think. Attachments:
|
|
|
|
Post by Baz on Oct 20, 2009 13:56:31 GMT 1
This is the bit that looks wrong to me. The tapered bit outlined in red is where the prop should be  Spot on Mark. Thats what I called the cone section. That would have been placed there for the launch and replaced by the propeller once in dry dock. Anyway, I've pulled the whole lot apart. Reshaped one of the brackets and re-thought. I will drop into the model shop tomorrow and buy some copper tubing a tad larger in diameter. Reshaping the end of the tunnel is going to be a challenge. Baz |
|
|
|
Post by Mark on Oct 21, 2009 21:36:55 GMT 1
Ah, got ya now Baz. Any idea why they fitted a cone shaped plug rather than just fitting a blanking plate ?
|
|
Deleted
Deleted Member
Posts: 0
|
Post by Deleted on Oct 21, 2009 23:04:12 GMT 1
More streamlined and maybe more effective.  |
|
|
|
Post by Mark on Oct 21, 2009 23:14:37 GMT 1
Nah - it's only a temporary fitting to stop water getting in between launching and dry docking
|
|
|
|
Post by rod on Oct 21, 2009 23:41:15 GMT 1
Ahh thats what was bugging me - it didn't look quite right. I must have studied this photo 20 times now and tried to compare it with the other photo's to see if I could spot differences, but I can't. The thing that troubles me about it is the scale. The planks of wood behind it look far too big and make it seem like this shaft is from a smaller ship, but without a man standing in the photo its just too hard to tell the scale. Probably the thing that concerns me the most is all the photo's of the Bismarck are grainy, smudgey, and pretty old looking. This photo looks like it was taken with a pentax point and zoom.
I was going to leave the propellor shaft unpainted brass on my Bismarck, but looking at this, it appears as though its actually enclosed. Unless thats also part of the waterproofing before putting on the prop and the shaft? Anyone comment?
Rod
|
|
|
|
Post by rod on Oct 22, 2009 0:01:11 GMT 1
Perhaps this photo confirms the look of the prop housing.  |
|
|
|
Post by Baz on Oct 22, 2009 5:51:58 GMT 1
Well folks - could be back in the dog house if I continue trying to build all night every night. Thanks for the feedback Mark and Rod I have some work 3 days a week now as a petrol pump counter attendant. Its the graveyard shift - Fri/Sat/Sun midnight to dawn. Keep me off the streets. This is the result of my midnight shift in the garage. I'm actually quite pleased with the results as I feel the prop shaft is now looking much closer to the original. Mods completed as per notes from my earlier posting. Note the use of the humble polyfillerThis first piccie compares the original to the modified shaft  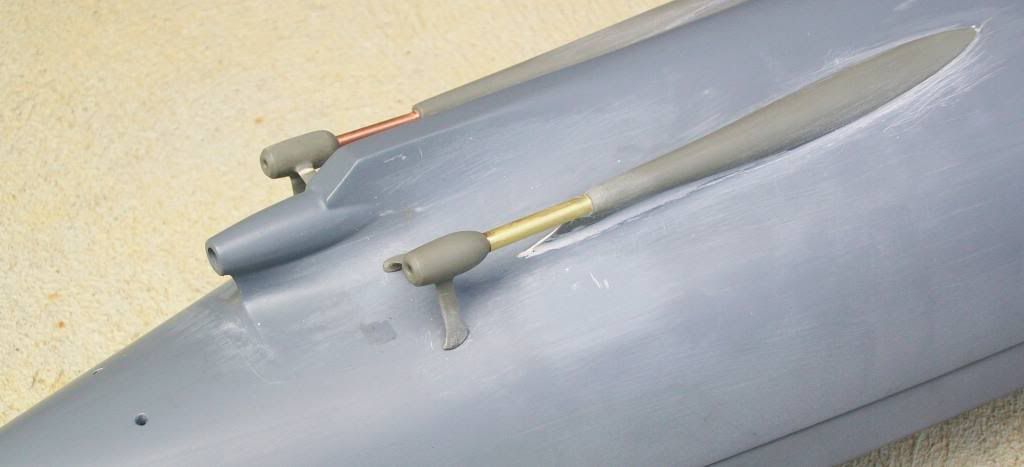 detail pics - ps If I'm putting too many photos in, please let me know. I get a bit carried away Note - I have given the fin section of the tunnel a sharp edge and rounded off where it attaches to the hull 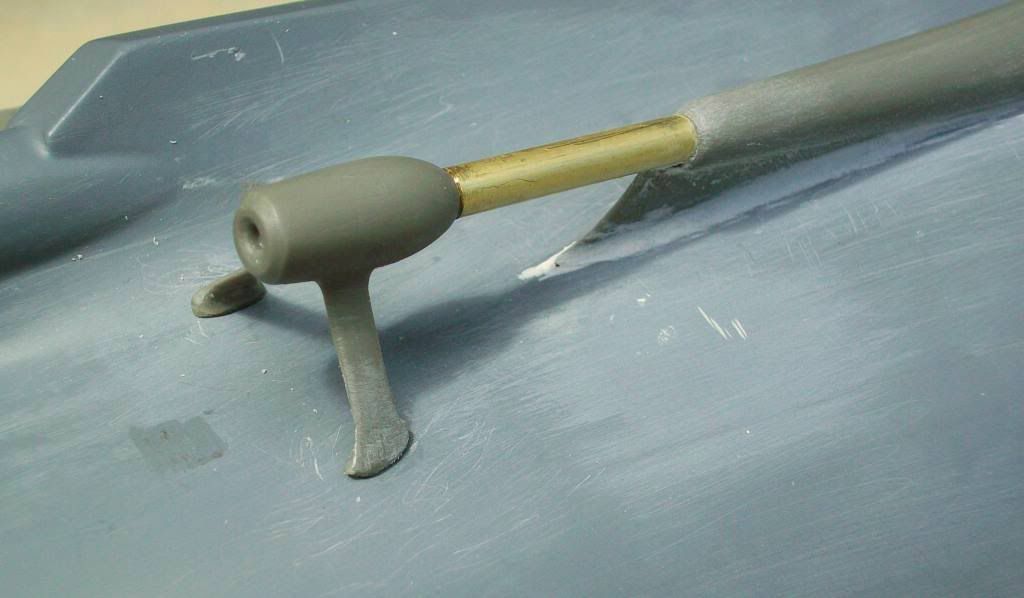 The bullet and brackets have been shaped using 80 / 120/ and 400 sandpaper Whereas the main hull has been smoothed down using 1200 wet and dry sandpaper (that is until I started fiddling around again 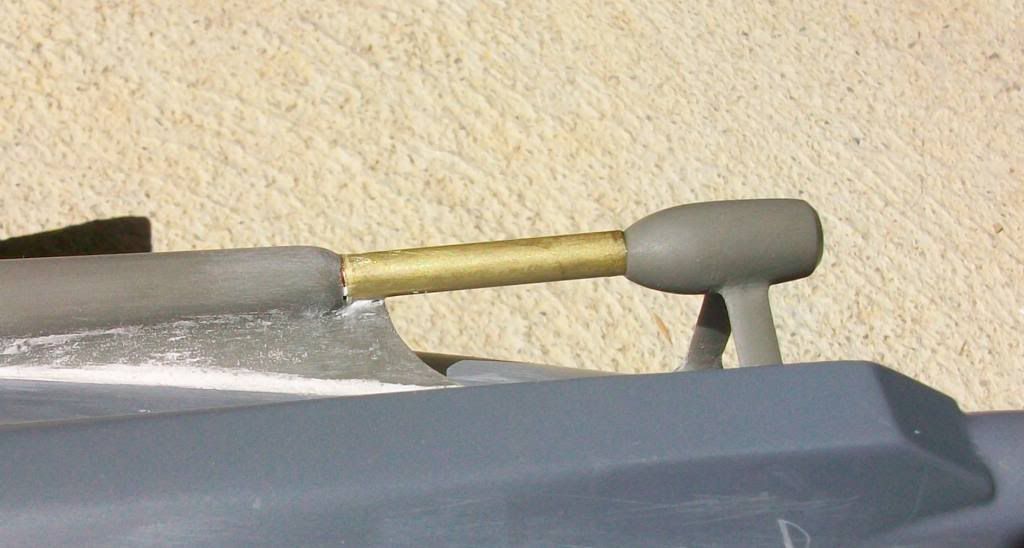 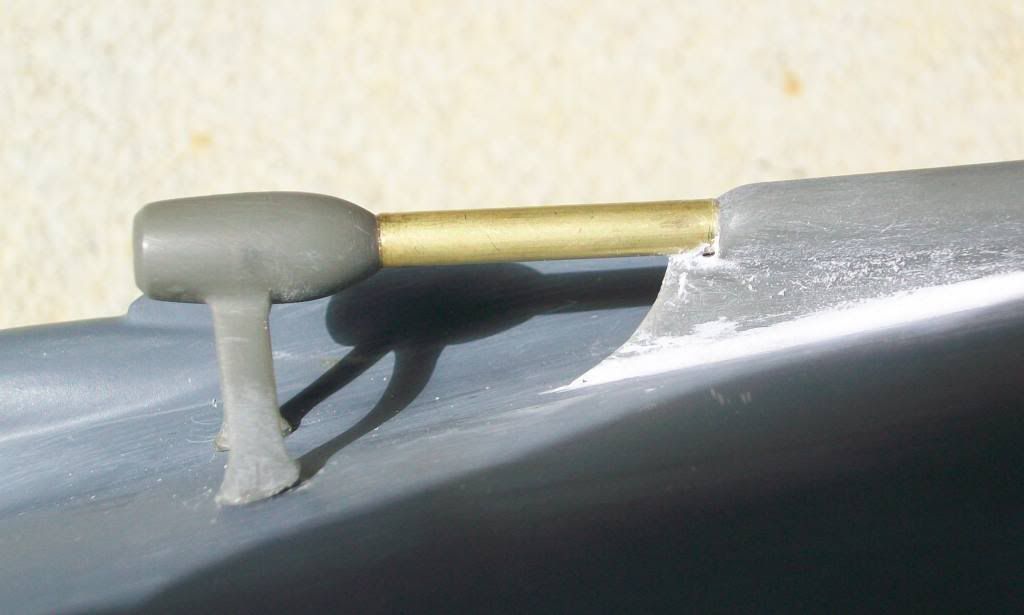 Also thought I'd put a few pics in giving an overall idea of what Bissie looks like to date - warts and all 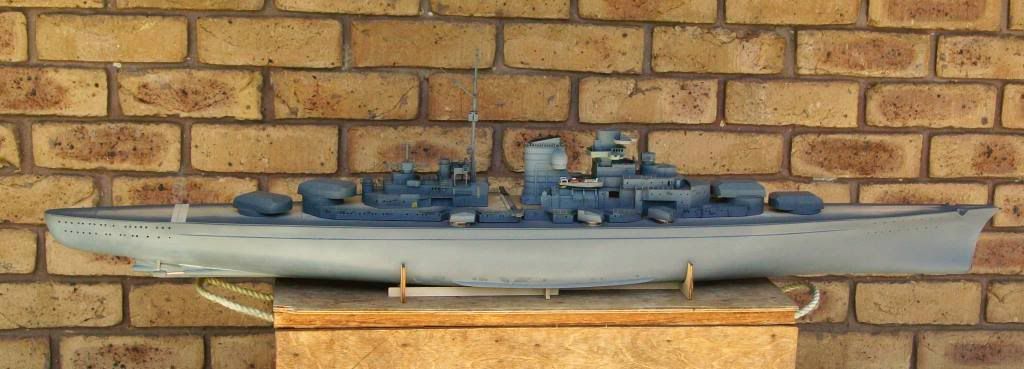  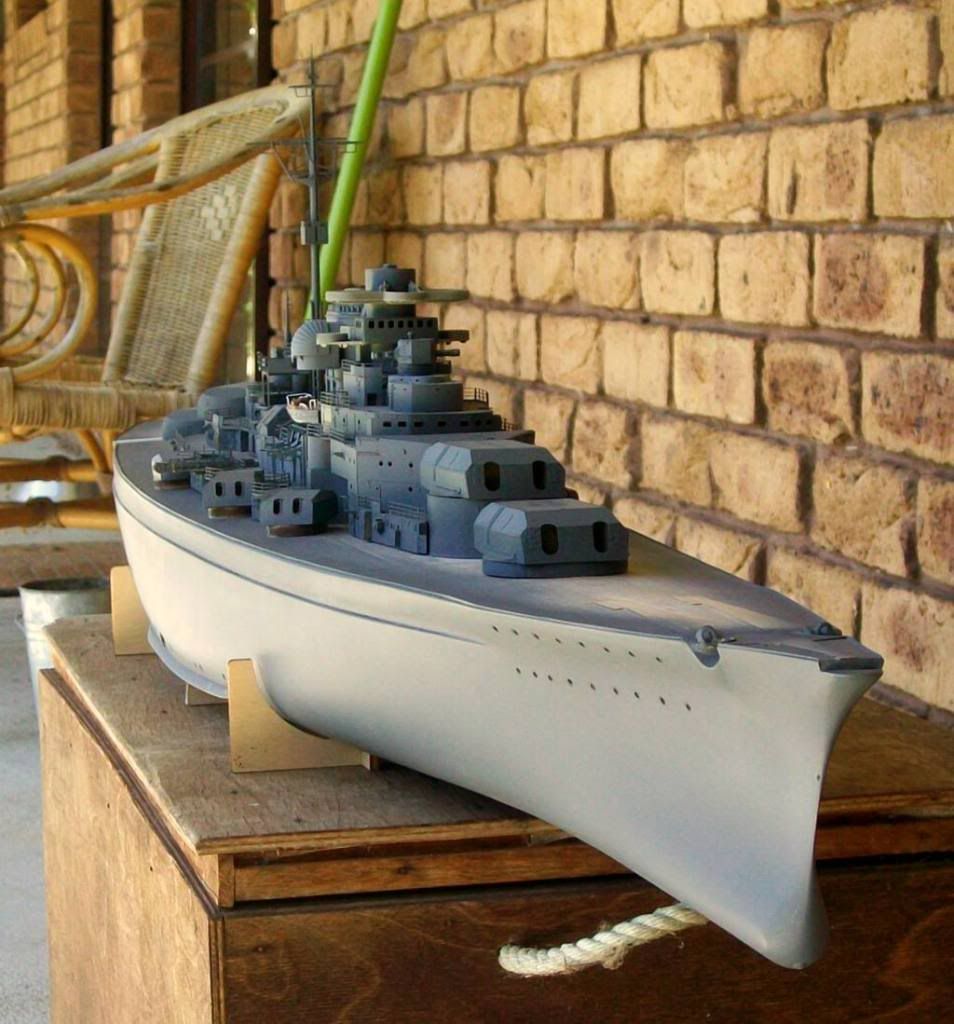 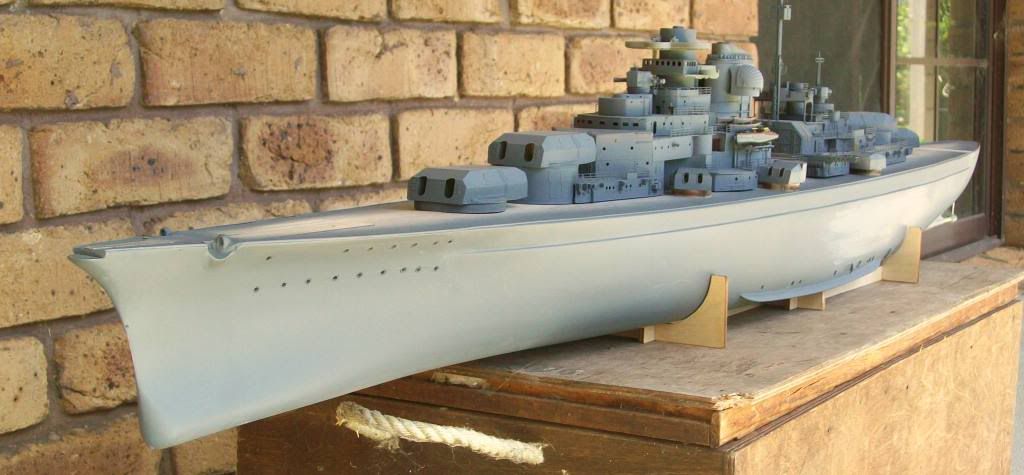 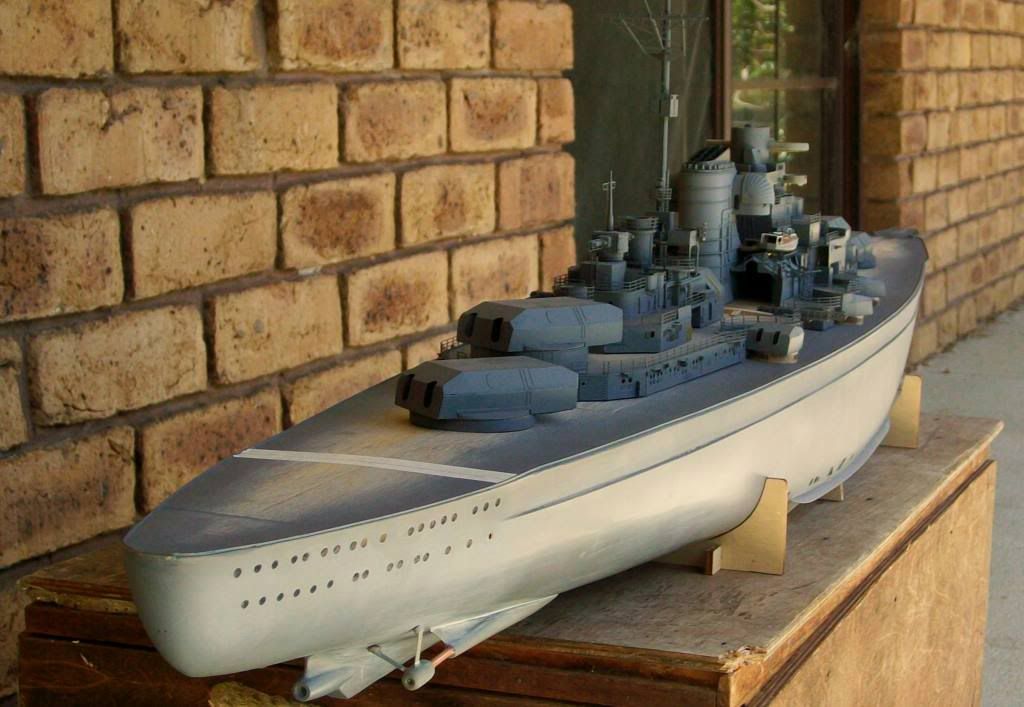 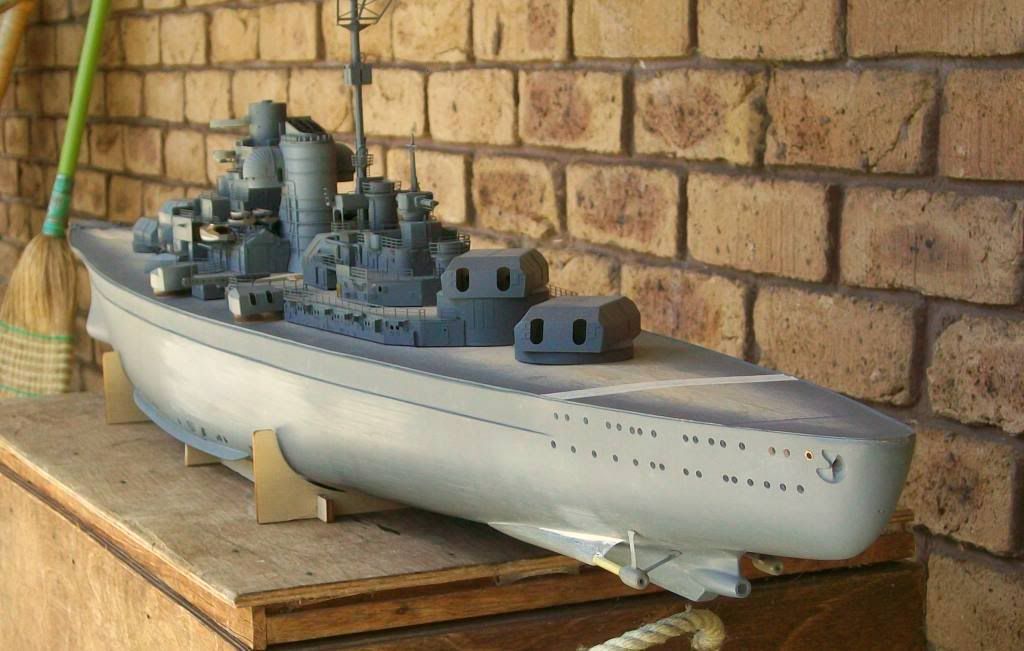 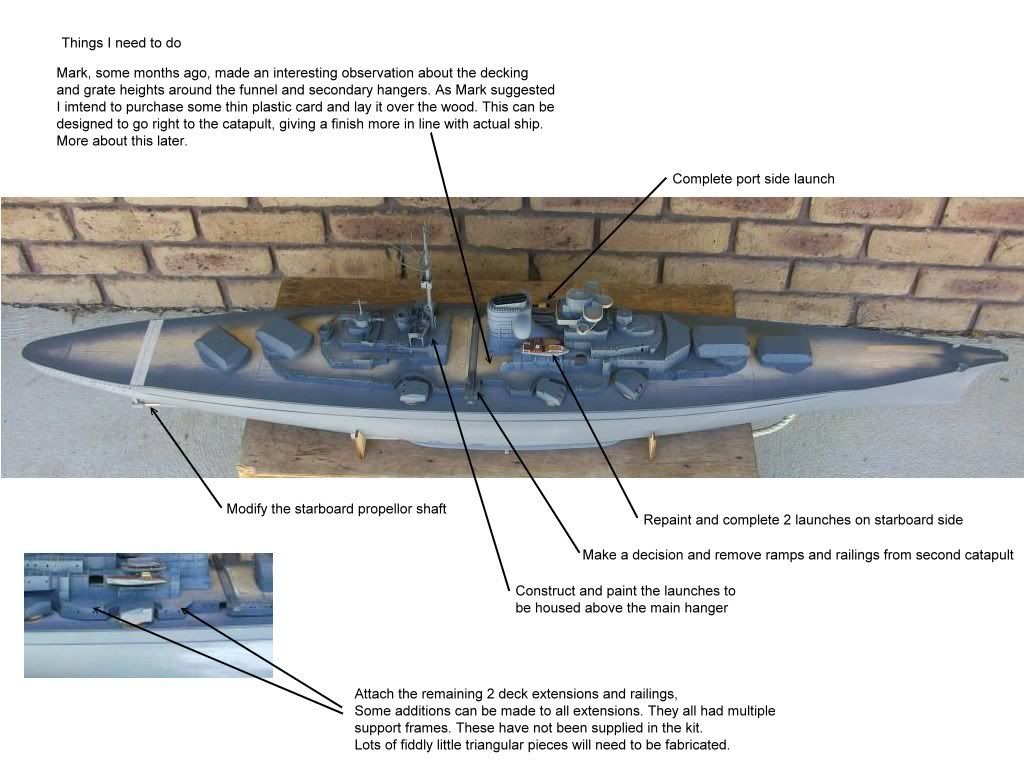 And of course I need to get back to the brass porthole inserts (was hoping they would go away) Thats about it. Need to have a break and do some cleaning, mowing, scrub clearing, and on and on..... Baz |
|
|
|
Post by Baz on Oct 22, 2009 5:56:44 GMT 1
Ah, got ya now Baz. Any idea why they fitted a cone shaped plug rather than just fitting a blanking plate ? Nope .... no idea Mark The German artistic flair maybe ......  Got to make it look pretty ......  |
|
|
|
Post by Baz on Oct 22, 2009 5:59:20 GMT 1
The planks of wood behind it look far too big and make it seem like this shaft is from a smaller ship, but without a man standing in the photo its just too hard to tell the scale. Probably the thing that concerns me the most is all the photo's of the Bismarck are grainy, smudgey, and pretty old looking. Rod Yeah ...... but there are at least lots of them for some reference Rod .......    |
|
|
|
Post by Baz on Oct 22, 2009 6:10:06 GMT 1
I was going to leave the propellor shaft unpainted brass on my Bismarck, but looking at this, it appears as though its actually enclosed. Unless thats also part of the waterproofing before putting on the prop and the shaft? Anyone comment? Rod Rod, if you look carefully, you will see that the rest of the construction is a far superior quality to that of the cone. I reckon that is the final appearance. And I also reckon you can paint it all red as the prop shaft is inside the housing Baz |
|