|
|
Post by Baz on Feb 6, 2010 8:37:31 GMT 1
Thanks all for the feedback Just a few more bits and pieces Not quite as fiddly as the Arado lovlies Looks like I'm nearly ready to look at planking the decks soon. Just need to add some bits and pieces to the hull, and start some serious top coating. Once thats complete its individual plank time .... yuk Here are some piccies of recent additions 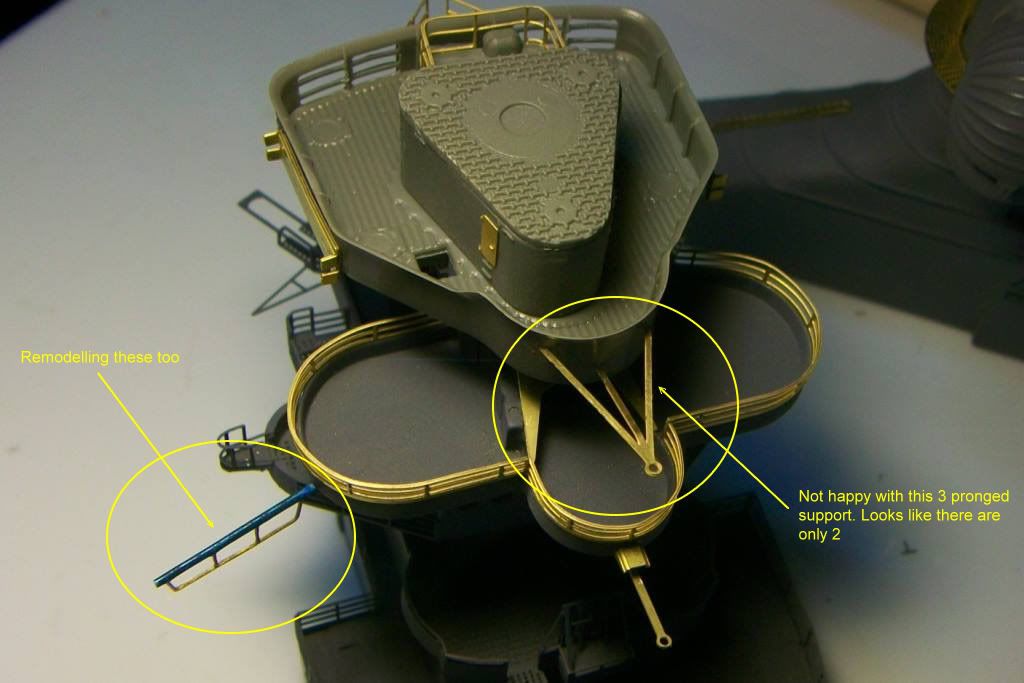 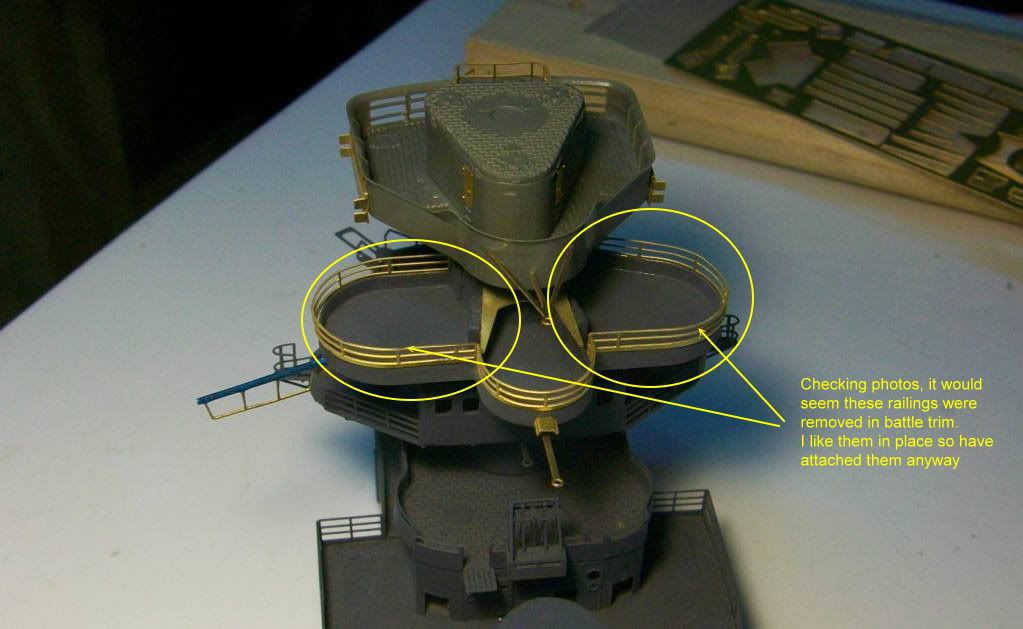 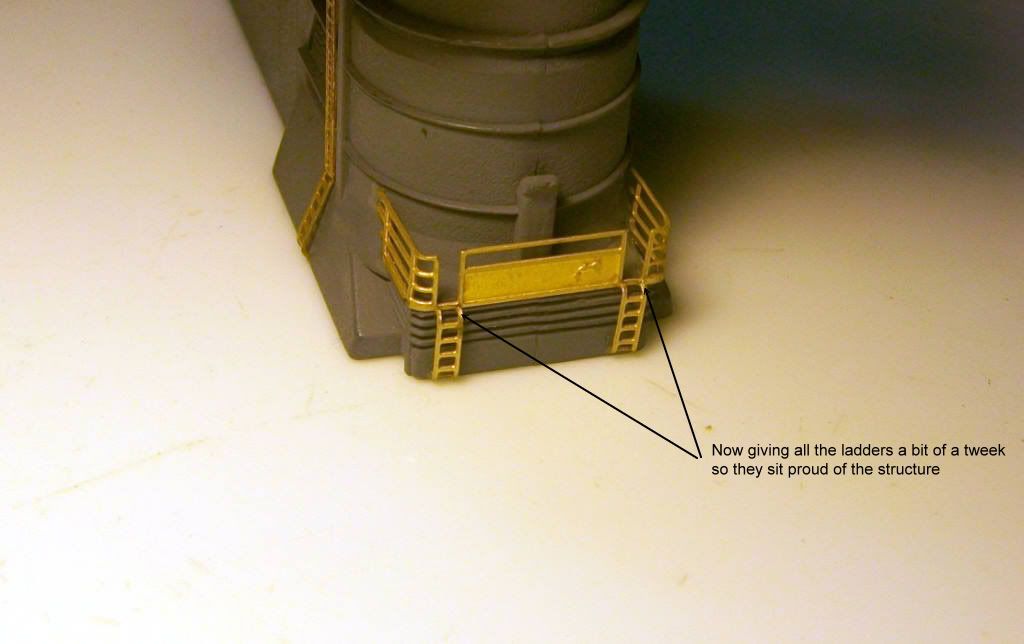  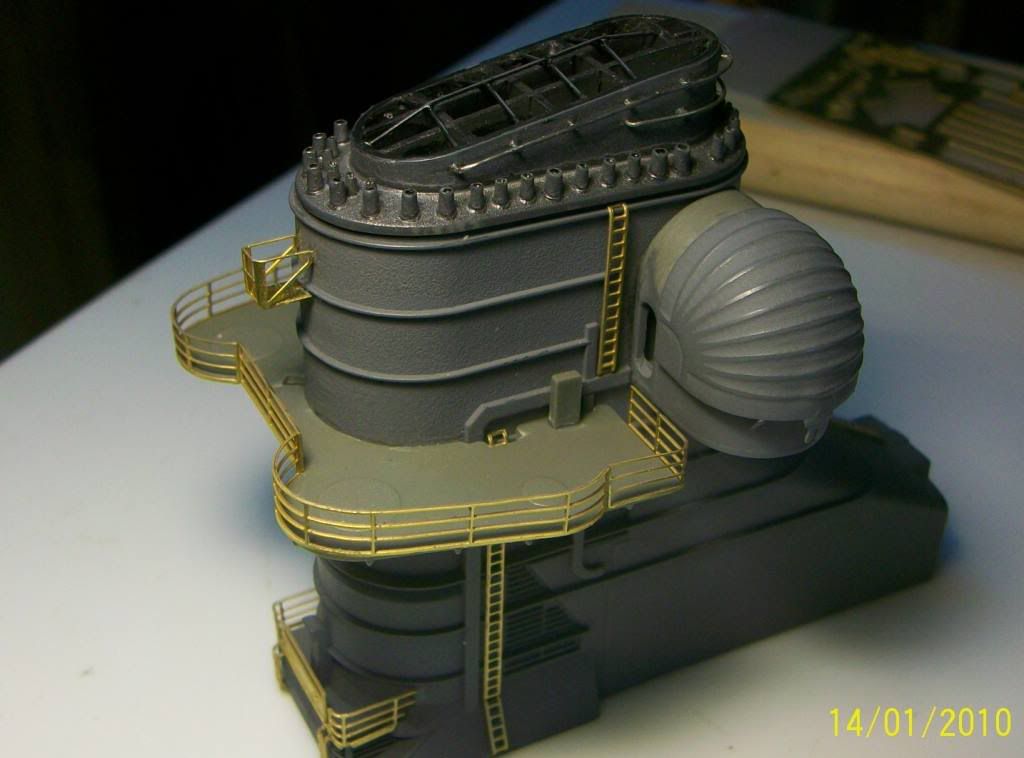 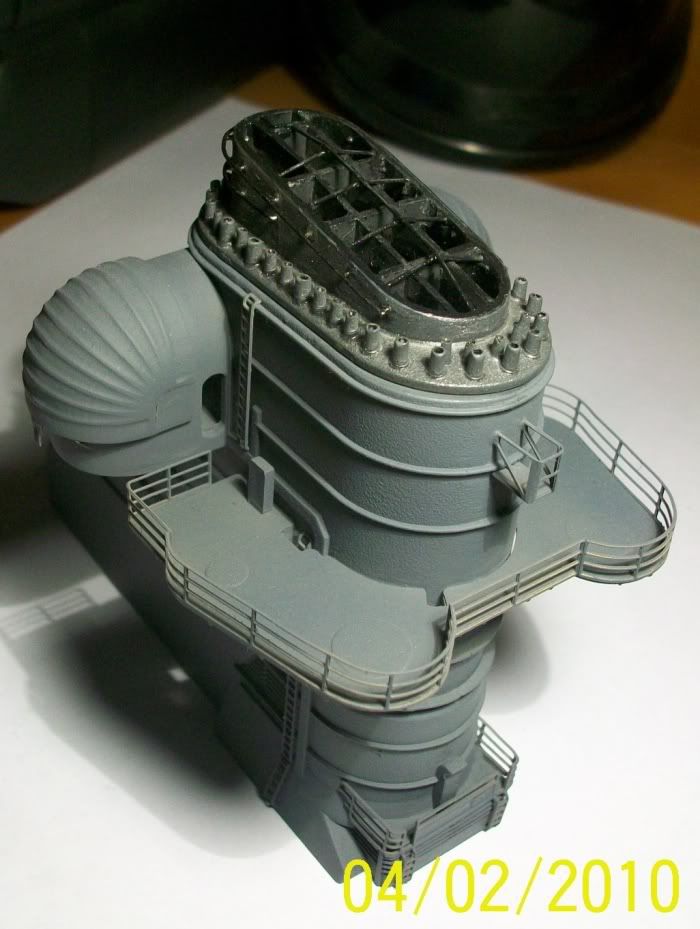 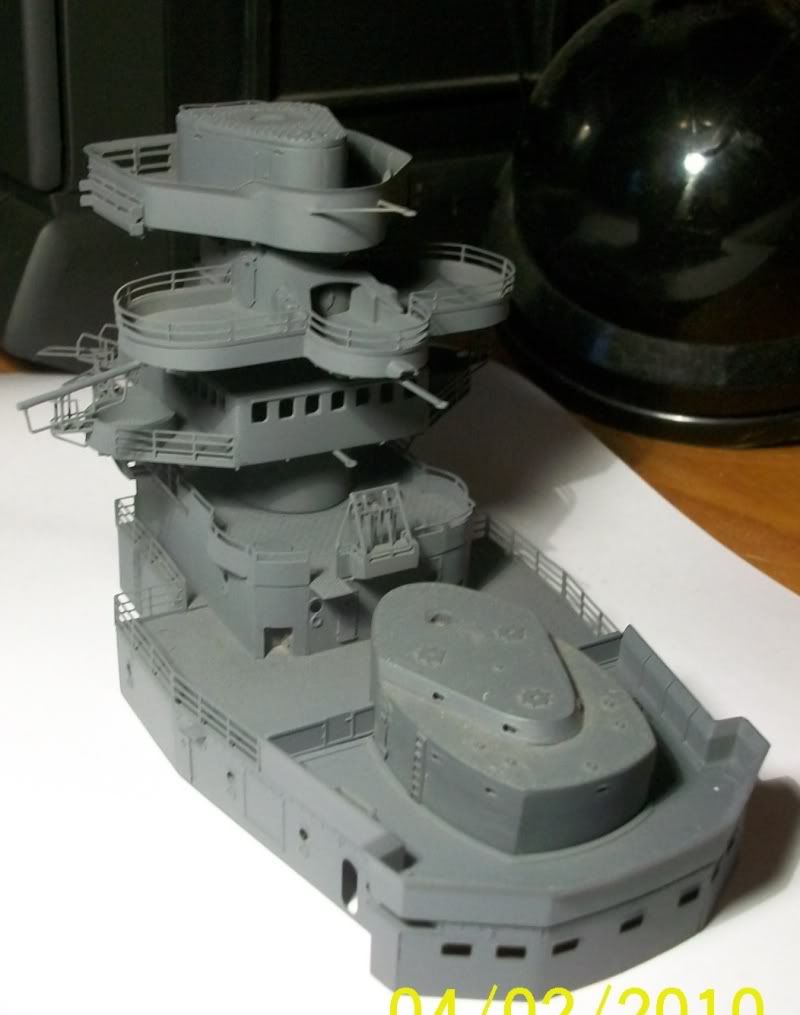 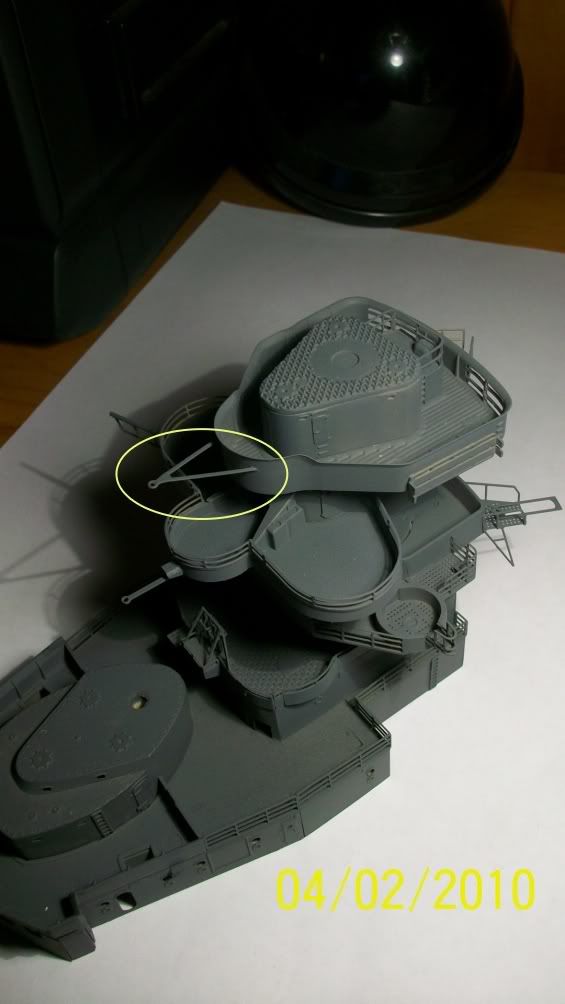 Still fiddling with the blast bags on the main turrets They should look okay when complete 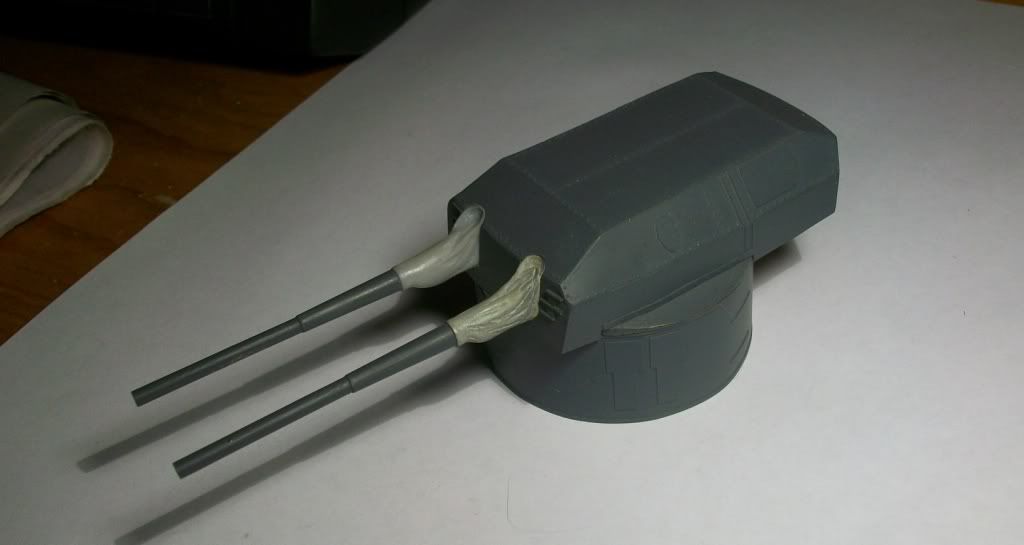 Then need to look at the blast bags on the 6" guns. They look very average in their unmodified state Baz |
|
|
|
Post by Baz on Feb 6, 2010 9:01:52 GMT 1
darn computers - I tried to give you a 0.1 k, just for fun, but the system just wouldn't take it  LOL Mark yep..... think I'm going a bit nutty Cats just nabbed one and I've only found 2 of the 3 propellors. 1 wing needs re-attaching too ....... bugga |
|
|
|
Post by Baz on Feb 28, 2010 5:58:18 GMT 1
Here's a bit of an update on how things are travelling Spending a bit of time on the main and secondary guns at the moment Bit of a shame I have to wait 'til issue 138 to get all the bits The cat factor has meant I'm doing things over and over One of the Arado's met with a mishap and I had to refabricate a new propeller 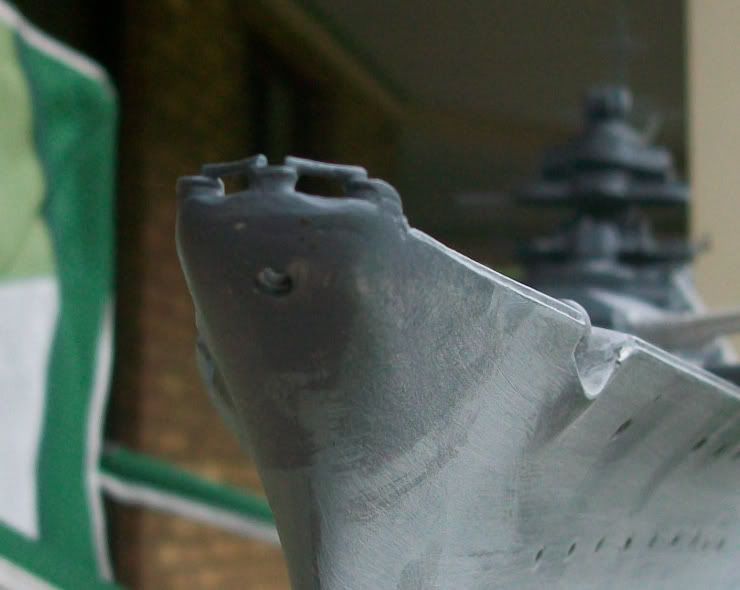 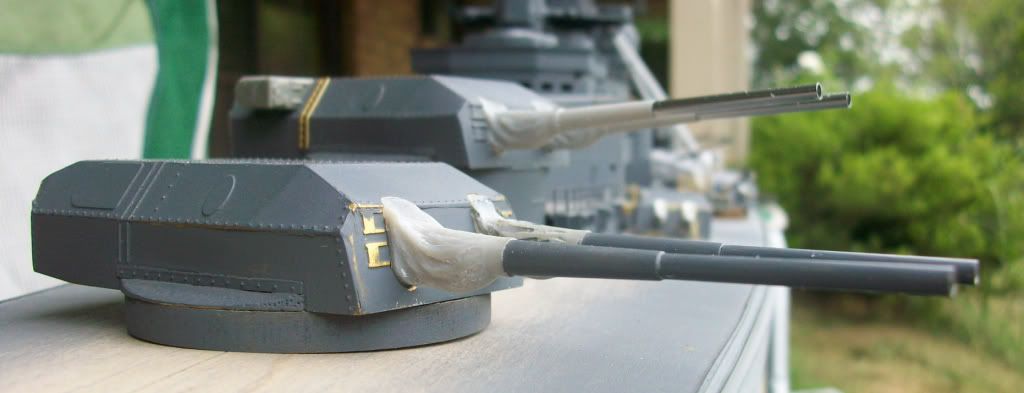 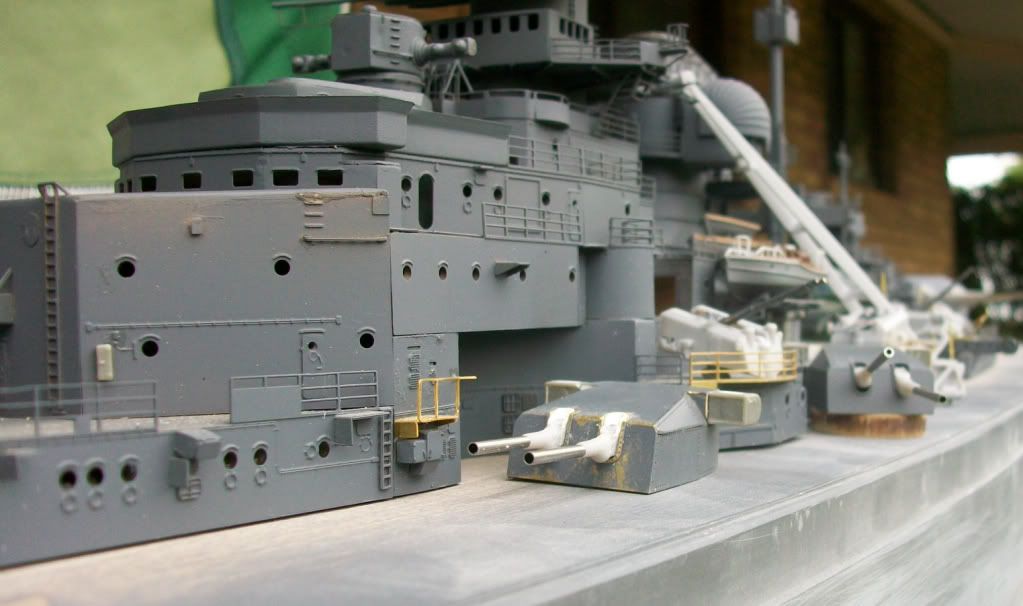 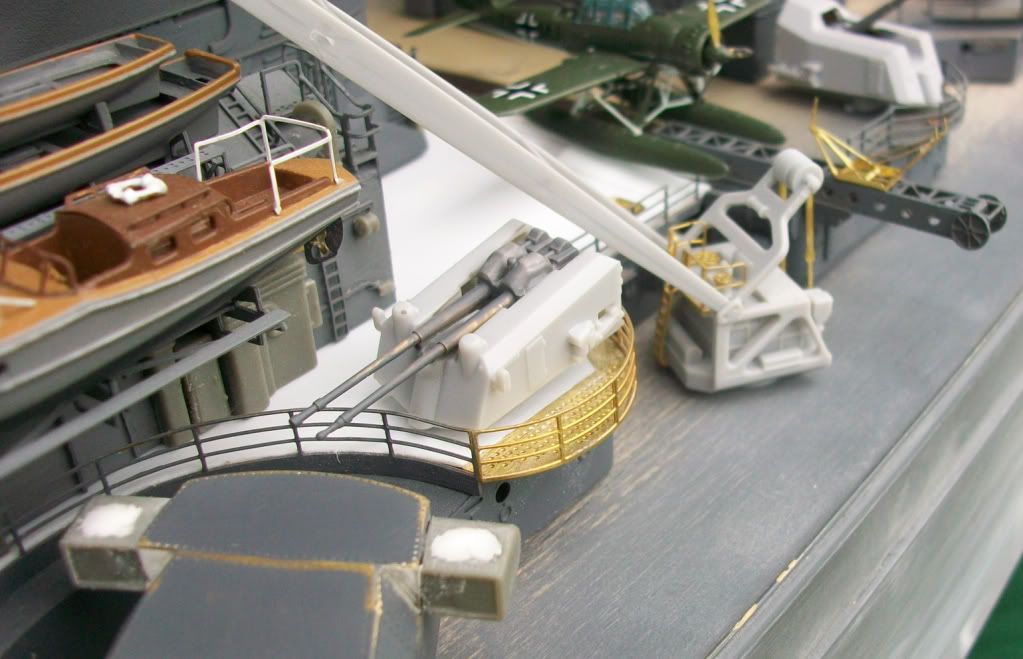 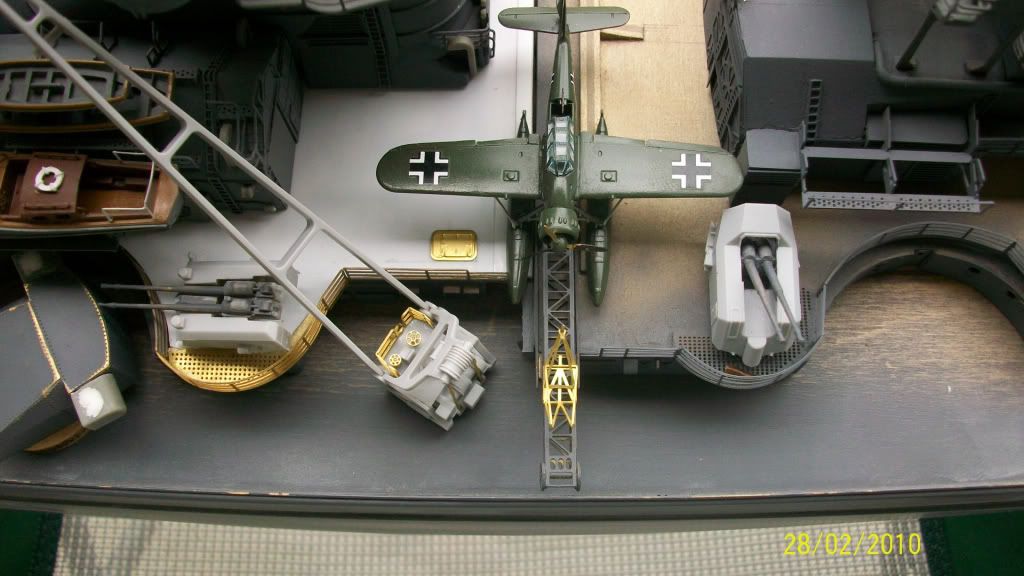 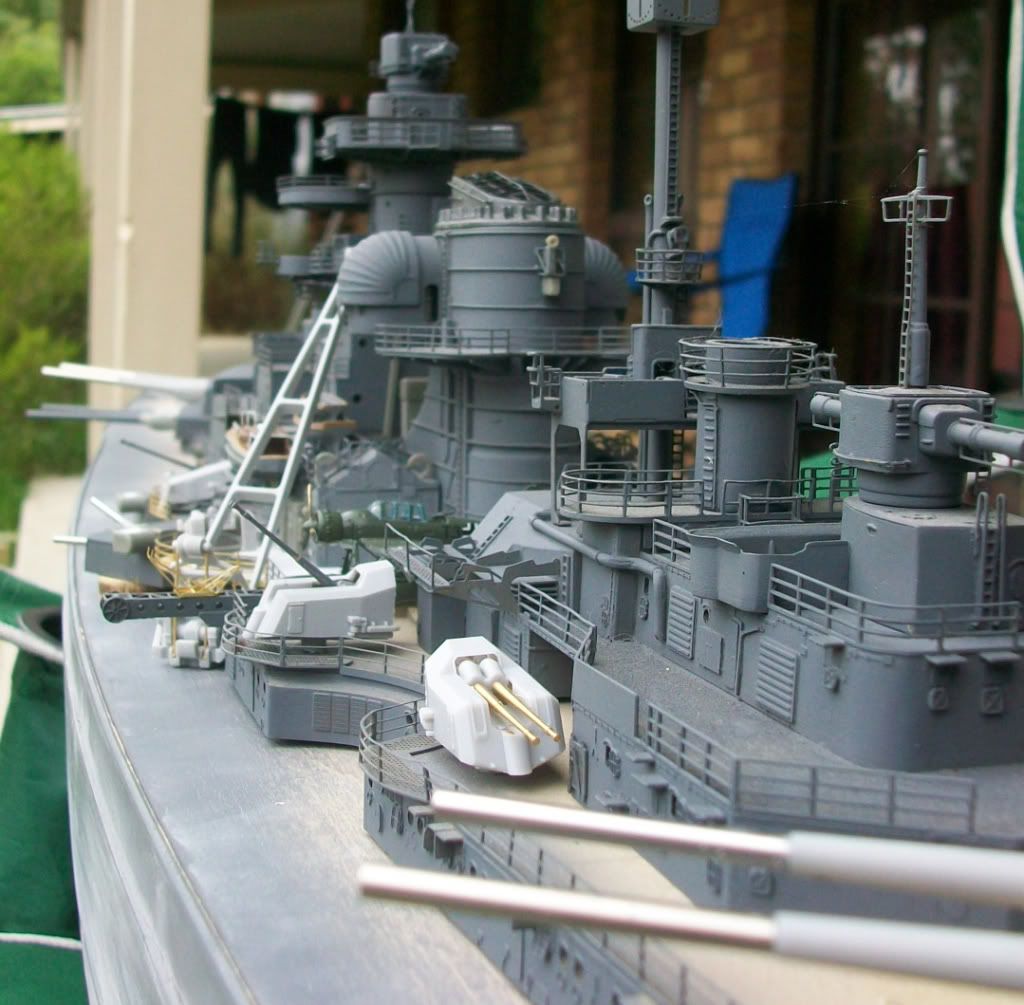 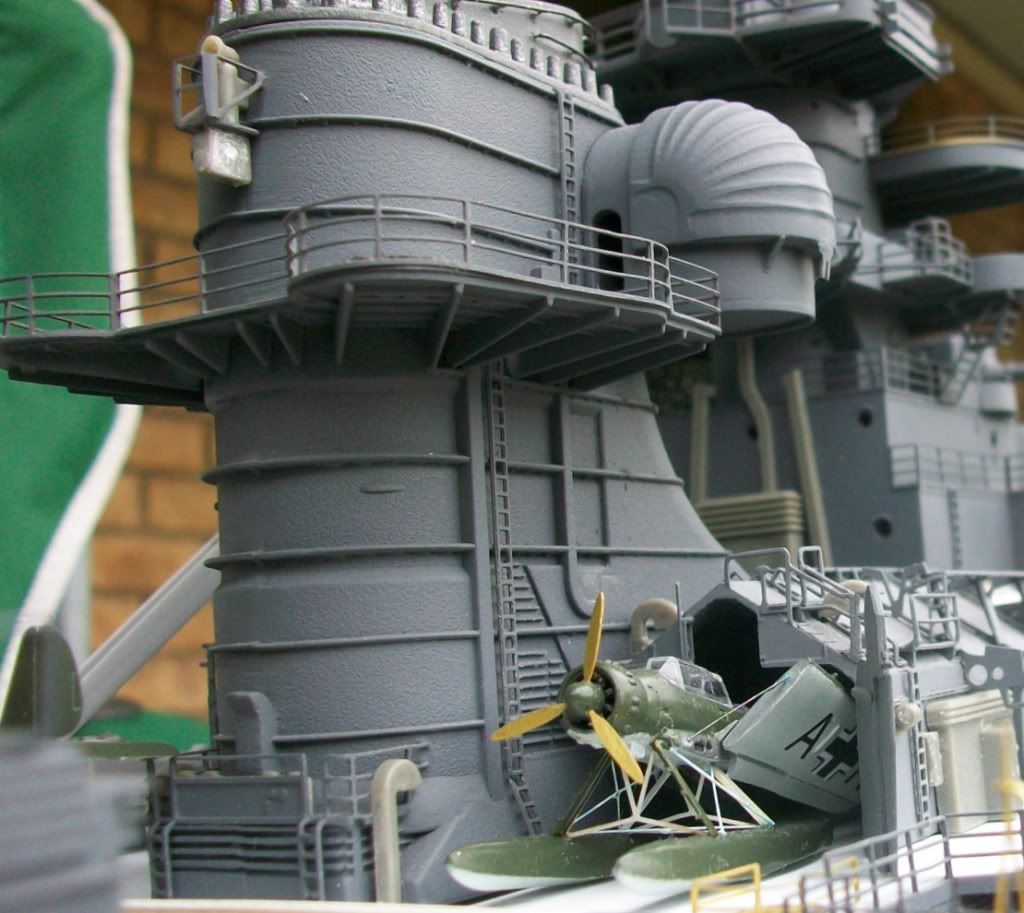 Note I have made the catapult as per instructions for 1 and as I think it should look when the aircraft is sitting on it. The base is a bit long on the supplied brasswork so I cut it down on the modified version. 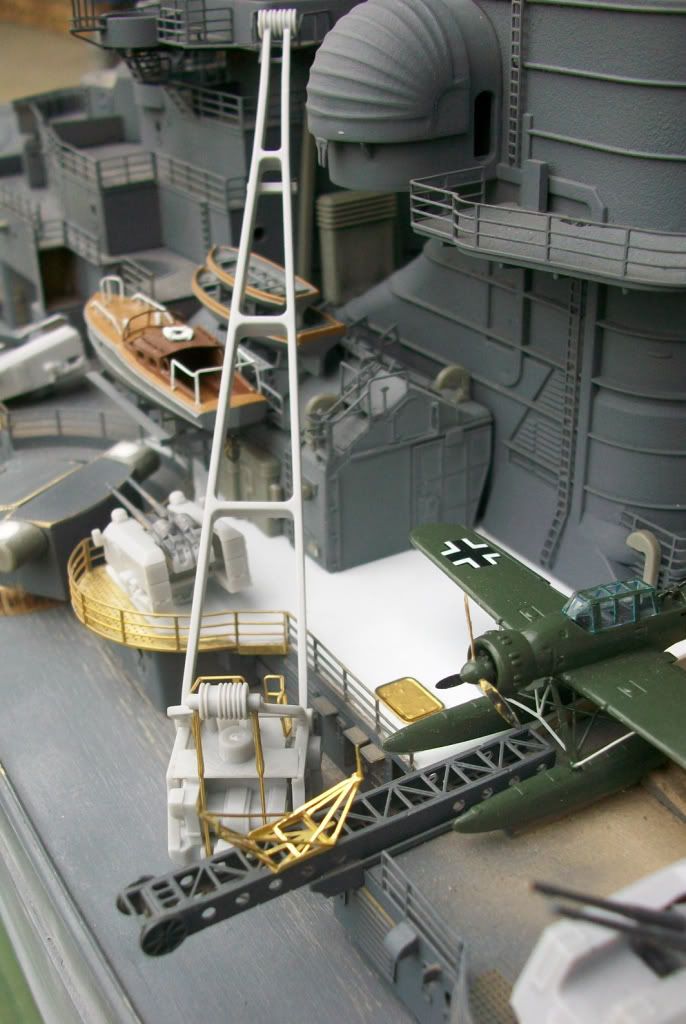 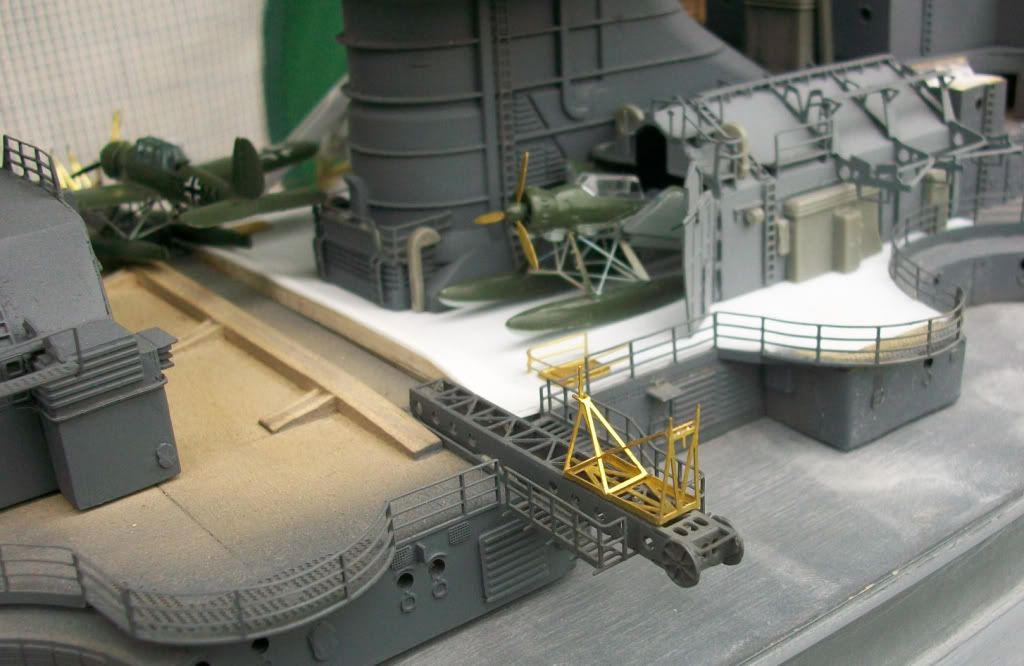 Baz |
|
|
|
Post by grantj on Feb 28, 2010 8:10:29 GMT 1
Well Done! I really like the work you have done on the Arados and not to mention the open hangar. Wish i had seen this a while ago during my build! Have a K!!  |
|
|
|
Post by Robert on Feb 28, 2010 12:35:43 GMT 1
First class craftsmanship as usual. The subtle thoroughness quality that is yours, always strikes me, Baz.
Good camera quality, btw. What was the brand again?
Have another K!!
|
|
|
|
Post by nm on Feb 28, 2010 14:22:48 GMT 1
"One of the Arado's met with a mishap and I had to refabricate a new propeller"
An alternative would have been to put two mechanics inspecting it.
nm
|
|
|
|
Post by Baz on Mar 24, 2010 10:32:34 GMT 1
Up to issue 136 Things seem to be progressing slowly but there is a heap of detail work to be done that I've ignored until now Here are some updates on bits and pieces As suggested by Mark some Thiiiiirrrty Fiiiiive or so weeks ago, I have glued plastic card (kindly supplied by Poul) to the forward hanger deck region to give an even height across the brass gratings 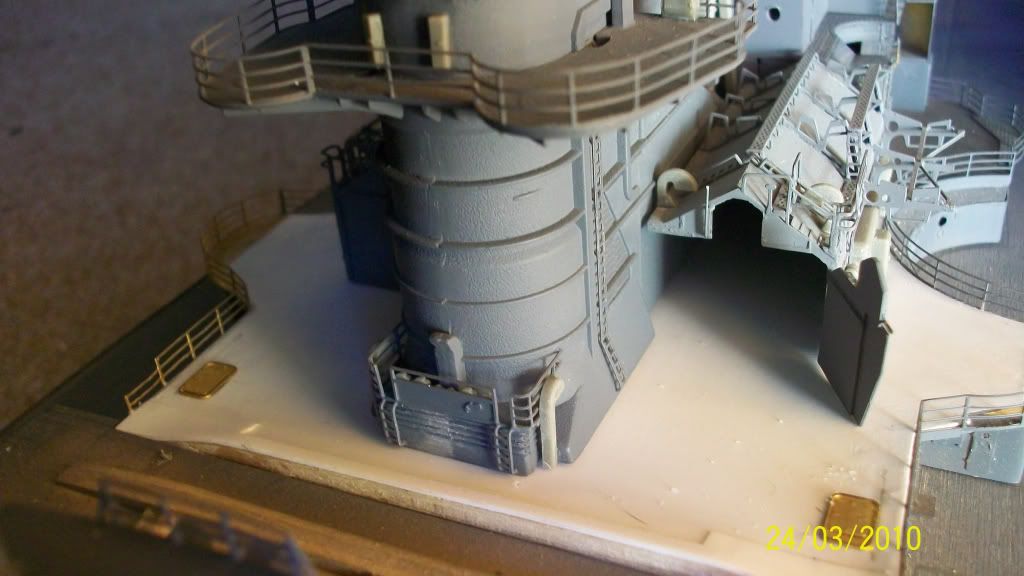 Finally finished the enlarged diameter prop shafts and modified brackets. Have plonked the props in for show. They need to get a final coat of paint. 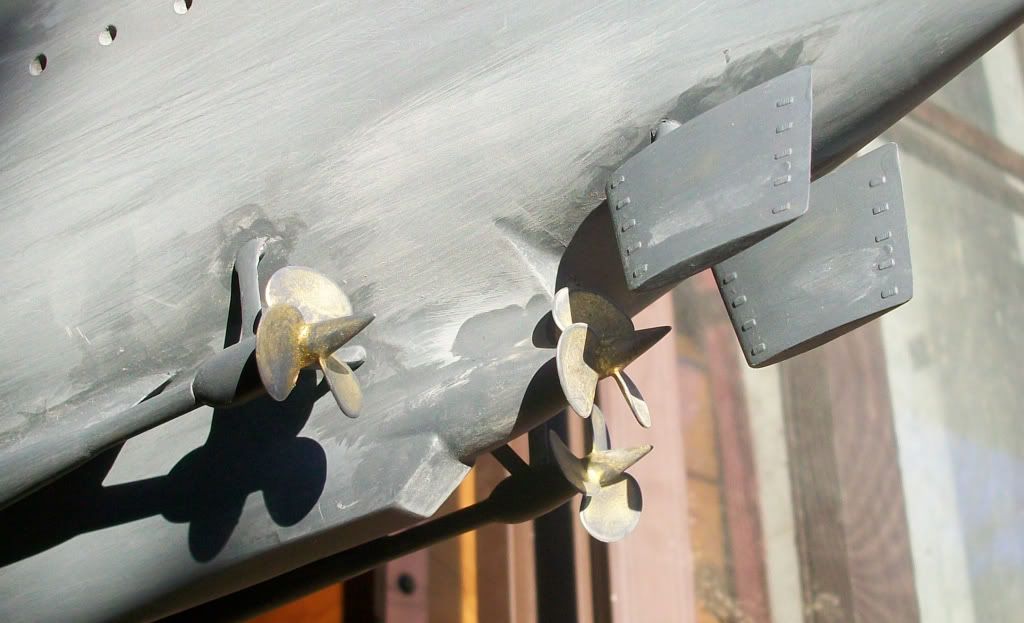 Have finished modifying the bow to get a more accurate representation of the original Bissie 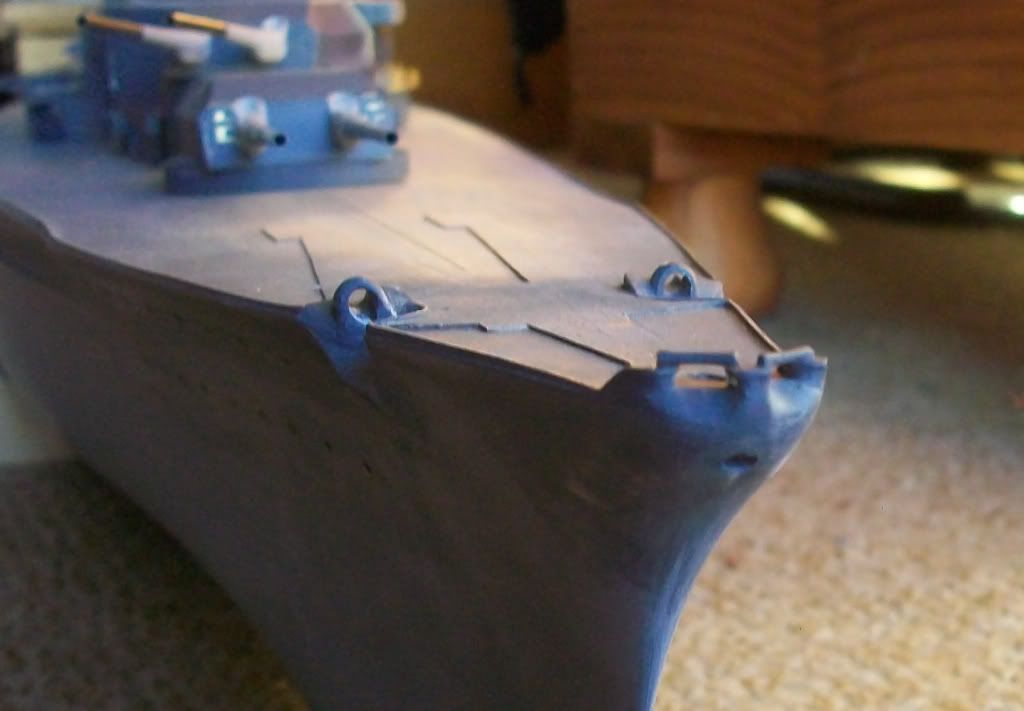 Gave the fog horn a real horn look and added some mods to the thingie box beneath the platform to look like the original Bissie pics 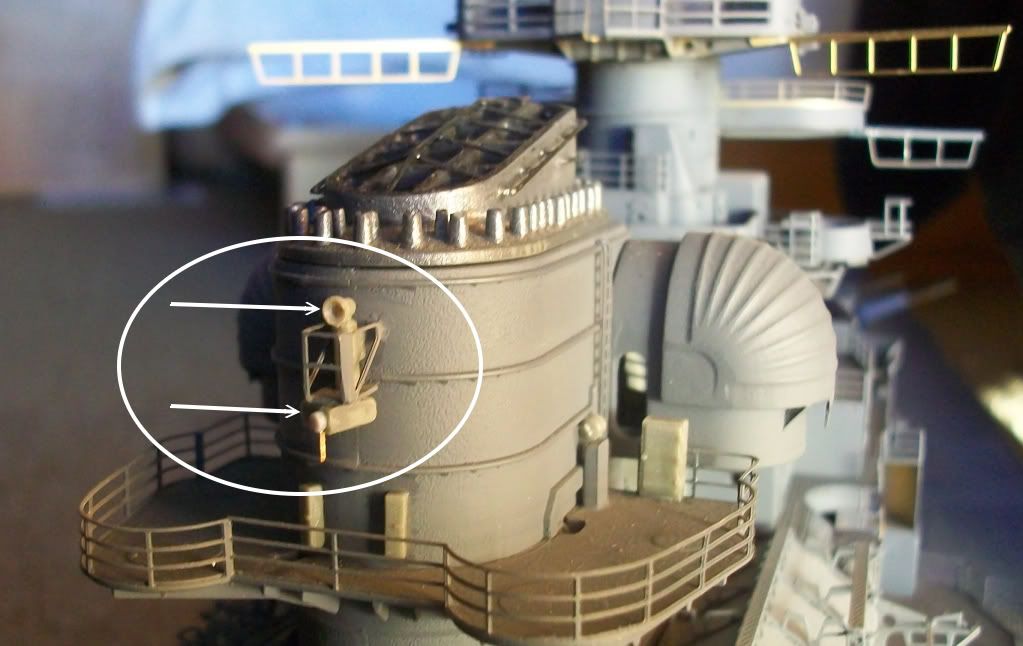 Also added some bridge bits - as per instructions (would you believe) 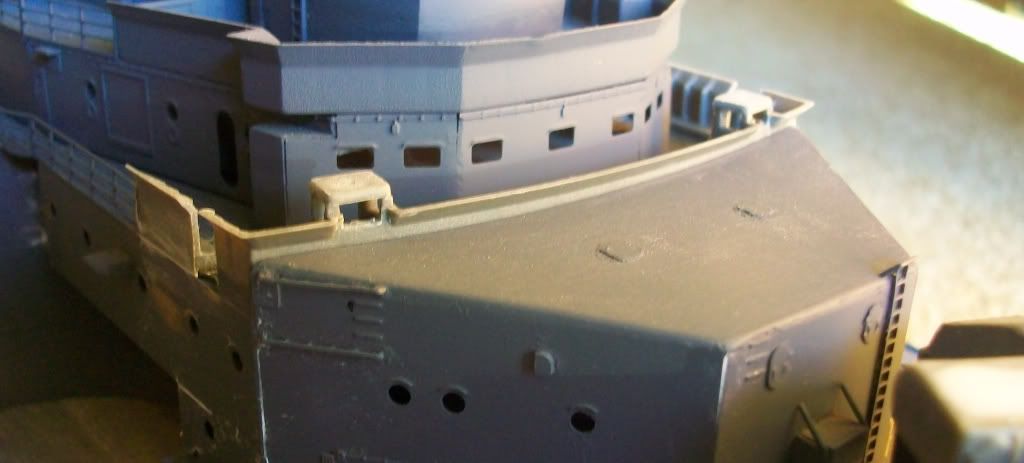 Baz |
|
|
|
Post by Robert on Mar 24, 2010 11:05:12 GMT 1
I stand in awe at all your efforts , Baz.
Amazing attention to detail as usual and what a craftsmanship!
|
|
|
|
Post by Baz on Mar 24, 2010 11:18:49 GMT 1
I stand in awe at all your efforts , Baz. Amazing attention to detail as usual and what a craftsmanship! Merci Robert This model gives me an opportunity to get things close to the original, so I'll take my time to finish. Won't be perfect, but I'm really happy with the results so far. Baz |
|
|
|
Post by rod on Mar 24, 2010 20:32:42 GMT 1
Wow Baz, inspiring stuff as always. one K coming your way... Now that I am doing the same area on my boat, I can appreciate just what effort you're putting into it. It was so long ago that I painted my hull, I am having difficulty finding the original dark sea grey I used for the camo bow and stern areas. So now that I've put my bow piece on, matching paint is a bit of a problem   But yours is looking real good. I like the plasti card idea and considered it once, but in the end, decided I'd stay with the original hatchette way. I'm looking forward to seeing your cranes.. I'm about to start those babies today. cheers Rod |
|
|
|
Post by Baz on Mar 25, 2010 8:51:10 GMT 1
So now that I've put my bow piece on, matching paint is a bit of a problem  Hi Rod Couple of things Here is a detail of the bow for reference. Looks like I need to do a bit more work too now that I've checked 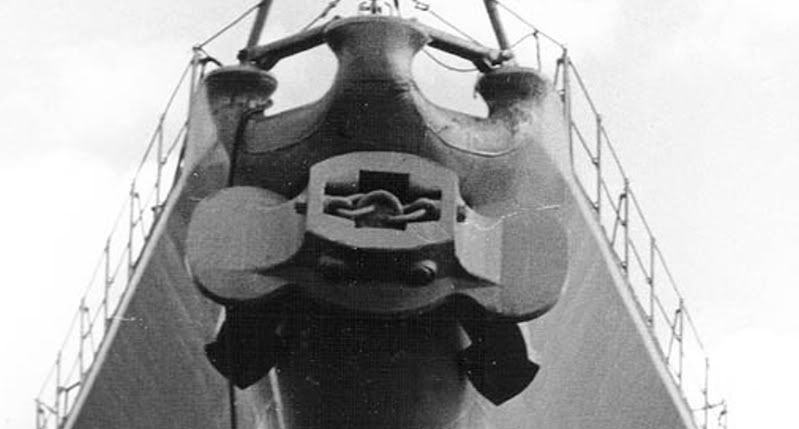 As you need to play around with this area and you need to do some repaintinting, may I suggest you make the bow as sharp as you can as well. A good part of it should be a knife edge and not rounded as supplied. Baz ps - If you need a reference photo, just hoey |
|
|
|
Post by rod on Mar 25, 2010 10:21:45 GMT 1
Hey thats an excellent reference photo Baz. It gives me the perfect picture of how much filling and sanding I need to do to get it right. Not sure abot the knife edge bow, I've spent enough time on that area to want to leave it well alone now.  thanks Rod |
|
|
|
Post by Baz on Mar 25, 2010 13:01:44 GMT 1
Awwww cummon Rod, don't be a wuss ...............  You mentioned the cranes I built them a few weeks back They are very straight forward No problems However ...........................  Swanrail did point out there were problems of sections of the gantry getting in the way of an aircraft on the catapult Might have actually been a problem on the real Bissie too Anyway, after much study, gnashing of teeth and trying to work out just how they could have launched the plane without removing a wing, I came to the conclusion the crane needed to be moved....... a la Tiripiz. Here are some photos of my mods Please note ....... 1 side will be a bit different to the other Just a small c...c.....c... stuff up ...................  But Who's going to notice ...............  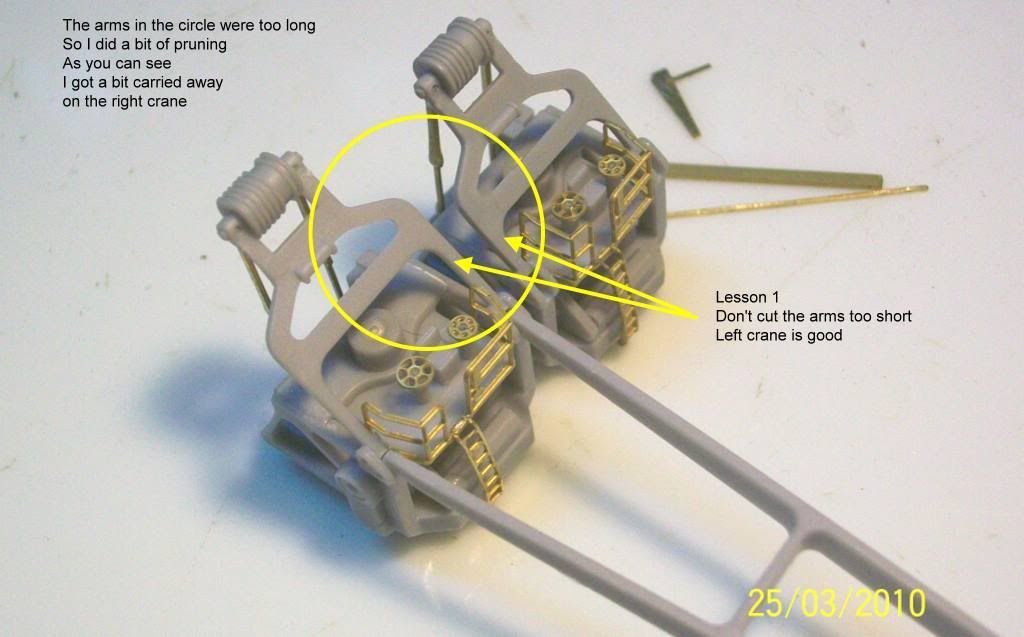 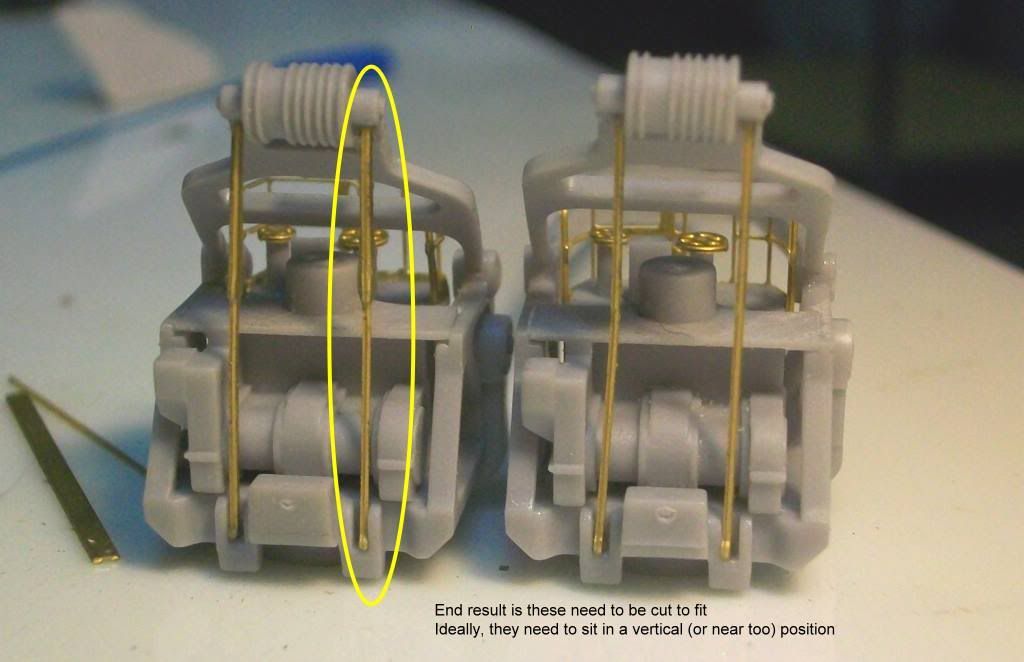 Baz |
|
|
|
Post by rod on Mar 25, 2010 13:10:57 GMT 1
Heh, I look forward to seeing your bow cut through paper when its finished  |
|
|
|
Post by Baz on Mar 25, 2010 13:12:55 GMT 1
Heh, I look forward to seeing your bow cut through paper when its finished  I'd like to see that too............ ;D ;D ;D ;D |
|