|
|
Post by popeye on Apr 6, 2010 16:15:31 GMT 1
Dear Baz
Long life to you and your Father.
|
|
|
|
Post by eric on Apr 6, 2010 20:48:09 GMT 1
Ah, heck Baz.....I am so sorry to hear about your Mum.
A hard difficult time for you all, this I know.
Look after your Dad, he'll need the support. Look after yourself too mate.
|
|
|
|
Post by bruno on Apr 9, 2010 15:42:31 GMT 1
Hello Baz, I feel very sorry.
Keep strong. I'll pray for you and your dad.
|
|
|
|
Post by Baz on Apr 15, 2010 9:35:21 GMT 1
Hi folks Back on deck again here in Oz. Dad doesn't have a computer or the internet in NZ Bit of a bother but ................    Thank you everyone for your kind words and well wishes Dad is still fit and well, so I must be thankful for small mercies It was nice to go 'home' even if the occasion was a little sombre. However, I did meet up with a lot of my long lost cousins. Have issue 139 in my hot hand ......  .... only 1 to go ..... ;D Now I really must finish and paint the hull. I also need to use proper rungs for the stern footholds and not the cut up brass rod supplied. Baz |
|
|
|
Post by rod on Apr 15, 2010 10:14:44 GMT 1
How did you get issue 139 mate?
Rod
|
|
|
|
Post by Baz on Apr 15, 2010 10:24:00 GMT 1
How did you get issue 139 mate? Rod Newsagent Golly gosh (polite language) there's some work ahead Baz |
|
|
|
Post by mike on Apr 15, 2010 12:14:06 GMT 1
Hi Baz
Pleased to see your back on board, and your Dads ok.
I want to do the same as you with the stern footholds, Do you know where to get them.
mike
|
|
|
|
Post by Baz on Apr 25, 2010 9:20:00 GMT 1
Hi Baz I want to do the same as you with the stern footholds, Do you know where to get them. mike Hi Mike Bought some very, very, very fine piano wire on Thursday Will scratch build them with this Will use the end of my needle nose pliers as a mold for constant width rungs Baz |
|
|
|
Post by Baz on May 1, 2010 8:52:53 GMT 1
Bit of an update But not much really In fact, I'm having a break from her at the moment Did some undercoating last week and this week I decided it was time to try and build a final stand. I have always had 2 streams of thought Either a stand representing dockyard chocks or a stand that is semi invisible The second choice meant less work so I thought I'd have a crack The end result (although not quite finished) has turned out better than I anticipated Judge for yourselves Out with the old 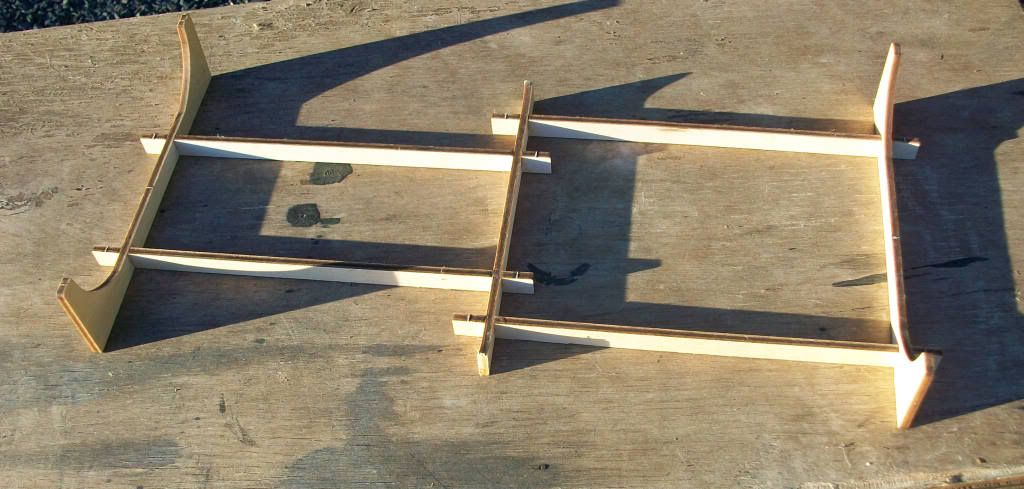 In with the new ................. I know ..................  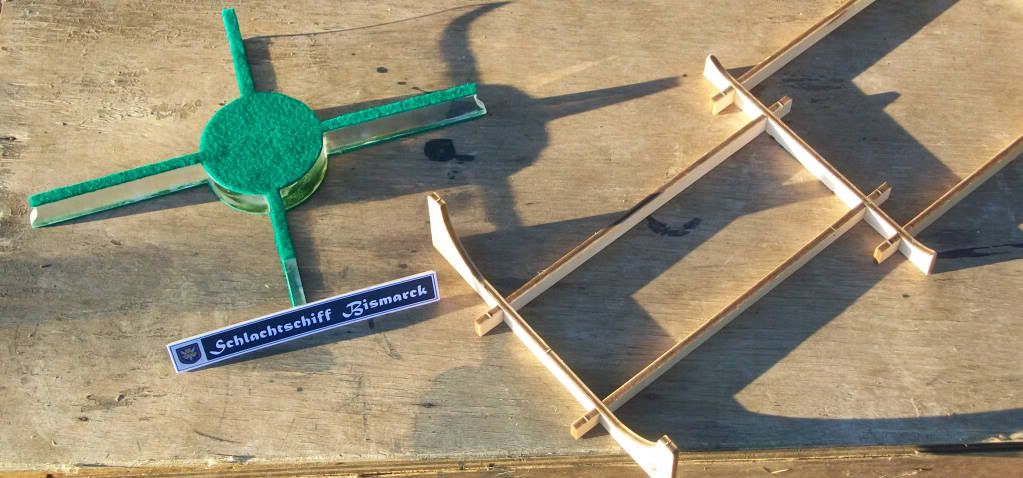 Quite small But works a treat Although very tiny, Bissie sits very stabily on it mainly because the bottom of the Bissie has a large flat area. Still need to add a couple of locating lugs down the track to hold everything in place correctly 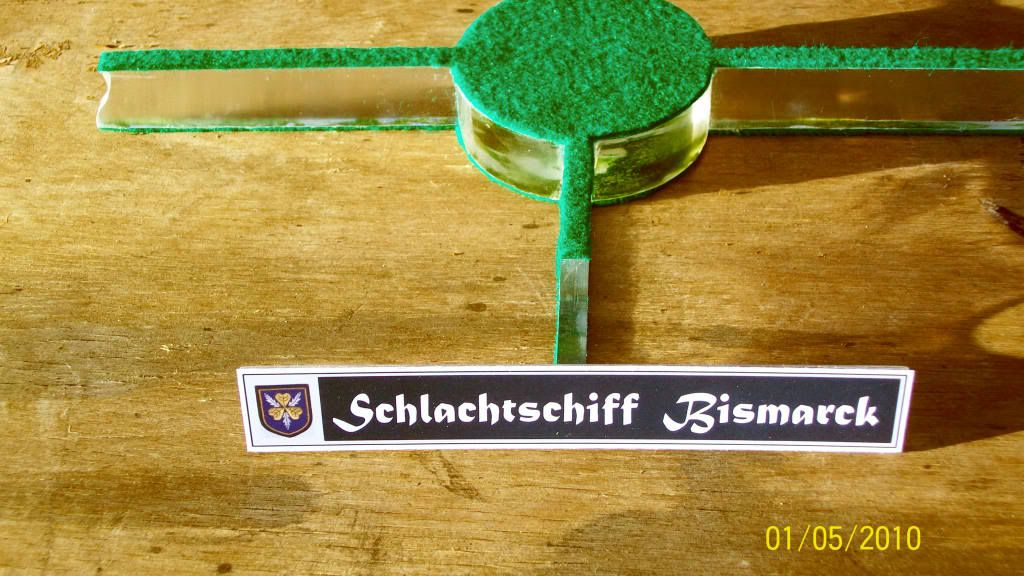 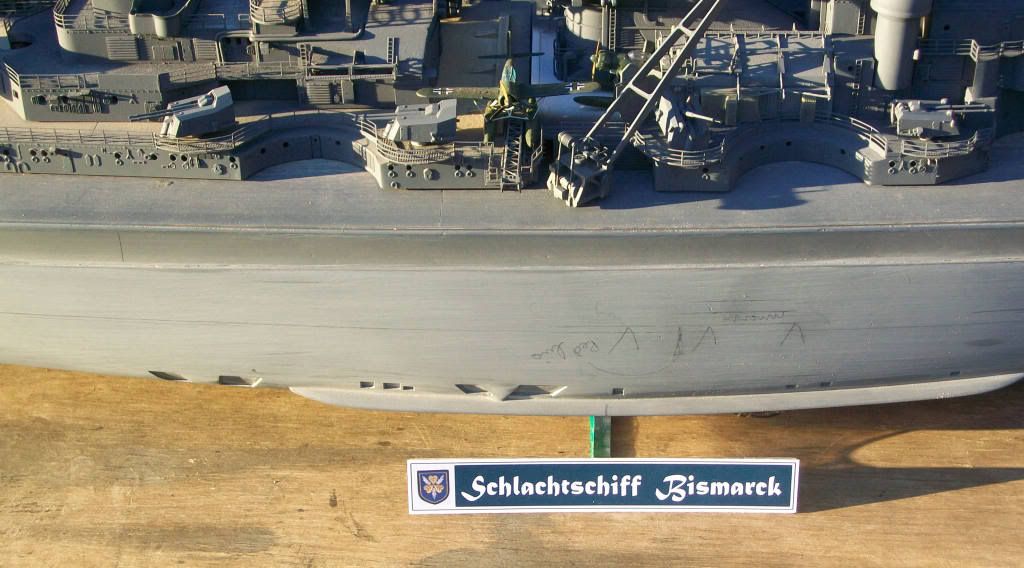 Plus a couple of general pics. No real changes here Just love Amati's attention to detail 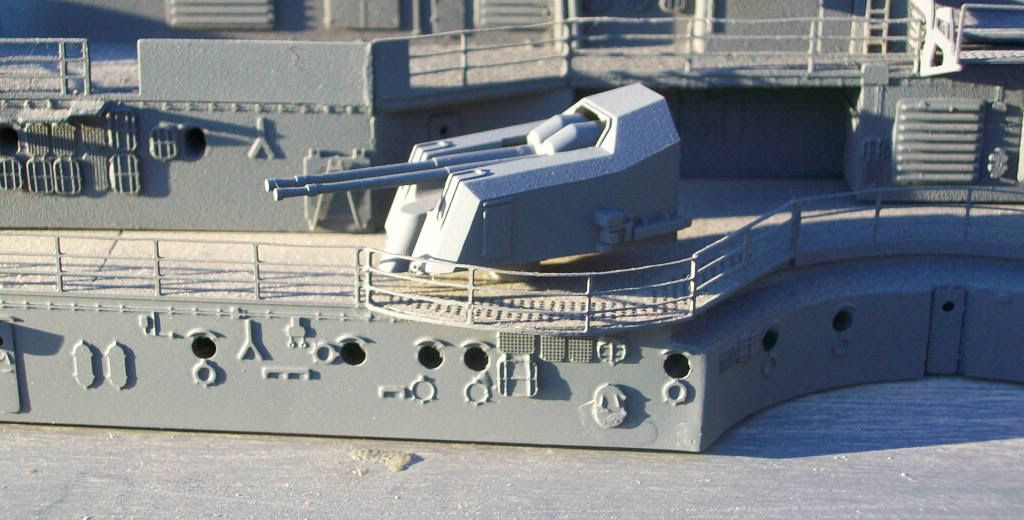 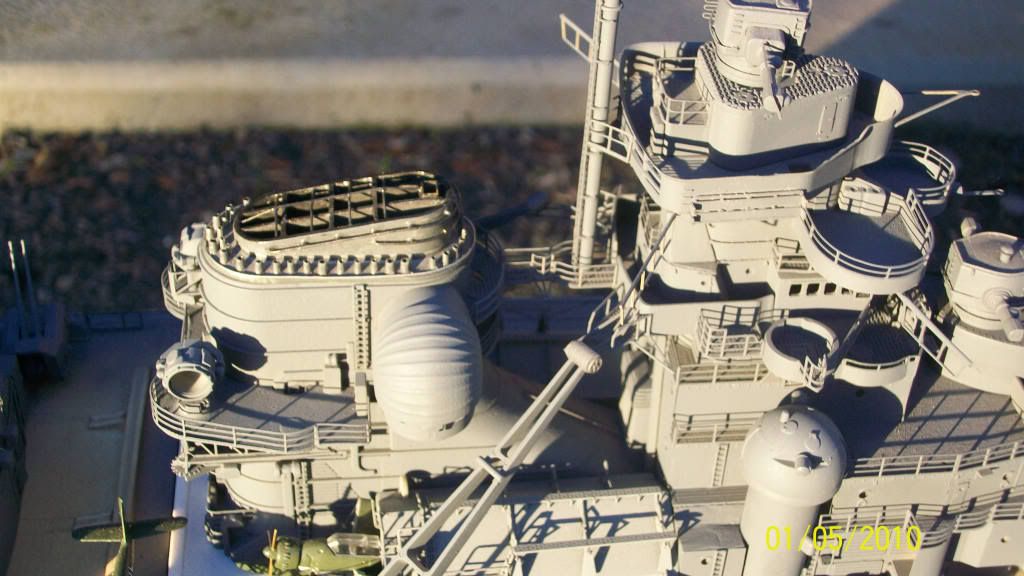 Baz |
|
|
|
Post by rod on May 1, 2010 10:23:34 GMT 1
Baz,
looking at your photos reminded me of another problem with fitting the stairs. On your photo - about the fifth one down, under your comments saying you love the attention to detail.. There is a gap in the railing for the stairway to fit however you will notice there is a little vent hood that protudes out and actually prevents the stairs from fitting into the gap. I had to remove the hood and move it sidewards to make the stairs fit. Funnily enough its fine on the port side.
Any chance you can post some of the links to the photos you've found? I've been pondering how to paint the small calibre weapons to give them a little more depth than the overall grey.
Rod
|
|
|
|
Post by Baz on May 1, 2010 10:35:45 GMT 1
Aaaaaaaaaaaaaa ....... I see it .....  Top left ...  Hey Rod Check your personal messages Baz |
|
|
|
Post by Baz on May 17, 2010 13:49:55 GMT 1
Well folks Its been a while since my last update Now I've received all issues, I'm going to be alll over the place. Firstly. a word for all those looking at forward issue instuctions on the website 'Die bismark" as I have been doing The ramps and coverings for the Arado launch ramps are shown in grey in issue 139 pics 33 to 35. Suprisingly, these are detailed brass pieces. I had not anticipated this and made my own section from plastic card. Trying to remove plastic card glued to plastic card with Superglue was almost impossible Below are some pics of the actual brass pieces. Because I have used plastic card for decking on this section, I have cut some section away. 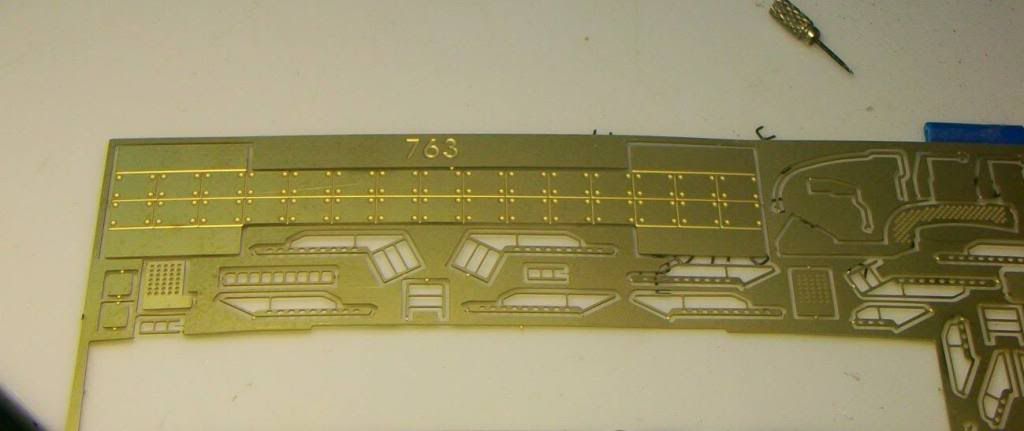 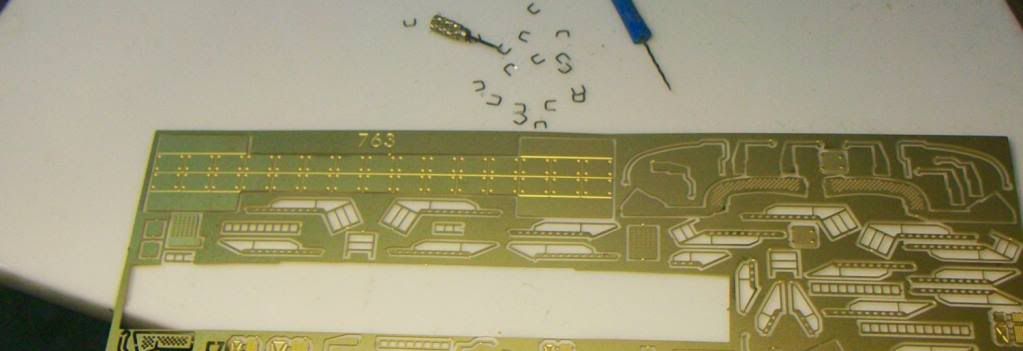 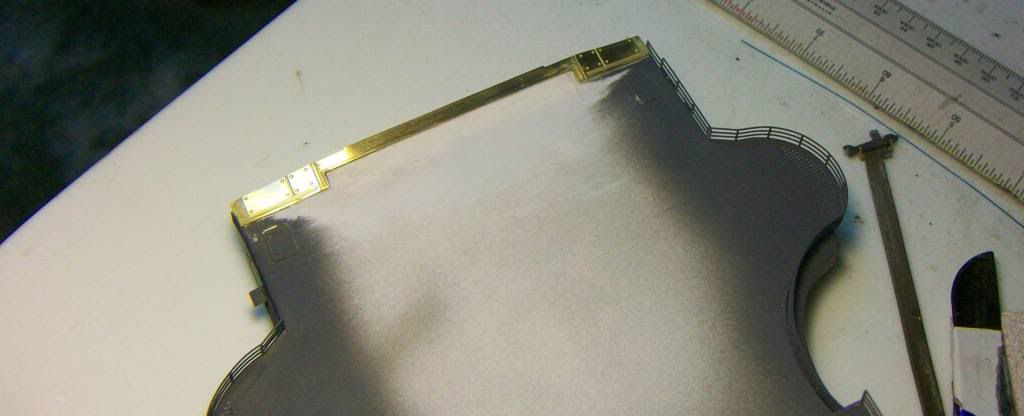 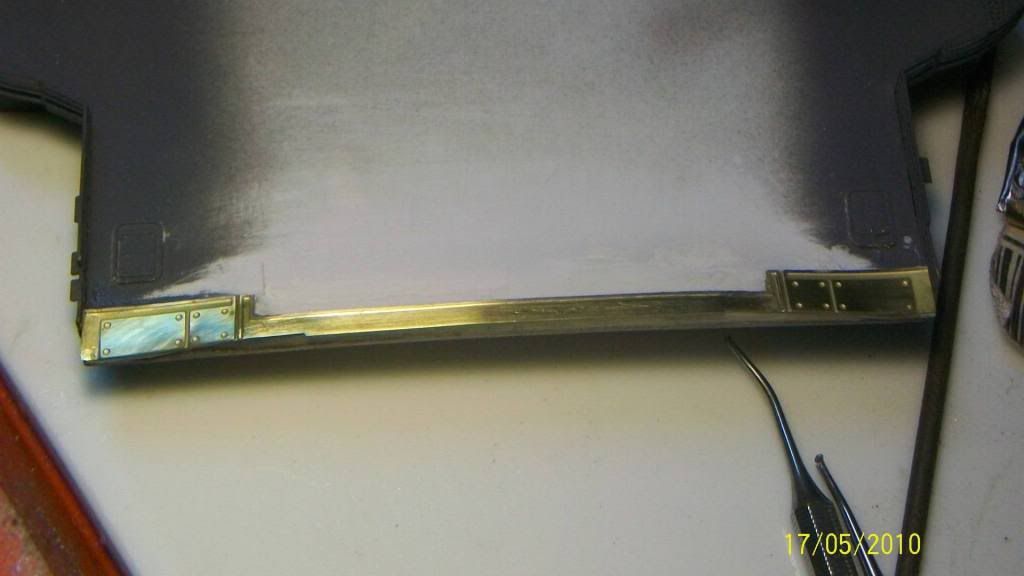 Now for a seriously ridiculous mod Adding actual footholds to the stern section of the hull using needle nose pliers as a mold. In actual fact, this is more time consuming than anything else. 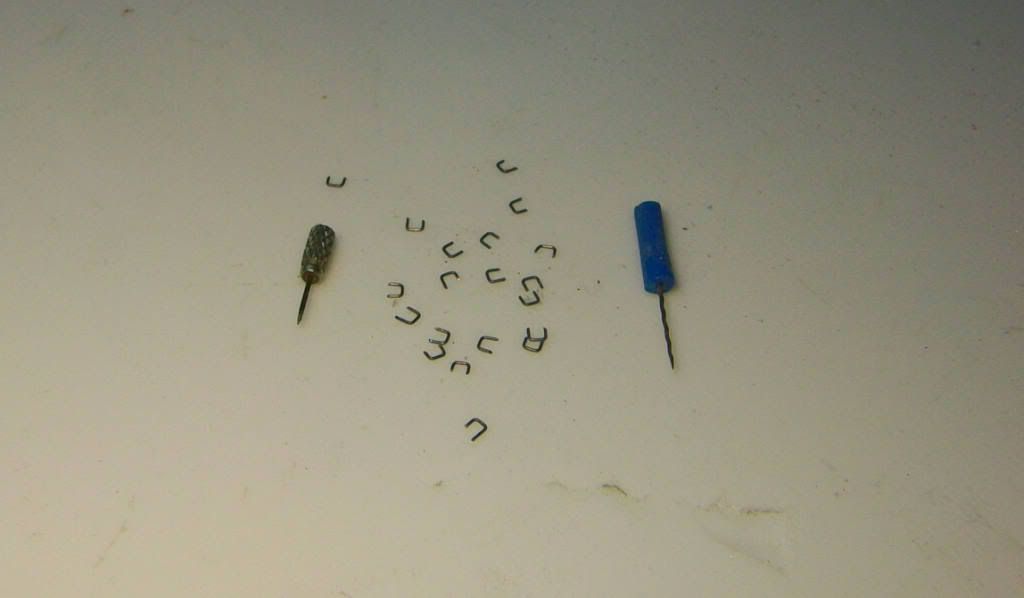 These photos are enlarged, so the actual real life view does not see the minor deviations from the horizontal and distance from the hull of each rung. In fact. they look damn good to to the naked eye,,,,,,well my naked eye that is ...............  I've used the pattern supplied by Hatchette to set it all up' 1 set of rungs are in place Another set of rungs are on the garage floor .....  But........what the heck The rungs are made from the thinnest piano wire I could buy. The setup 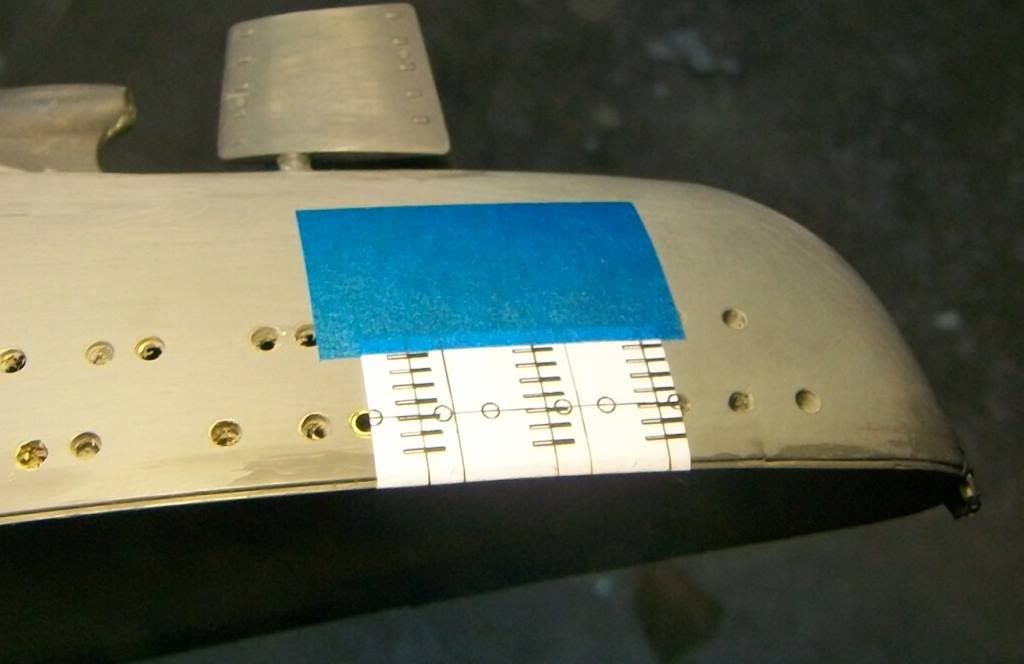 1st set of rungs in place  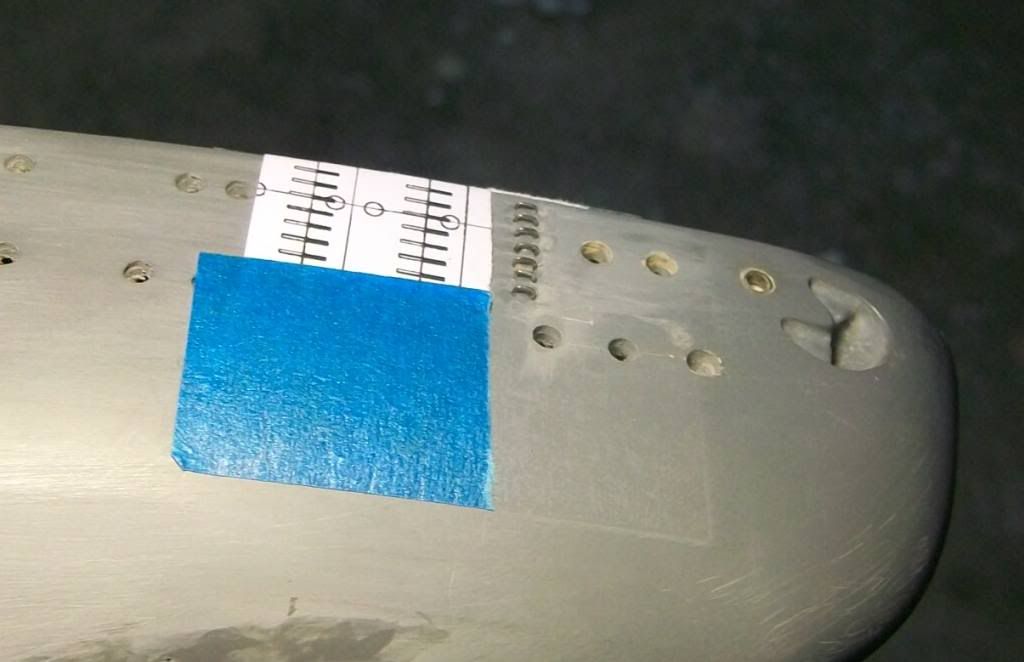 |
|
|
|
Post by mike on May 17, 2010 17:47:50 GMT 1
Baz Have a big K, I recon those stern rungs look brillant, Have'nt done mine
yet, been waiting to see how yours turn out
great job.
mike
|
|
|
|
Post by Mark on May 17, 2010 21:05:49 GMT 1
Brilliant Baz, I think I might well try that mod myself.
|
|
|
|
Post by Baz on Aug 1, 2010 6:00:52 GMT 1
Greetings all ...................  I'm back  Its been a while as I have had a lot of work on my plate recently. It seems we have all received the last magazine and halted in our tracks. To stop the rot, (and get some site focus on the Bissie build ....  ) I spent some very chilly nights out in the garage this week determined to at least get something done. So my aim was to finish the foot rungs at the stern. Took a bit of doing first off, a few challenges - making each rung similar in size just using needle nose pliers.
- keeping the holes per rung parallel
- keeping the holes for the rungs in a straight line vertically
- keeping the metal rungs the same width so they would fit the holes.
![]() Note I didn't get the innermost rungs on the port side right first time ................. bugga .................  i250.photobucket.com/albums/gg259/K1w1inoz/0810f.jpg[/IMG] i250.photobucket.com/albums/gg259/K1w1inoz/0810f.jpg[/IMG]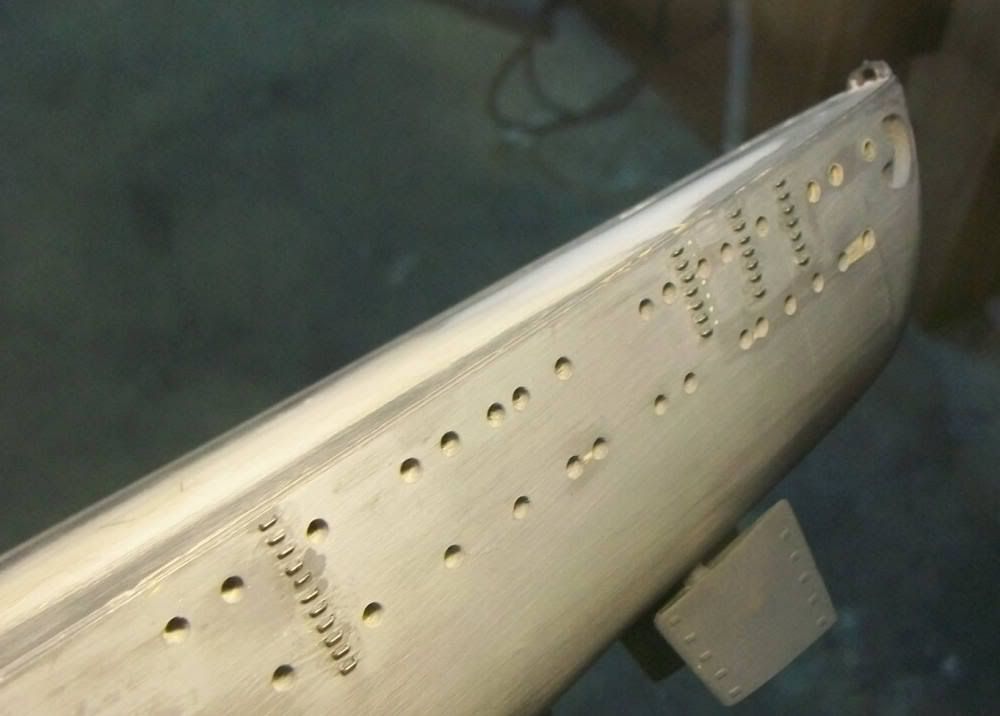  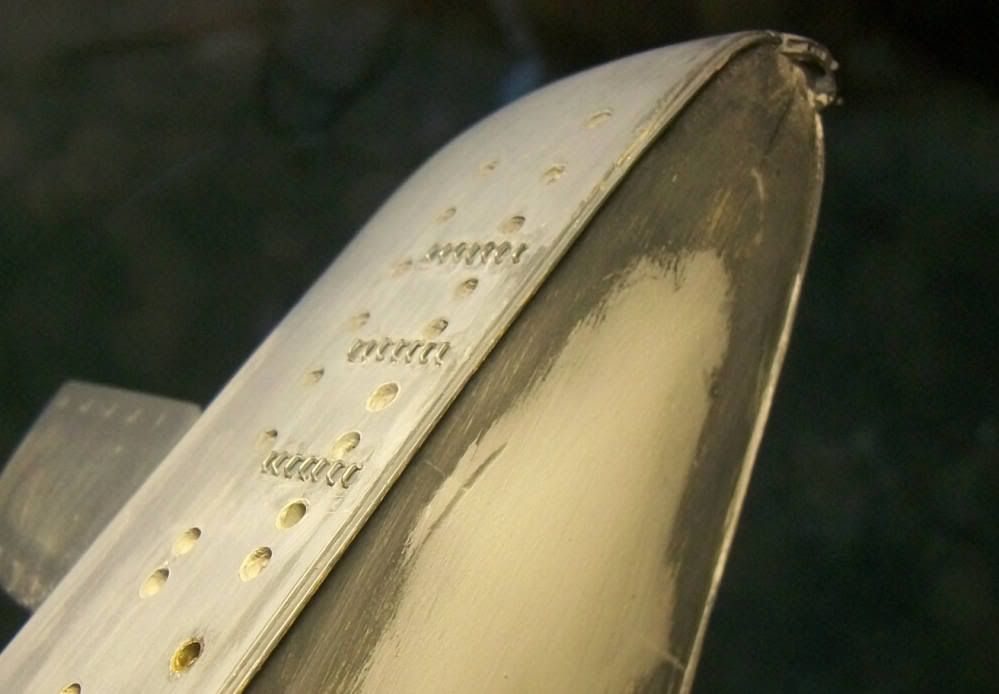 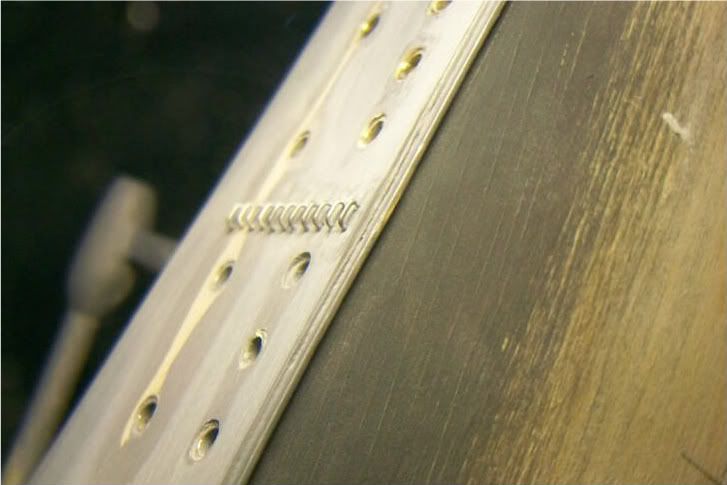 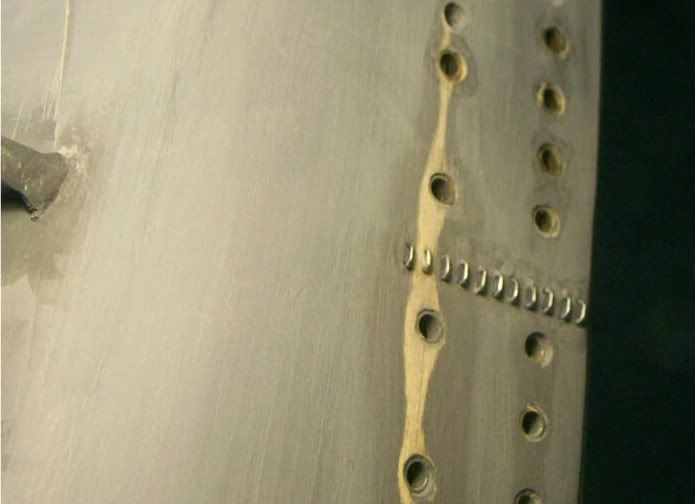 I also had a play with the main guns. Just about there with them too. The blast bags are really starting to take shape  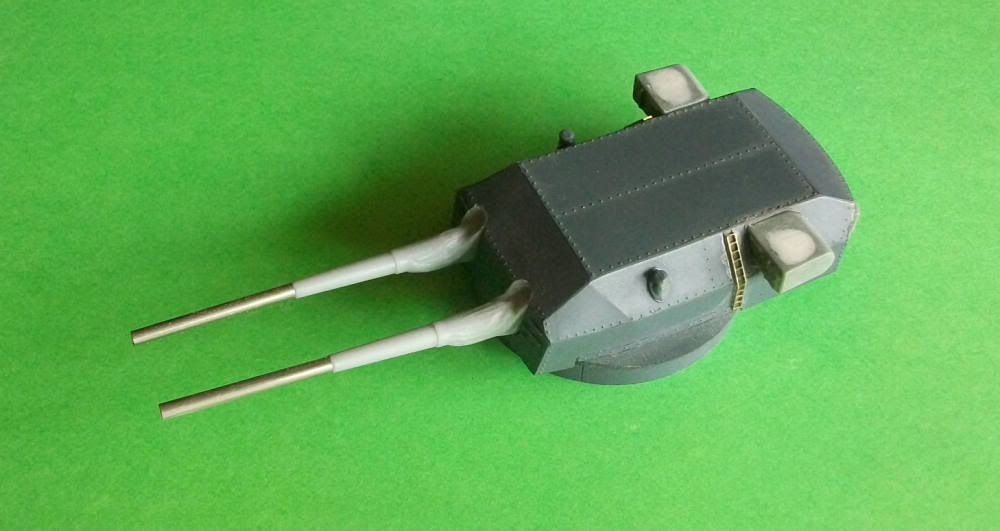 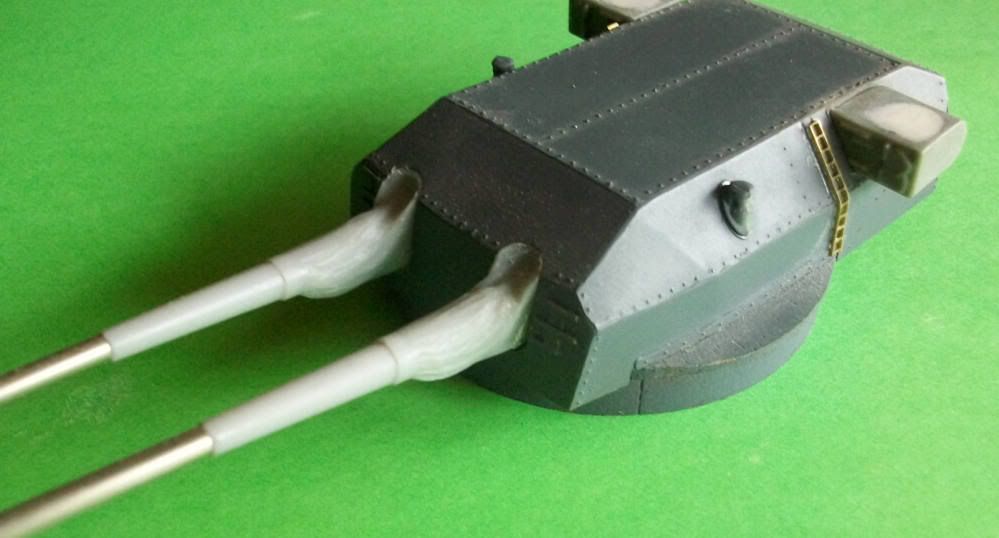 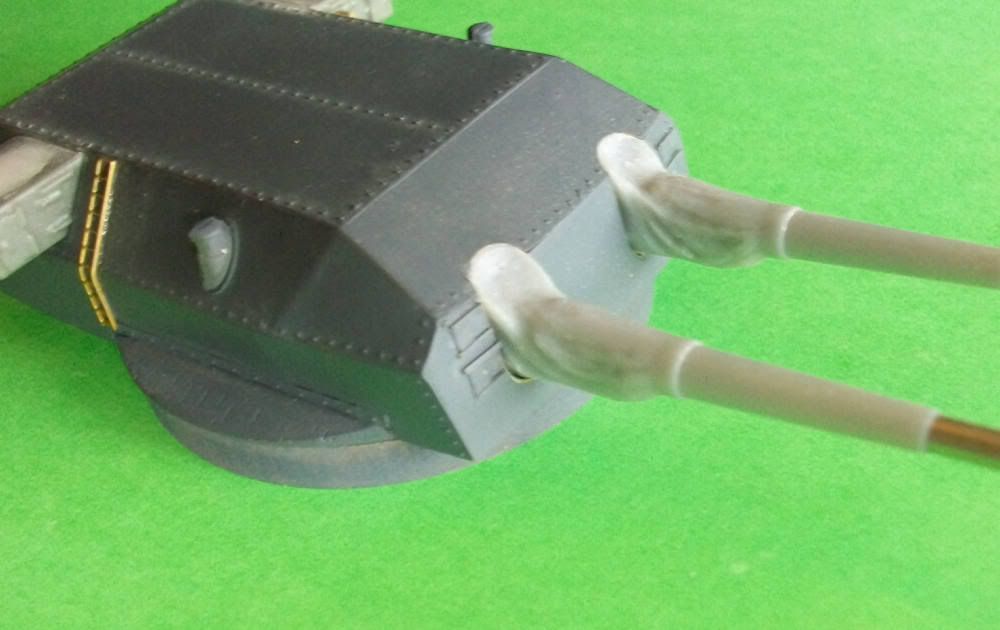 I've also been doing a bit of work outside too ............ in between the rain. My cousin Ed from Canada will be pleased as he helped me put the stumps in way back at Christmas 2008  Baz |
|