|
|
Post by david on Apr 18, 2008 15:42:59 GMT 1
Hi Baz, AFK is right to be concerned about the extend of your lip, although you seem to have plans to perhaps enlarge the deck??? My concern would be that to preserve the full depth of the anchor pocket you can't sand back too much or you'll loose it. But good idea about shaving the underside of the ply rather than the resin piece, wish I'd thought of doing it that way. David
|
|
|
|
Post by Baz on Apr 20, 2008 11:43:42 GMT 1
More stern construction. Some months ago I practiced drilling out the anchor pocket in the stern on the first part 70. This was successful, so before doing anything, I drilled out pt 70 A Because the pocket in 70A is at a different angle and probably more correctly aligned (to the original ship), I knew I was in trouble, because my pocket is going to be a bit lower on the model than it should be. So my hole out the top of the resin is quite large, to pick up the correct section in the deck. I toyed with the idea of following Swanrail's example of cutting, moving and filling, but chickened out in the end. Sadly nearly all my preparation photos are crap...  , so will not post the really bad ones Here's 1 thats OK ..............just. 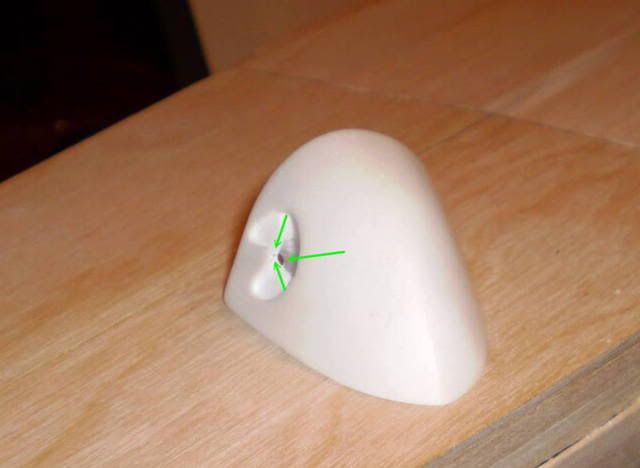 Then I glued the toe rail, outer skin and hawser guide (or whatever it called) to the stern decking. Not too sure what Hachette, Amati plan here, so I'll leave options. Next, after much measuring, pencil marks and test fitting, I glued the stern to the stern decking. ( This is not a task for the faint hearted). I still didn't get it 100% right, but it was close 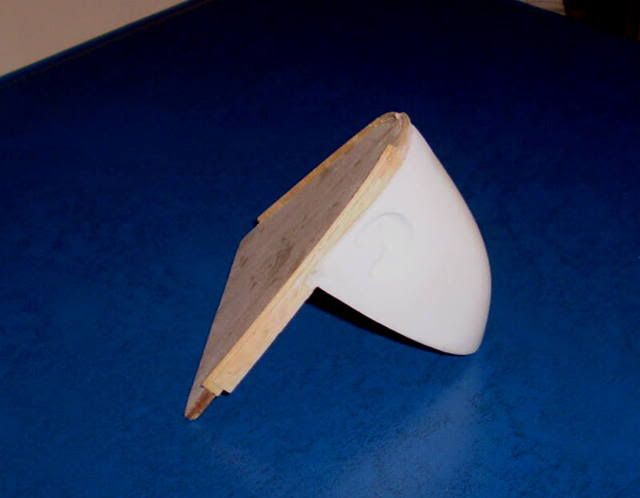 I then sanded the outer skin for a smooth transition on to the resin stern. Bit off on the port side, but the resin mould wasn't 100% accurate there either. No need for concern Afk and David, I did not have to sand any part of the resin stern piece Finally I attached the stern section to the hull. There was a 1.5mm gap between the stern decking and the rest of the decking already attached to the hull. Less distance than I expected. The resin stern now sits proud by about 0.8mm - 1mm where it meets the first layer of hull planking All in all, a reasonable result 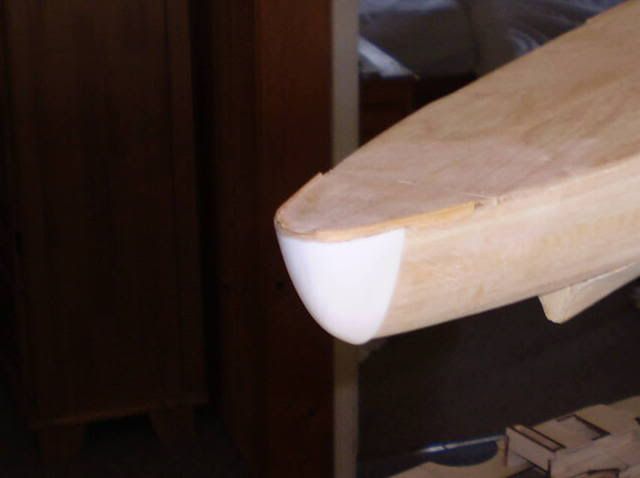 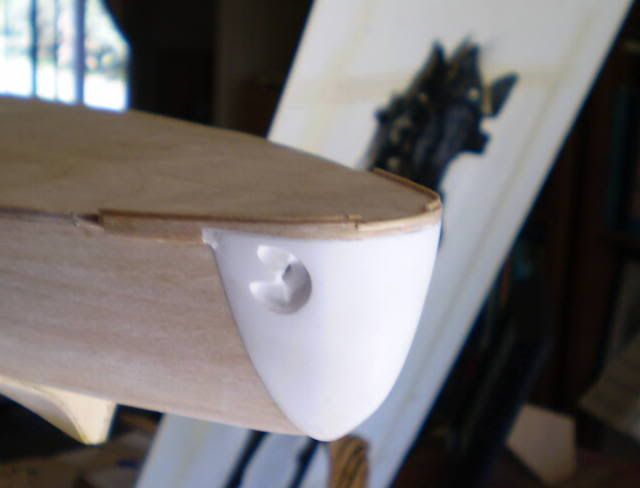 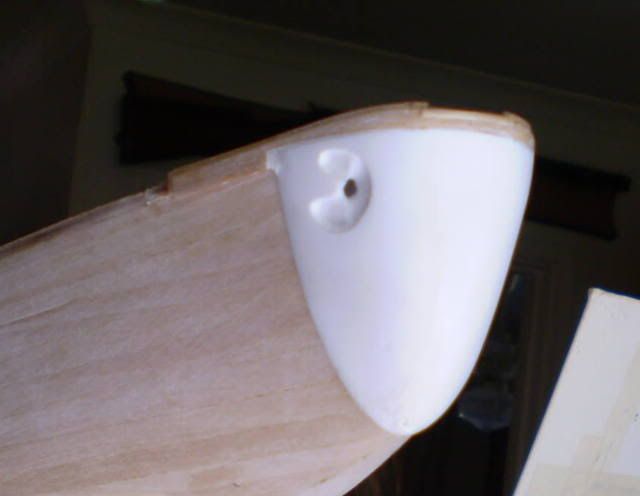 Now for the second layer of planking. Baz |
|
|
|
Post by Mark on Apr 30, 2008 15:08:18 GMT 1
Mark Is there any chance of moving this Topic to the Build Dairy section please. I will use it to post my construction progress You can even change the title to something like Bazza's build Thanks Baz Done  |
|
|
|
Post by david on May 1, 2008 16:40:07 GMT 1
Excellent work Baz, especially the planking. Nice to see someone else having a go at the gunnel/toerail, so I'm looking forward to see how your build develops. David
|
|
|
|
Post by Baz on May 10, 2008 9:42:10 GMT 1
Here is an update on my build. The second layer of planking is now well on the way with the port side bilge keel in place. How easy it is to go wrong. I happily measured up the water cooling 3 ply part, confirmed I was placing it in the right orientation and promptly cut my grooves on the wrong side. Oh well, nothing a bit of filler won't fix. Plan of attack  Result 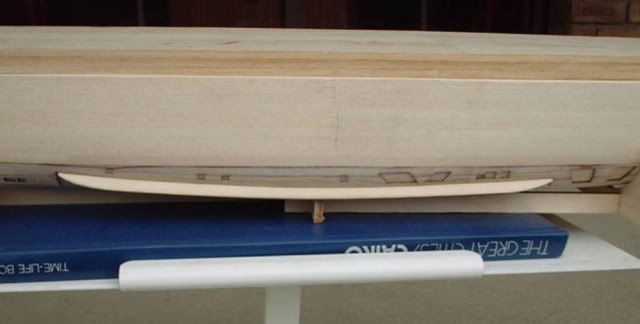 Next I decided it was time to fit and glue resin piece D ( the central propeller housing) now that I had the 2nd layer of planking against where it is supposed to lie. (Amazing, even the instructions recommended this approach - I read this after I had done the deed) I had to lift this approximately 1mm. 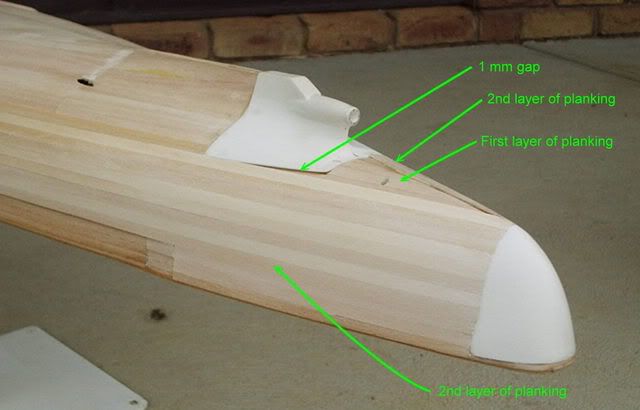 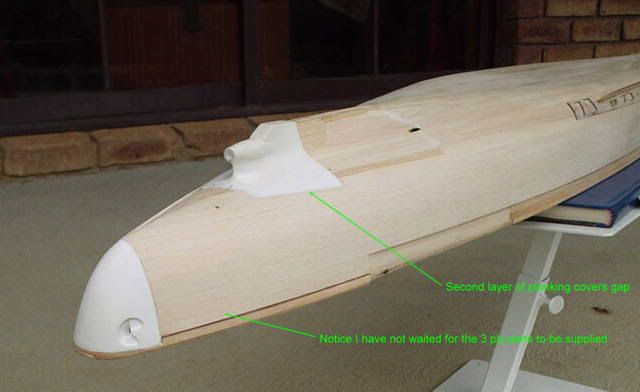 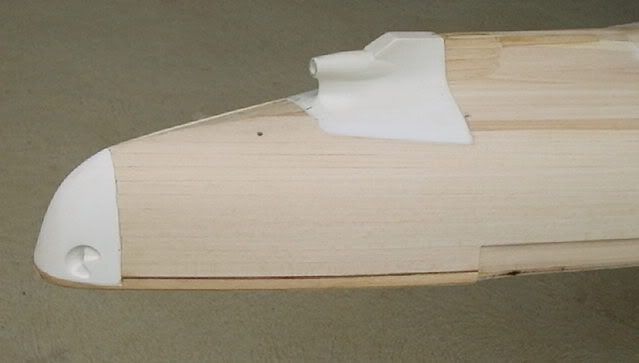 I was still determined to to have a gunwale (toe rail), but I was not happy with my first attempt, because I only had a small lip along the mid section of the ship. It needed to be about 1mm. This was the answer 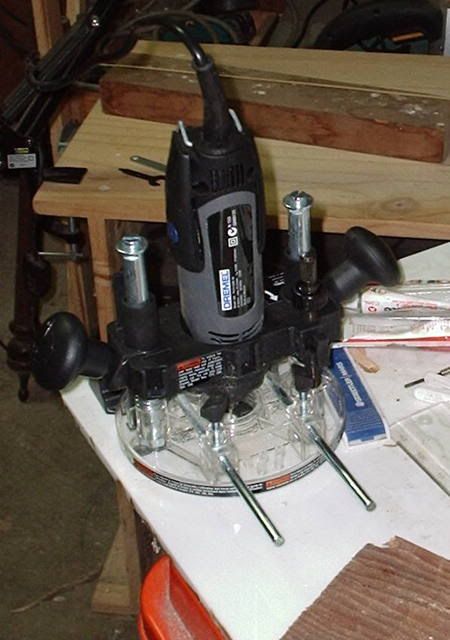 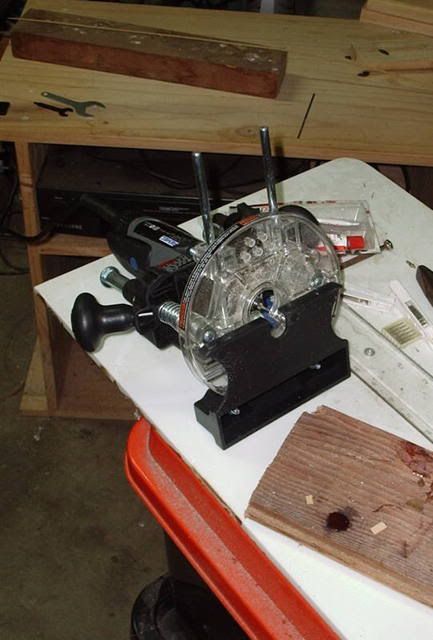 Yep........ a router attachment for the Dremel. My router bit was a No1 fissure dentist drill bit dating back to the 1970's. 2mm deep x 0.8mm wide - perfect 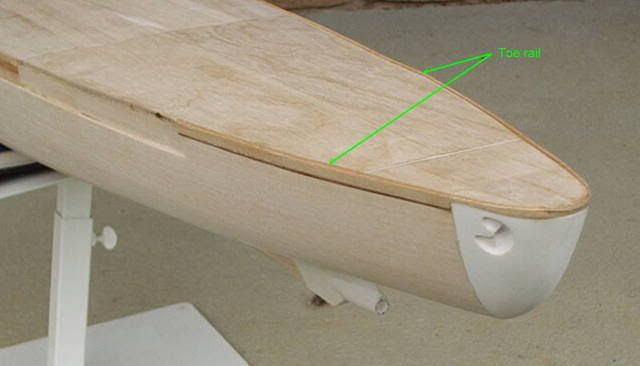 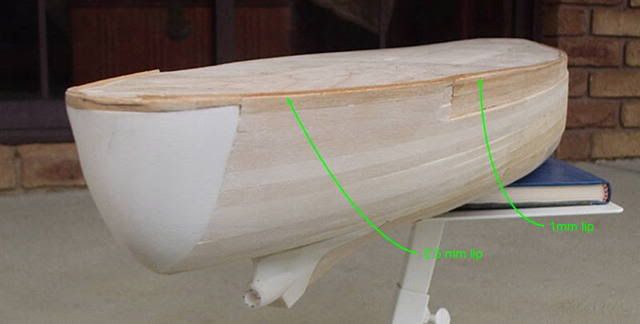  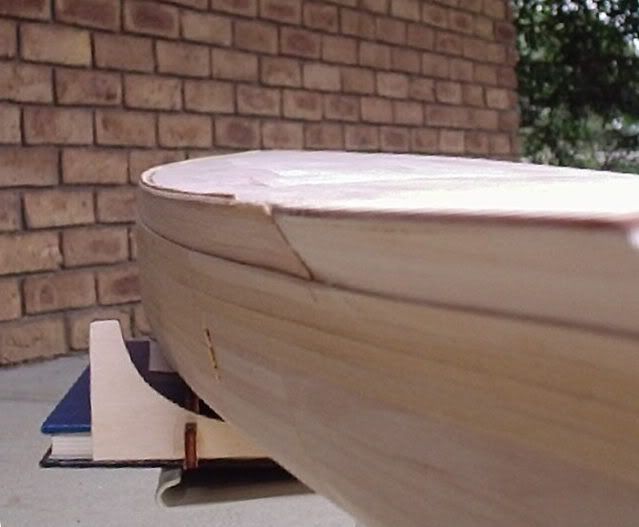 Once the bow section is complete. I intend to paint the hull prior to planking the deck..............5 - 6 weeks down the track OOoops............ tried to enlarge photos in photbucket...writing is a bit fuzzy, but legible.....in places Baz |
|
Deleted
Deleted Member
Posts: 0
|
Post by Deleted on May 10, 2008 10:01:34 GMT 1
Wow looking good. Getting there with mine.  |
|
|
|
Post by Baz on Jun 5, 2008 7:18:41 GMT 1
Well folks Time to update. There should be some major advances over the next 3 or 4 weeks. I received issue 42 today. Having reviewed what to expect some 20 weeks ago from your postings, I had already decided not to use the 3 ply frets supplied and used spare 1mm planking strips for the Stern section. I intend to do the same for the bow, but to attempt this I need the resin bow piece, which should arrive next week. Once this is complete, I will install the remaining gunwale. Then complete the sculpting of the anchor sockets. I have bought some 1/8th inch inside diameter brass tubing for the portholes. Holes will need to be drilled accurately to accommodate the tubing. I will not install these until I have painted the hull. My plan is to paint the tubing as well before it is installed. This method will hopefully give an indication of the complete porthole unit. Now that I have the 3 ply frets and a 1:1 copy of the amendment sheet from issue 54, I can go ahead and drill the portholes accurately. My daughter’s boyfriend is a car spray painter, so I will visit him very soon. I also intend to plank the decks, and was not going to start this until I had painted the hull. If we are receiving deck planking with issue 60, I may just wait until then before I attempt it. Will see how my patience lasts.  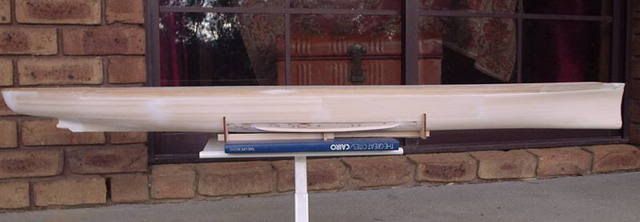 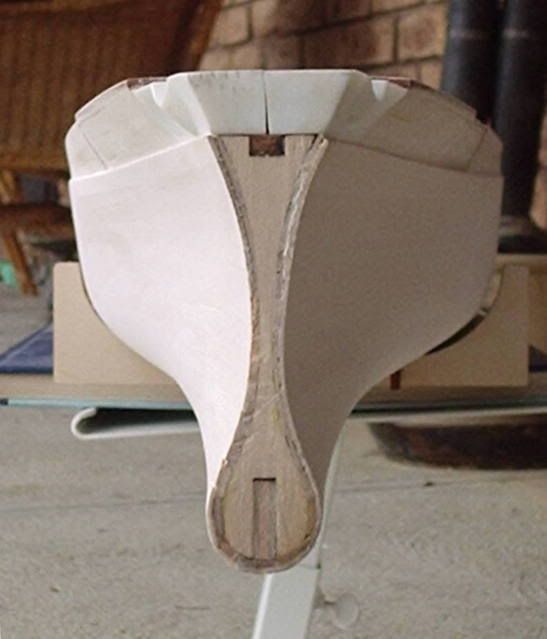 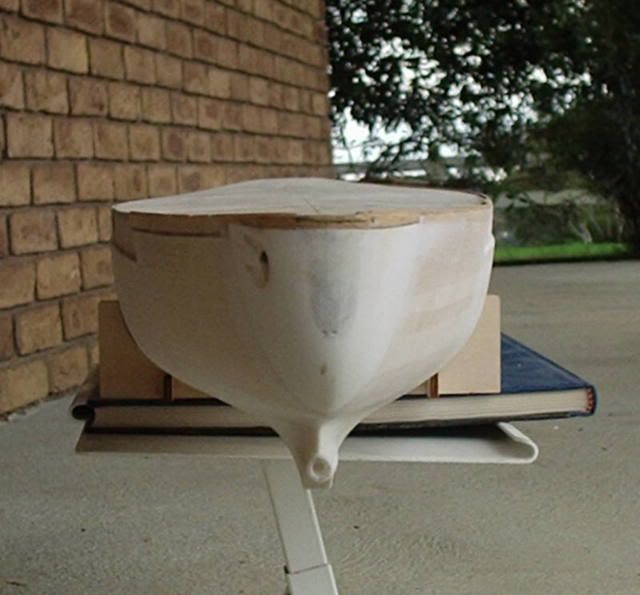 Baz |
|
|
|
Post by swanrail on Jun 5, 2008 10:47:09 GMT 1
Coming along nicely BAZ, well done!!!
|
|
|
|
Post by Baz on Jun 5, 2008 12:44:09 GMT 1
Thanks Swanrail
I have really enjoyed the planking section ( not that wife will agree)
Not looking forward to the brass bits though.............
Virgin territory here.
Baz
|
|
Deleted
Deleted Member
Posts: 0
|
Post by Deleted on Jun 5, 2008 13:48:33 GMT 1
Your hull planking is looking good Baz, getting my hull slowly ready for the 2nd layer.  |
|
|
|
Post by Baz on Jun 9, 2008 12:29:52 GMT 1
Thought I'd have a rest from the upper hull planking and have a go at the stern portholes Even though I drew straight lines and drilled 1 mm holes to begin with, they're still as straight as a dogs hind leg. I have learned an important lesson. Because the wood is very soft, it splits and separates very easily, especially when the holes are close together. This posed a problem even using high speed burrs. I found I had more control using my slow rotating hand drill than I did using the Dremel. Be very careful, I don't recommend using drill bits. I will probably use some dope (might be similar to Glattfix) to harden the area before actually fixing the portholes in place And here is a question How has or does anyone intend to fix their home made portholes in place ?  Also, I was intending to undercoat the hull before inserting the brass portholes, but will give that idea away and work out how to insert the glass (clear bits) later. The jig for cutting the brass tubing is very crude. Wood either side and clamped in the vice. I used an aluminum inner tube to keep the circular form of the brass while cutting Depth of porthole.........guesswork at approx 1 mm 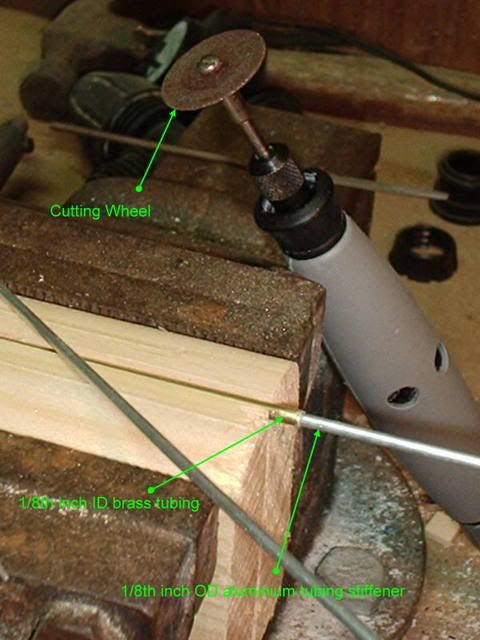 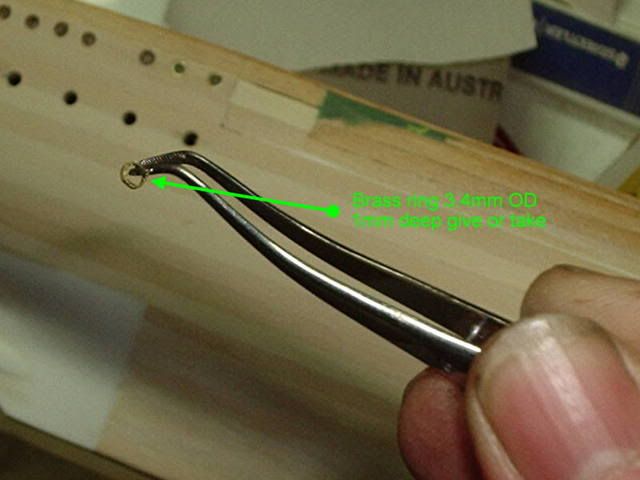 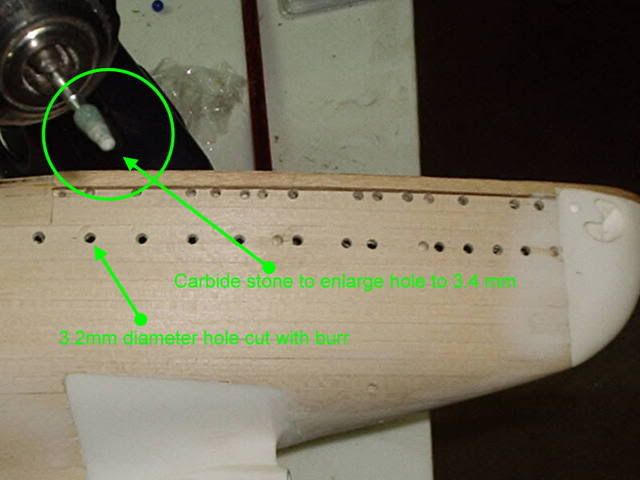 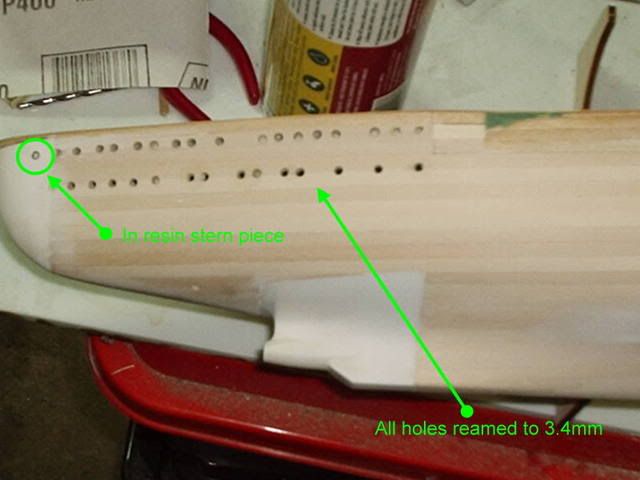 Compared to this, planking is a breeze. I'm not looking forward to those other brass bits  Baz |
|
Deleted
Deleted Member
Posts: 0
|
Post by Deleted on Jun 11, 2008 11:52:36 GMT 1
I have no idea just what I will do with the portholes, probaly just leave things as is.  |
|
|
|
Post by Baz on Jun 11, 2008 13:01:40 GMT 1
Couple more pics I missed last posting. 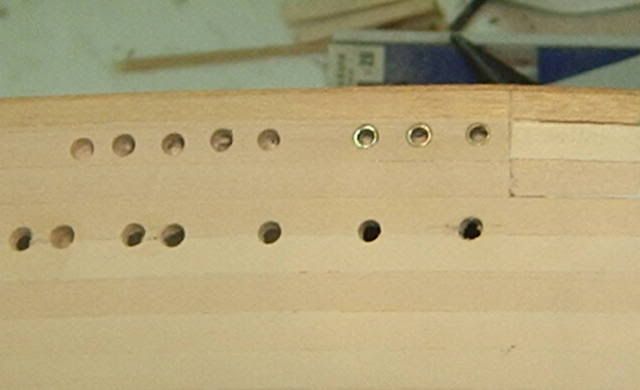 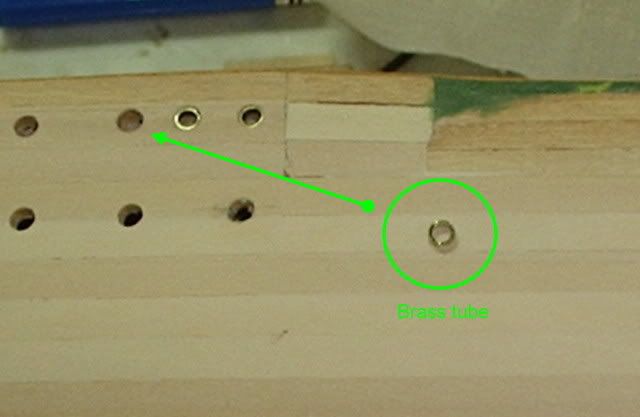 Baz |
|
|
|
Post by afkmatrix on Jun 11, 2008 14:02:54 GMT 1
Nice going baz i like them.
Just a few quick questions. What tool/drill bit did you use to make the holes? Also the bottom row of portholes seem as though there going all the way through the hull, are they? How are you going to make the hull waterproof?
|
|
|
|
Post by Baz on Jun 11, 2008 16:14:00 GMT 1
Nice going baz i like them. Just a few quick questions. What tool/drill bit did you use to make the holes? Also the bottom row of portholes seem as though there going all the way through the hull, are they? How are you going to make the hull waterproof? AFK I'm not planning on putting my Bissy in a pond, just leave it to gather dust on one of the kids lounge room shelves (I hope). I have promised I would complete 3 wooden reasonably presentable model ships, one for each of the children. This is number 3. I'm not worrying about making it waterproof, so drilling through the hull is not an issue..........well it is, because I've lost 1 brass ring inside already, and I've only cut 4. To make the holes, I've discarded my Dremel because it revs too fast & gives me no control. Instead I used my $50.oo cordless drill, a couple of dental ball cutters of increasing diameter - starting at about 0.5mm, then a 3.2mm dremel cutter. Finally I used the grinding stone. All in the drill and at very low revs. They create very clean cuts with minimal wood damage example piccies of cutters   finally the stone, which ensures a tight and forced fit. 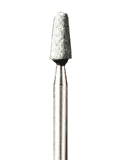 It has taken hours to prepare the stern holes, and I still managed to mess them up and not get a straight line. But its pretty close. Hope this answers your questions Baz |
|